FreeD Panel
The freed tab provides a way to configure different freed receivers, enabling the use of an external source of tracking (such as a PTZ, for example) as a tracking node.
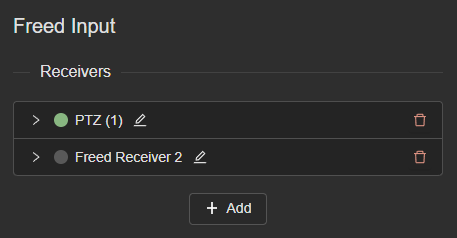
Displayed here is a list of all the freed receivers created. Receivers can be created by clicking on the "Add" button. If a receiver is currently receiving a free-d stream, a green indicator will lit up next to its name.
A receiver can be renamed by clicking on the edit icon next to its index, which will render the receiver's name editable. The edit can then be saved by clicking on the same button again, or pressing the "enter" key.
Clicking on a receiver will display its configuration.
1. Configuration
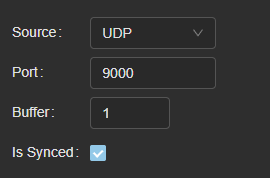
- source UDP is used to receive d1 packets through the network, whereas serial should be set to receive a1 packets using a direct connection.
- port defines the port on which the socket will listen for freed packets if you are using UDP, or the COM port if using serial
- buffer allows you to delay the freed input by a certain number of frames. For example, if set to 1, rigs using this receiver will not use the last packet received for computations, but the one before that.
- is synced needs to be set to true if your freed source is synced on the same genlock source as EZtrack, false otherwise
If Is synced is checked, a live graph will be displayed.
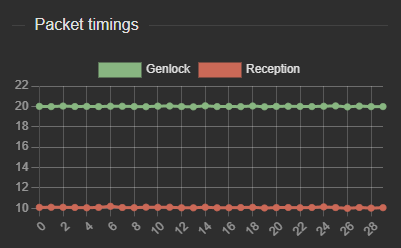
- Green marks show the time elapsed between two genlock ticks. A green mark at 40ms means the tick was received 40ms after the last one (and corresponds to a 25Hz genlock).
- Red marks show the time elapsed between a genlock tick, and the next packet received. For example, a red mark at 30ms on frame 14 means that a packet has been received 30ms after the tick on frame 13.
This graph is useful to determine instances where no packet would be received when the next genlock would tick. In this case, the graph would display a part of the red curve above the green one. If you notice cases where the red curve is above the green one for one frame maximum, be sure to set a buffer of at least 1. If you notice the red curve above the green one for 3 frames at a time, set the buffer to at least 3, etc.
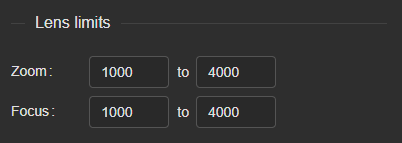
The focus and zoom fields under Lens mapping allows you to specify the boundaries used by the tracking source on the lens data. EZtrack will then map it to a range defined in Settings → Free-D
In the Offsets section, you can choose to modify the received transform by setting offsets that will be added to the individual values.
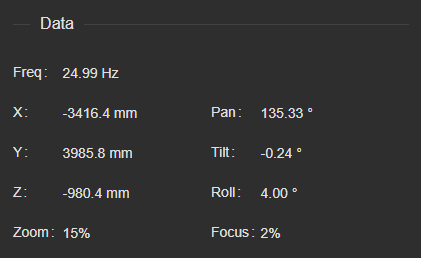
Below, the last packet contents are displayed at a refresh rate of 1Hz. An estimation of the frequency can be found here. It should not be taken as a precise measurement of the frequency as it can be off by a 0.5Hz margin, but serves as an indication.