Configuration
1. Video Input
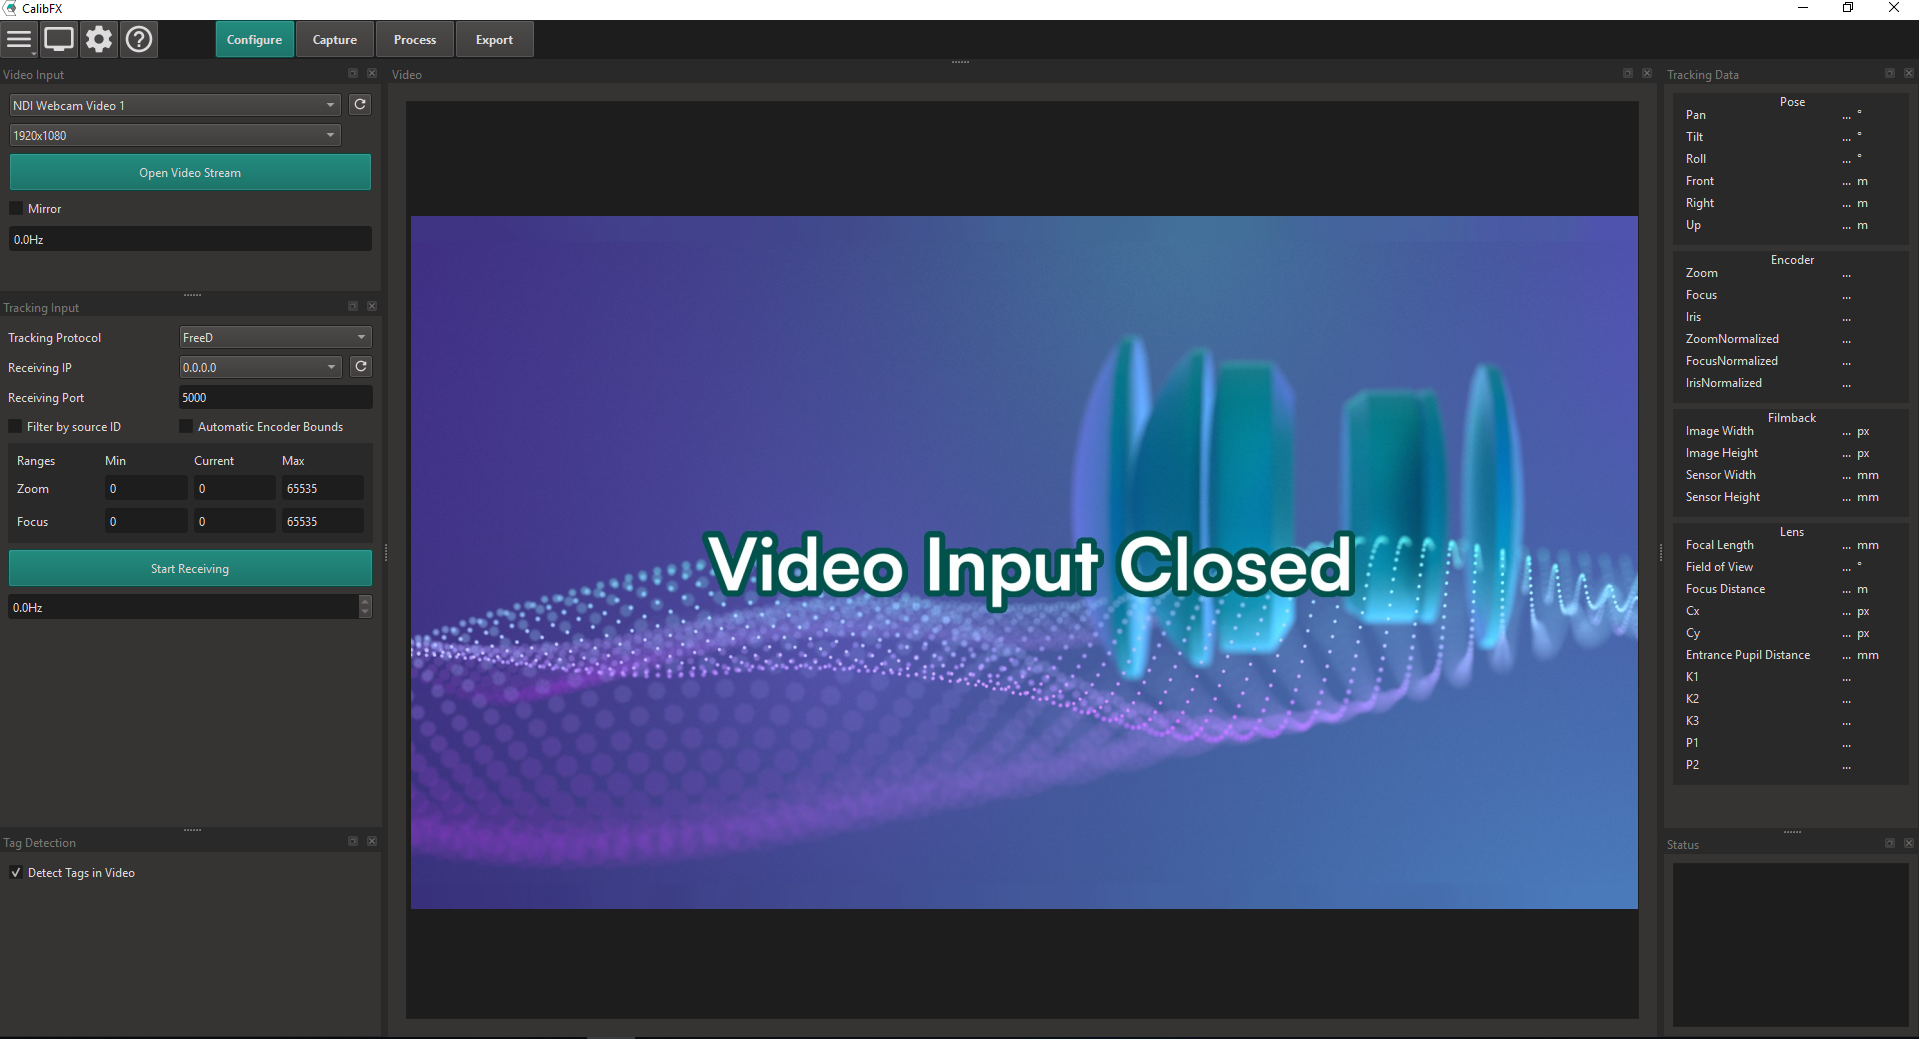
Select the video input source and resolution in the top left dock and press "Open Video Stream".
The video feed should appear in the center of the screen.
2. Tracking Input
2.1. Network Configuration
In the dock below, select the receiving IP and Port.
Note
The receiving IP is either that of one of the network interfaces on the computer running CalibFX, or "0.0.0.0", which listens on all available interfaces.
If you already know the bounds of your lens encoders, you can fill the corresponding inputs. If not, you can check the "Automatic Encoder Bounds" You can now start to receive the tracking feed of your camera. If "Automatic Encoder Bounds" is checked, you'll have to manually set the Focus and the Zoom of your camera to the minimal and maximal values.
2.2. Encoder Bounds
The software normalizes lens encoder data between 0 and 1 internally. It is therefore necessary to specify the minimum and maximum bounds for both Zoom and Focus.
If you already know the bounds of your lens encoders, you can fill the corresponding inputs. If not, you can check "Automatic Encoder Bounds".
2.3. Receiving Data
You can now press "Start Receiving" to get the tracking feed of your camera.
On the right side of the screen, in the "Tracking Data" dock, you should see numbers instead of the default "...", at least for the "Encoder" section. These numbers should change as you move the lens.
If "Automatic Encoder Bounds" is checked, you must now physically move the rings on the lens barrel between both extreme positions to detect the min and max.
You can proceed to the next step of the calibration by clicking on the "Capture" Button in the top-left corner.