Aluminium Cube Calibrator
1. Assembly
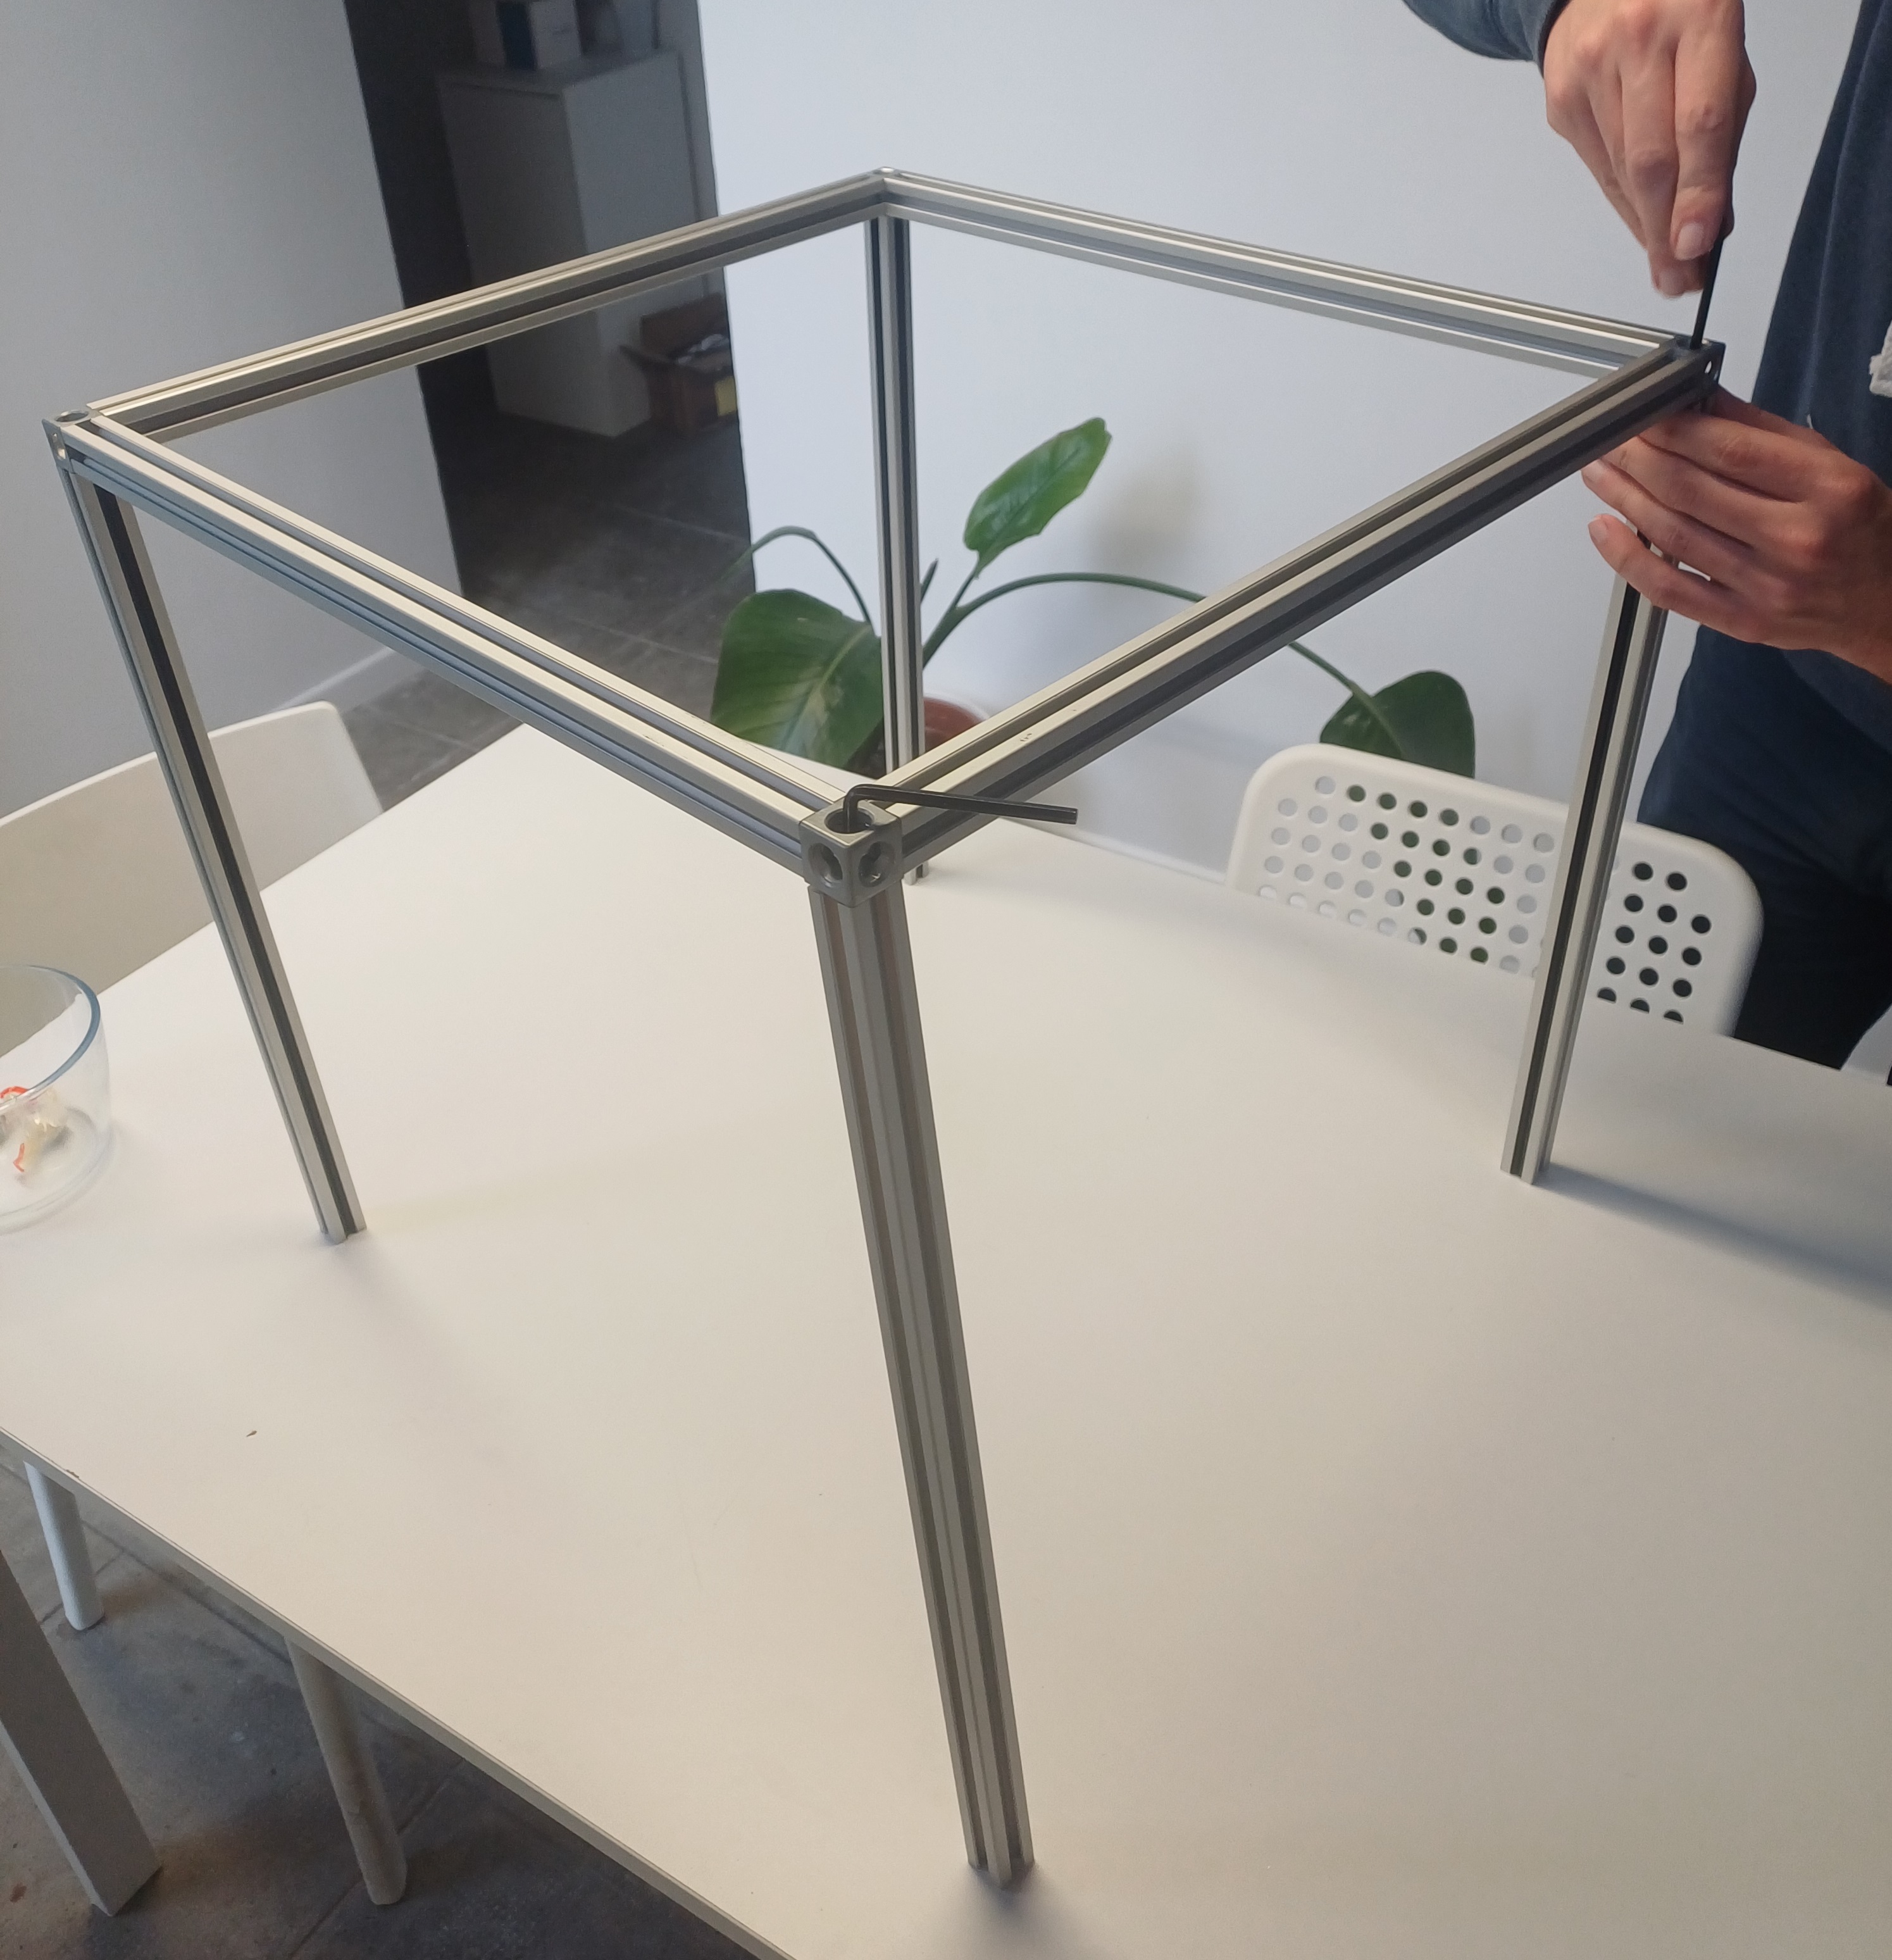
1.1. Lower frame assembly
Take the four aluminium extrusion profiles and place them under the hollow frame, on the side where there are 4 bumps on each corners. For now the structure stands up in equilibrium thanks to these bumps.
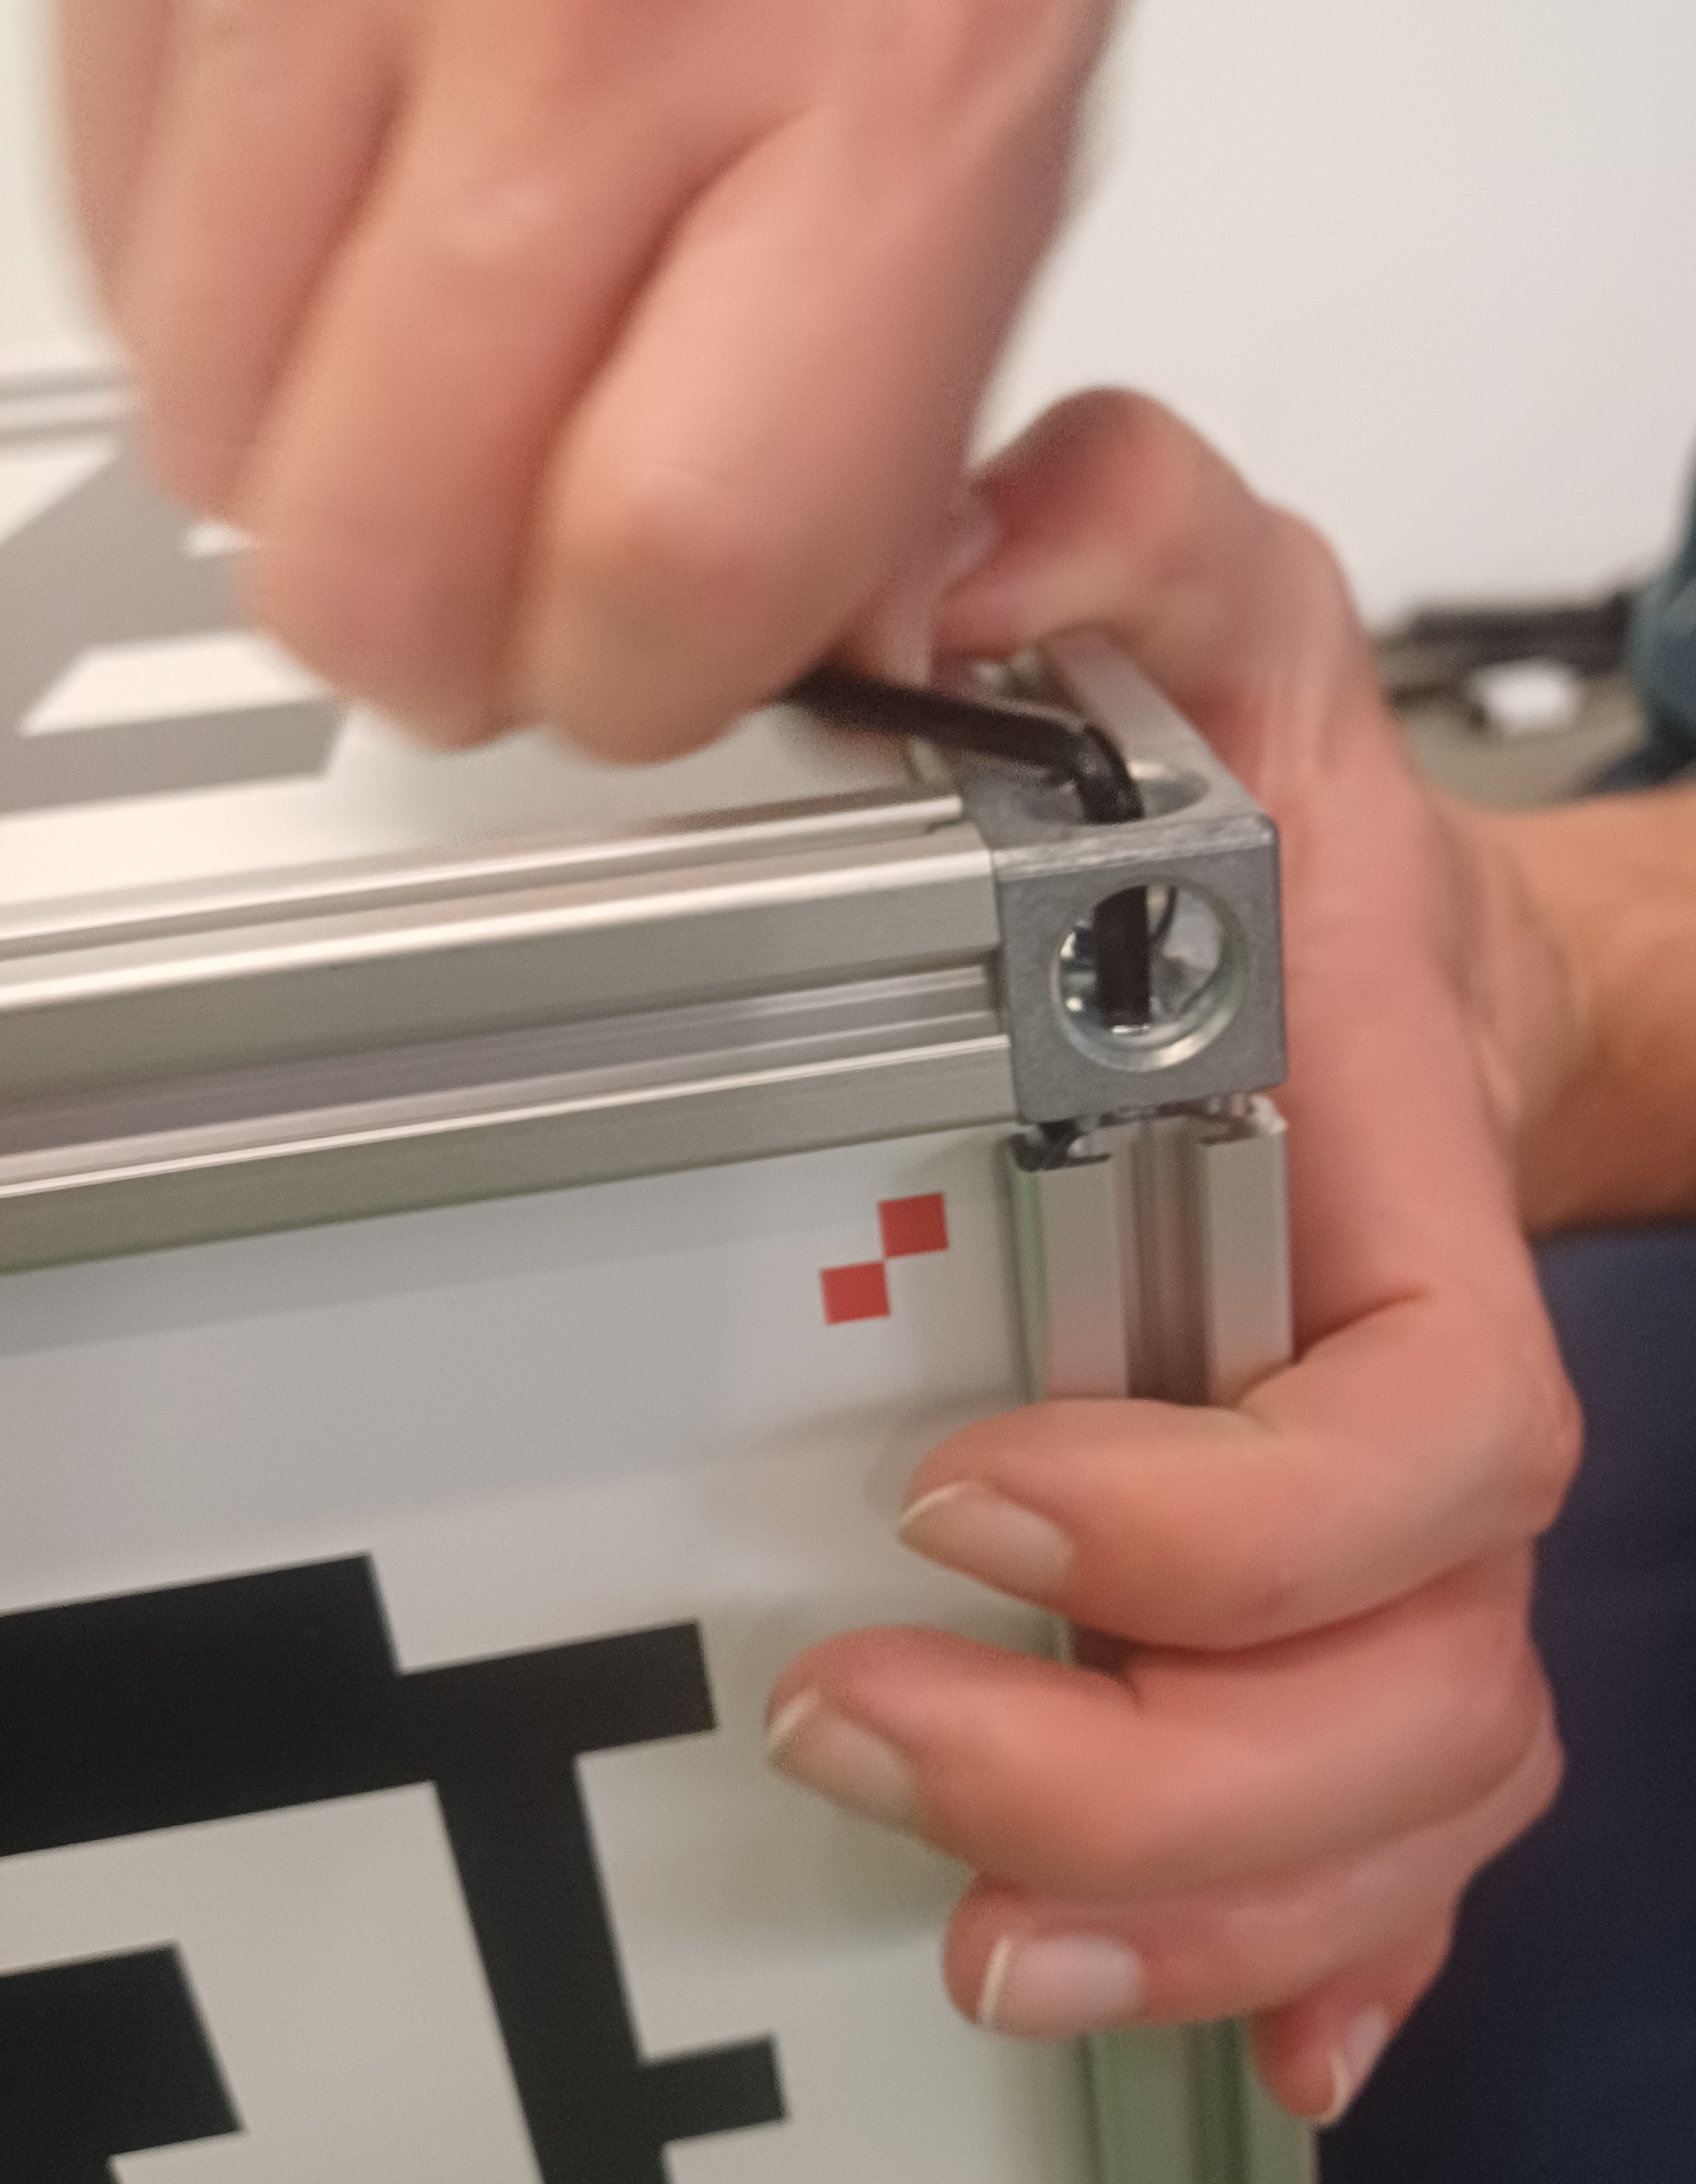
Take 4 screws and the hex key from the plastic pouch and fasten into the added profile at the each corner:
1.2. Side panels insertion
Flip the frame so that the 4 profiles you added point upward.
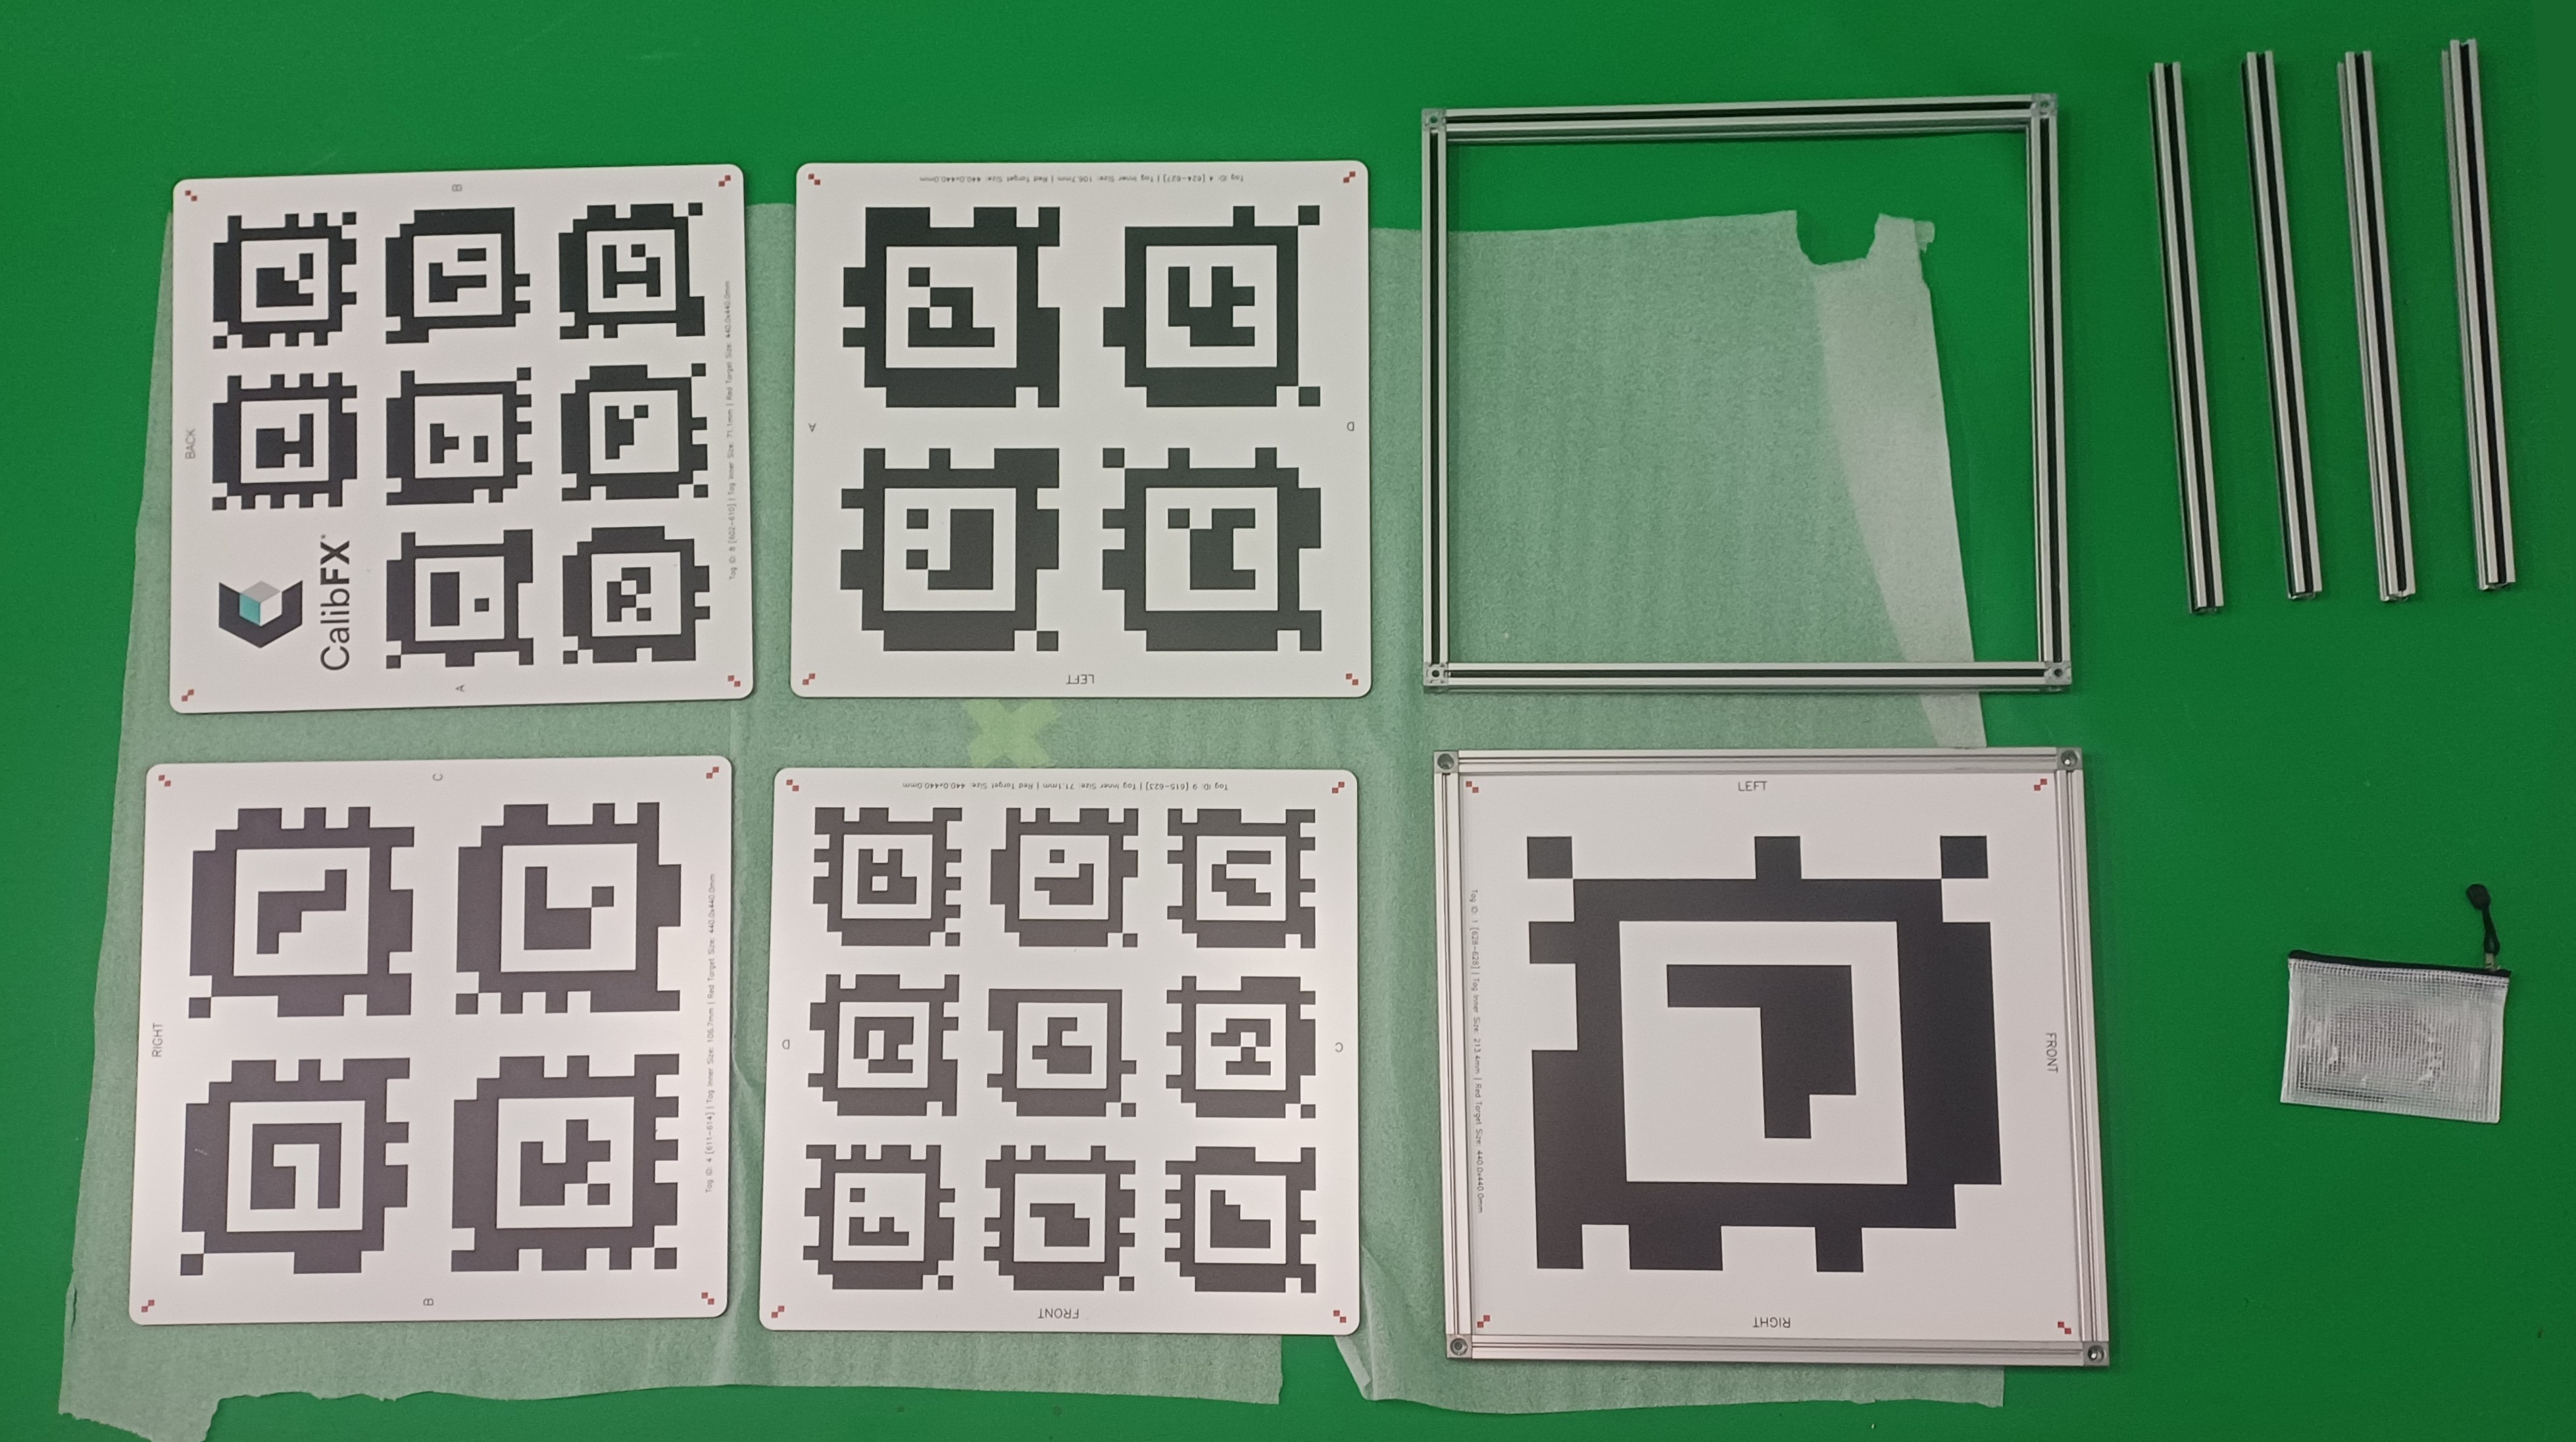
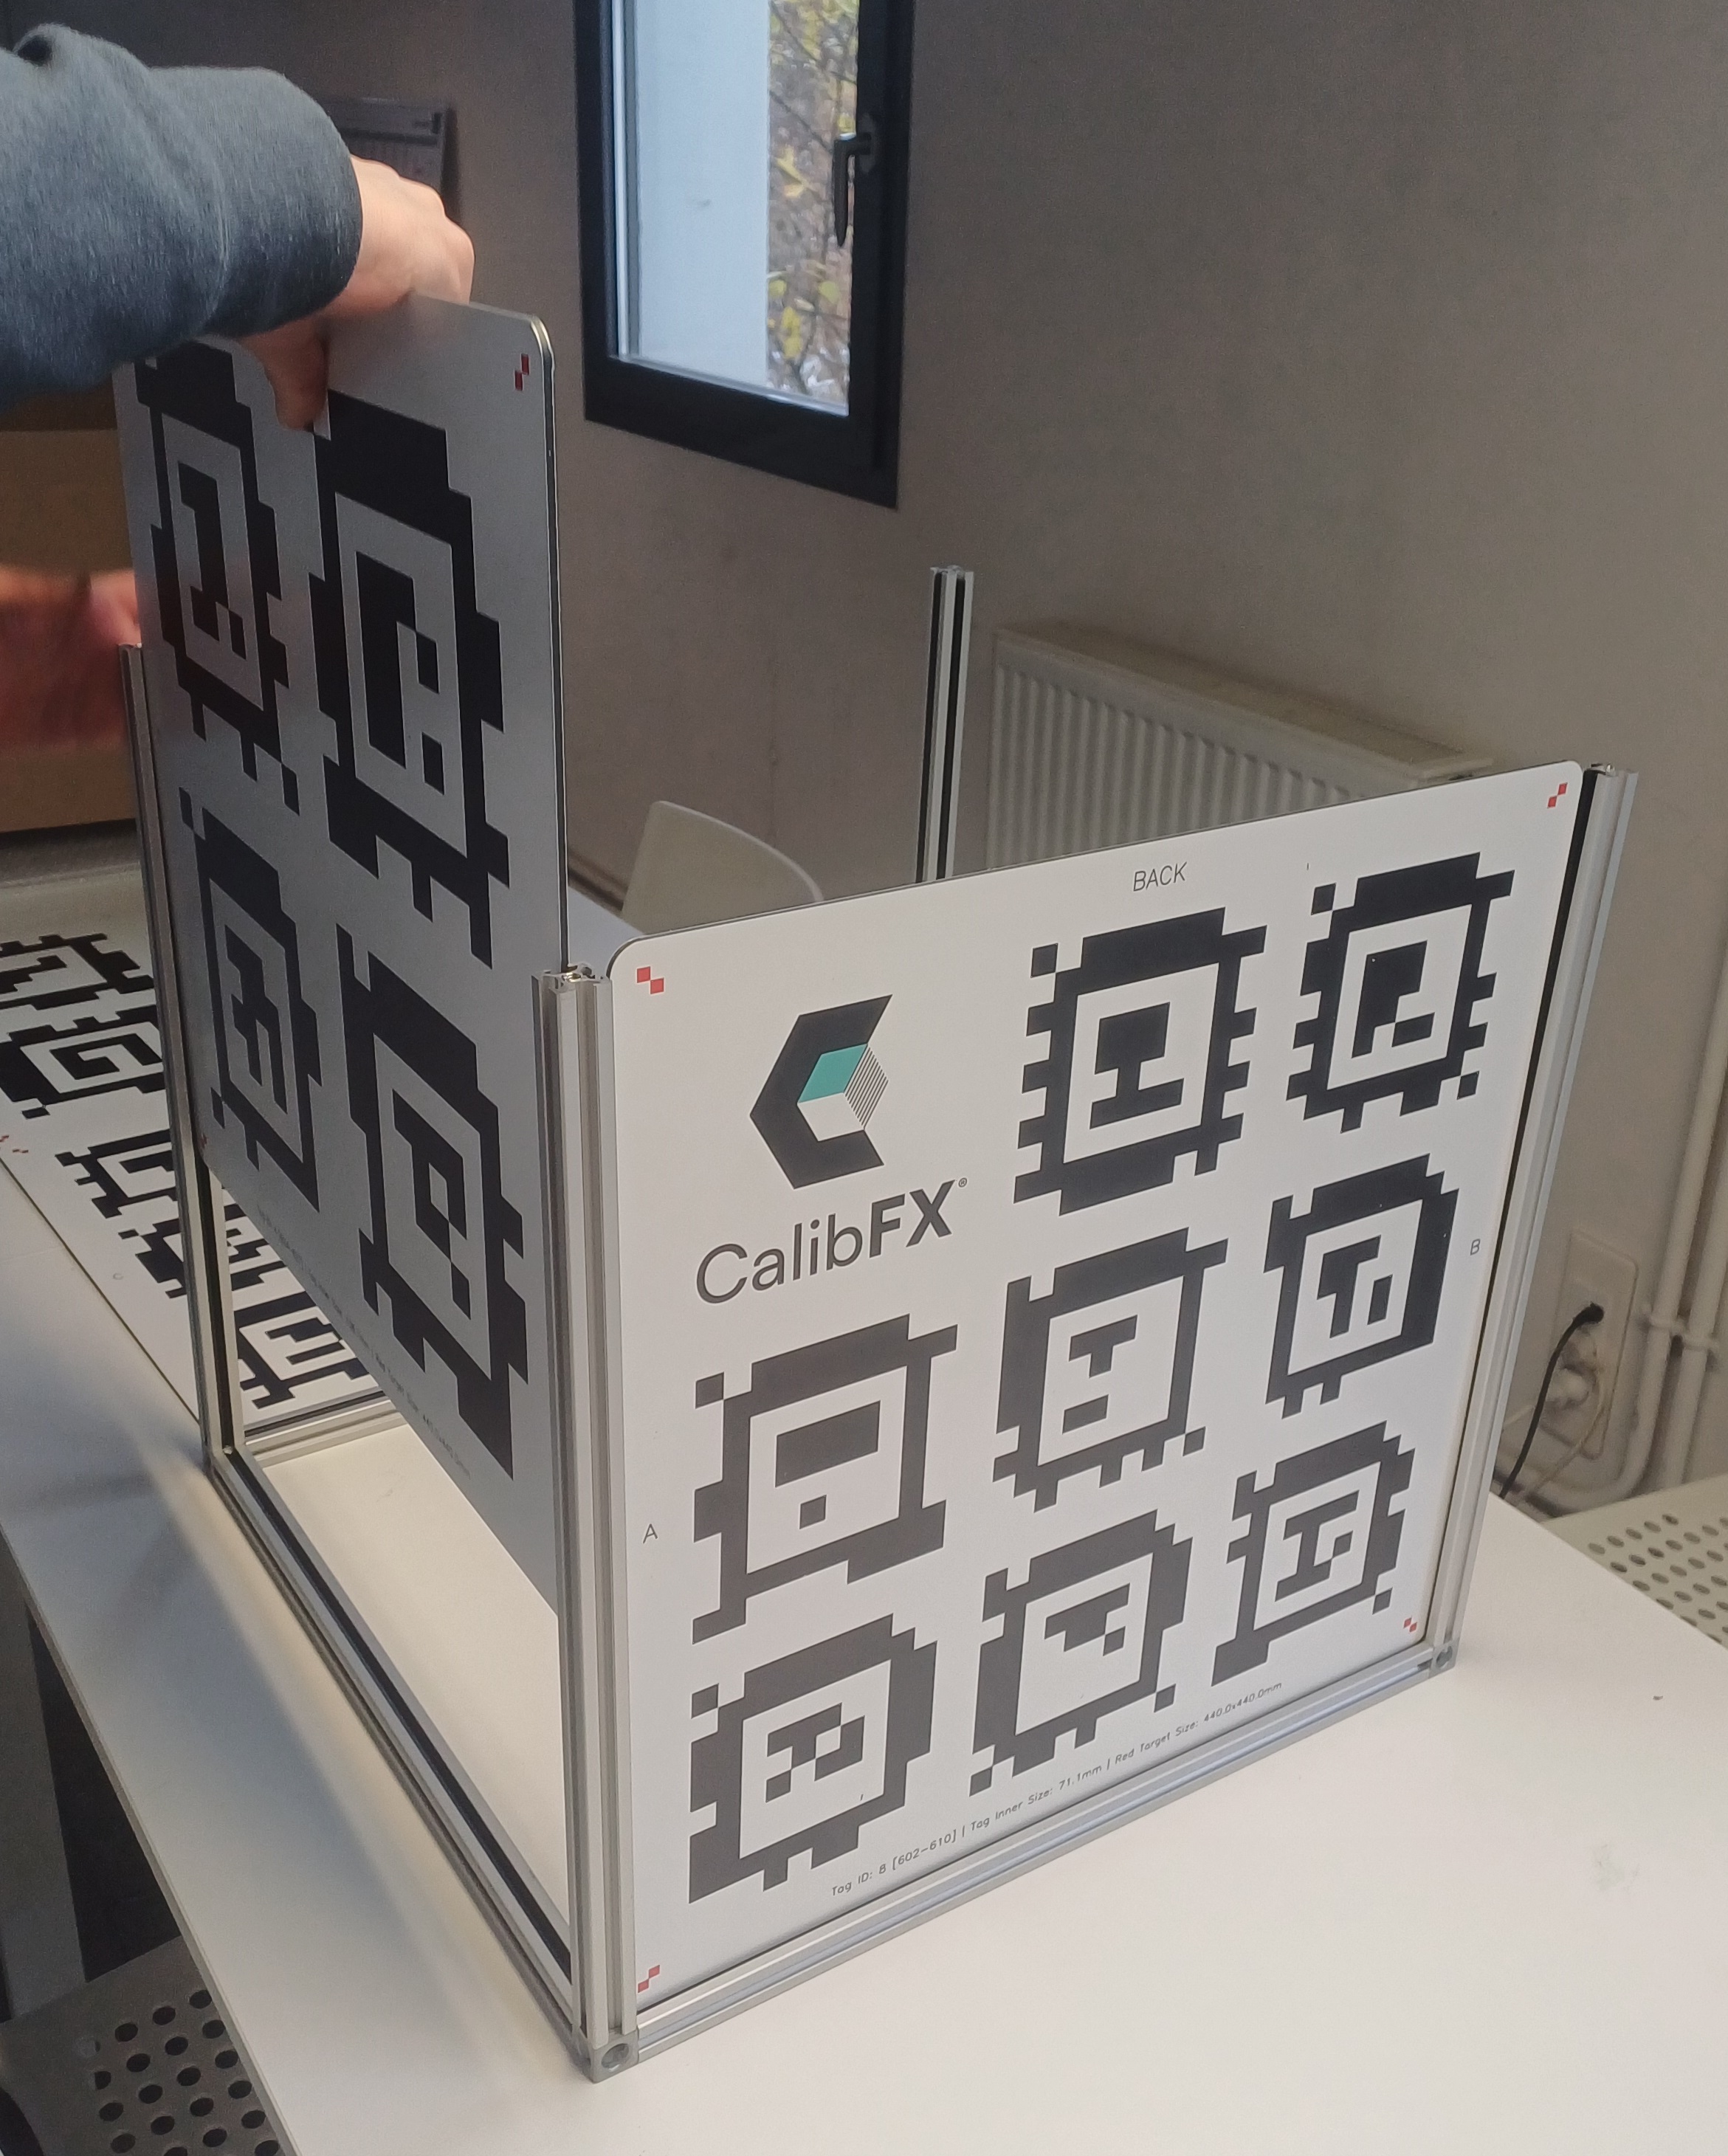
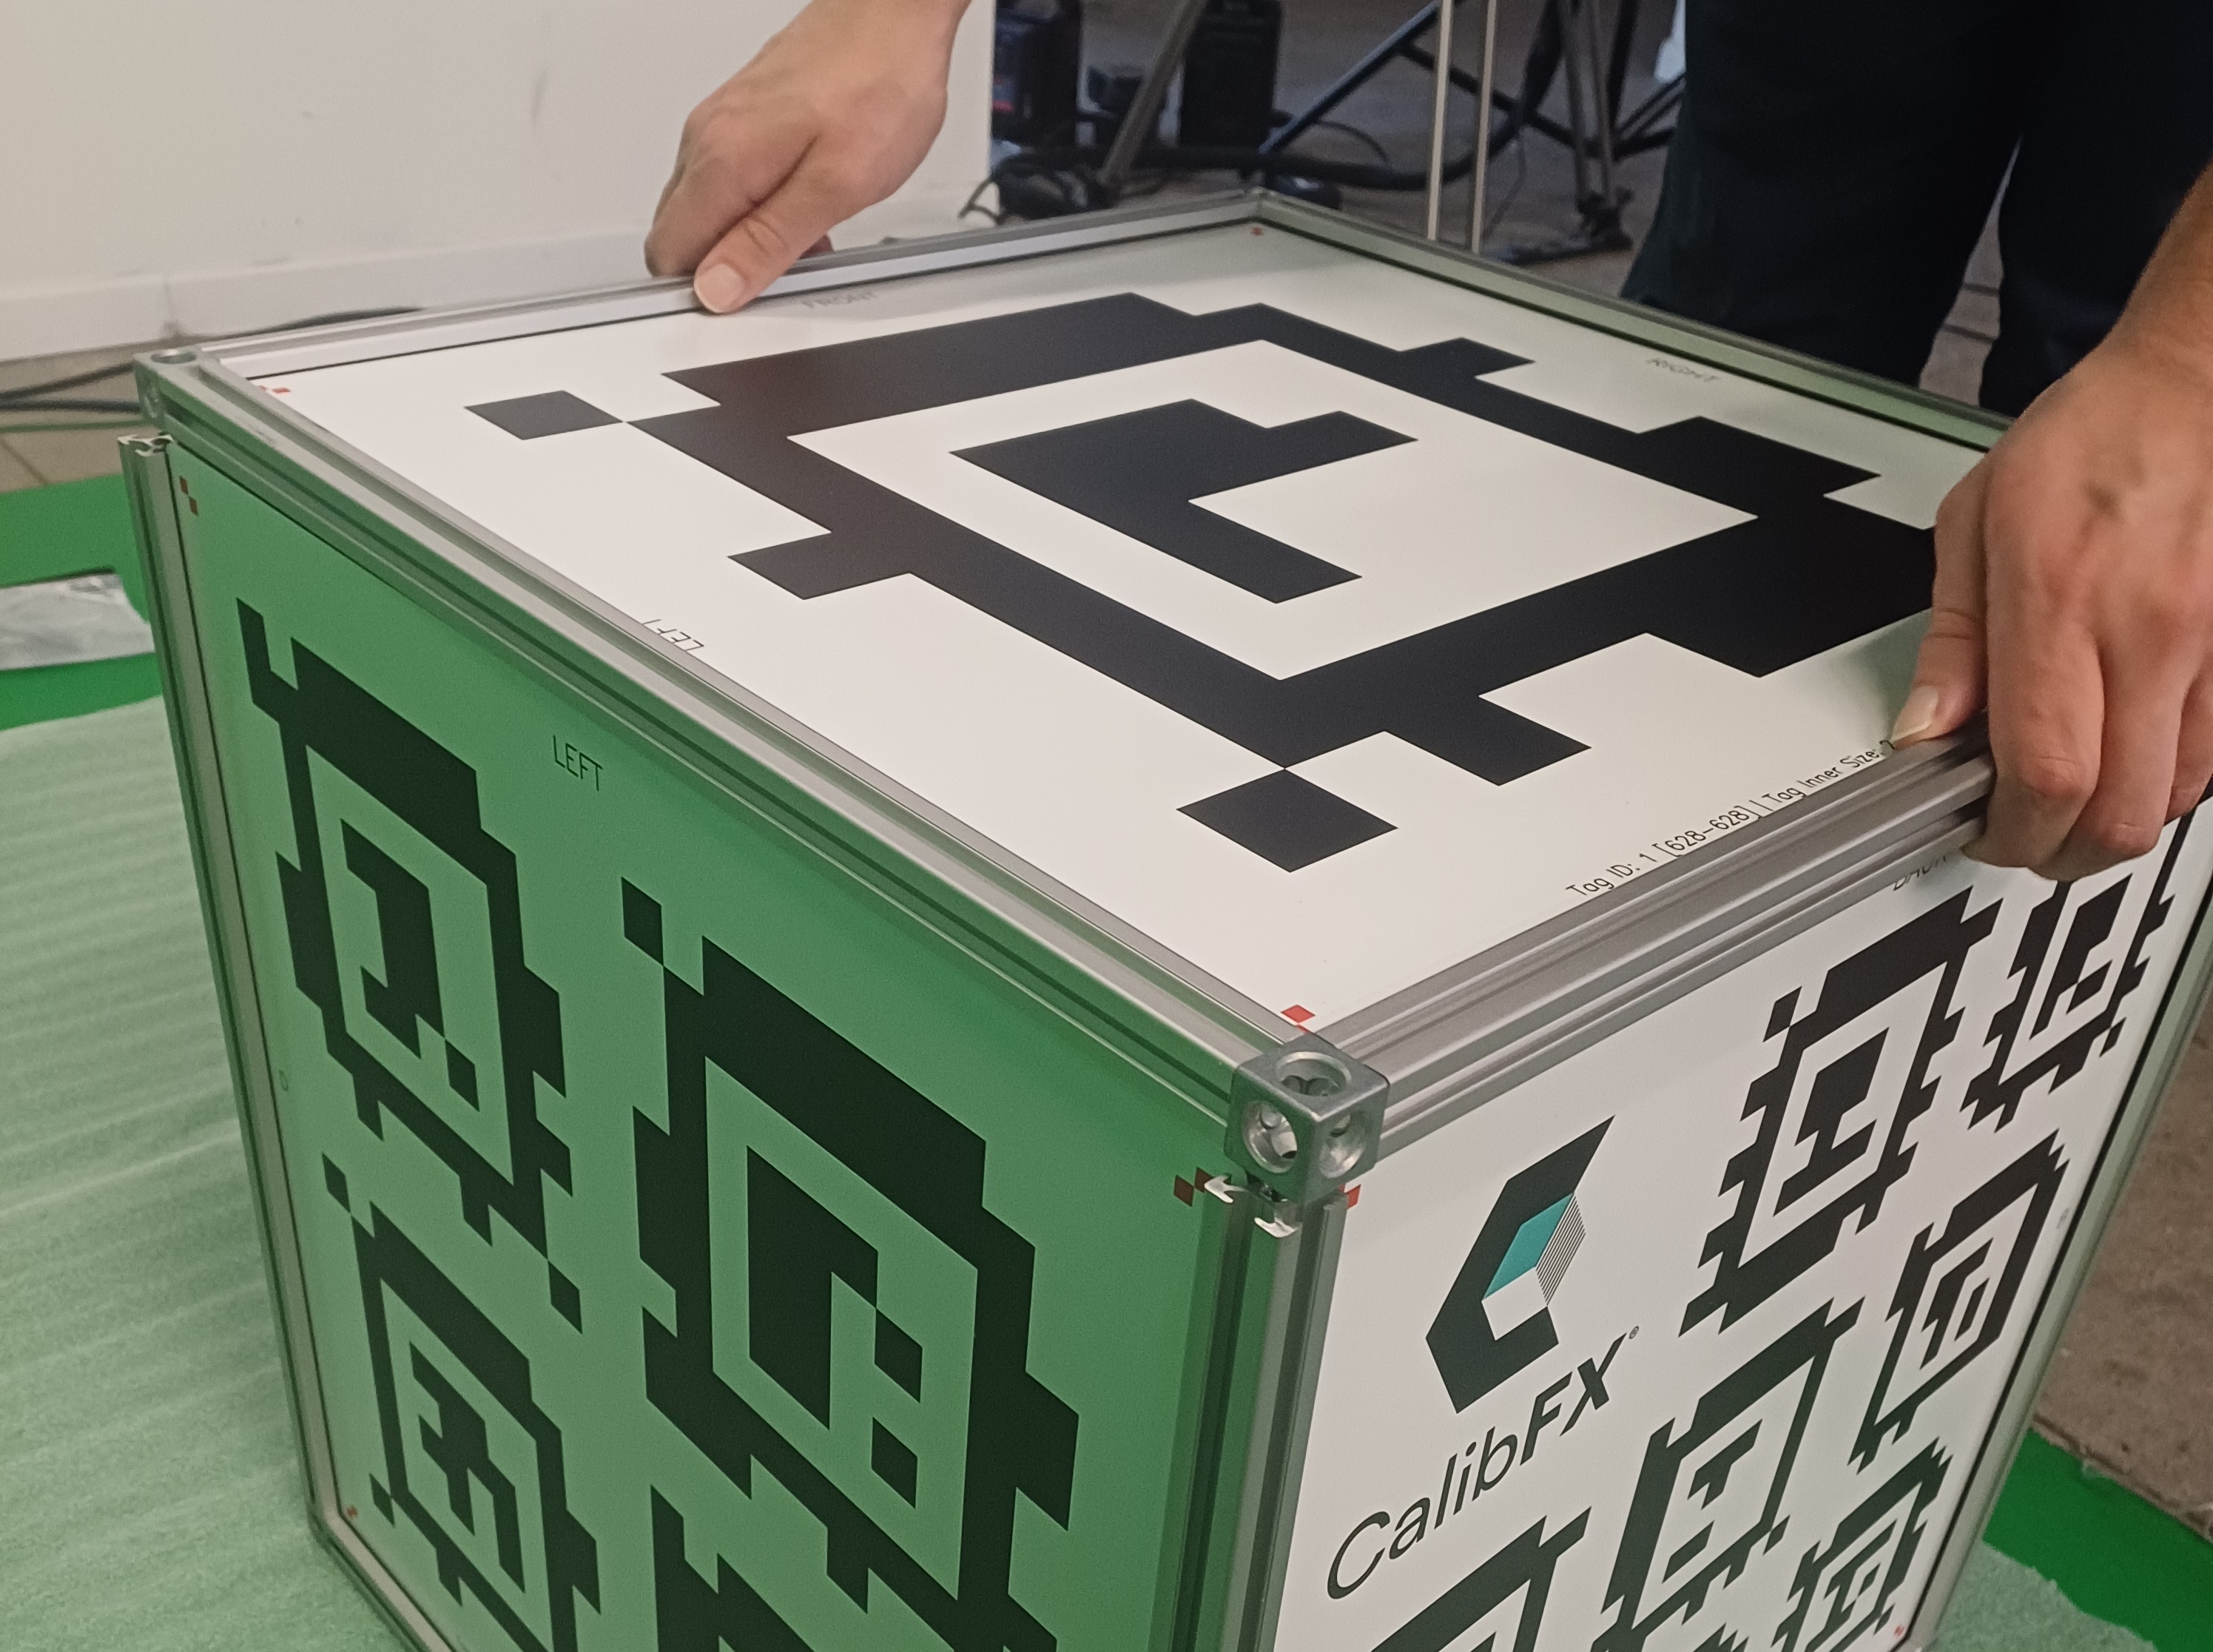
Take one of the printed aluminium panels and insert it into one of the U shaped slots in the frame:
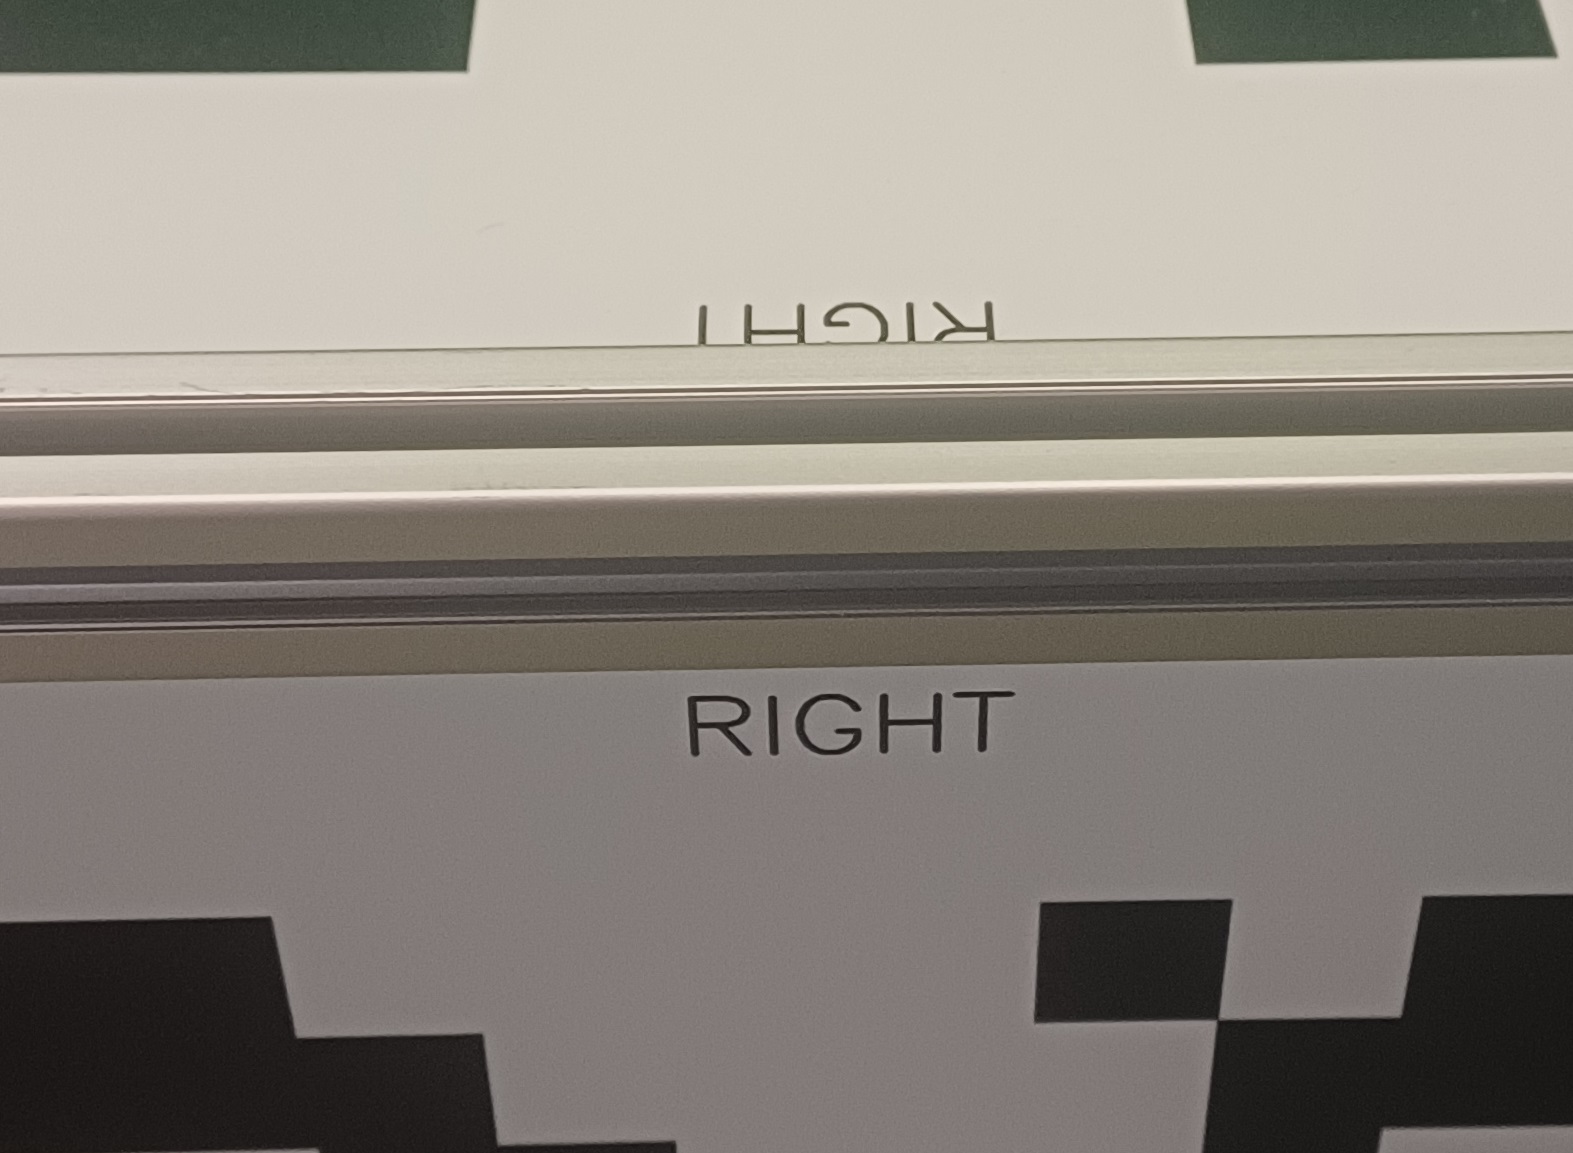
From there you should look at the letters on the sides. Here we will add the face to the left, which must connect with the letter A:
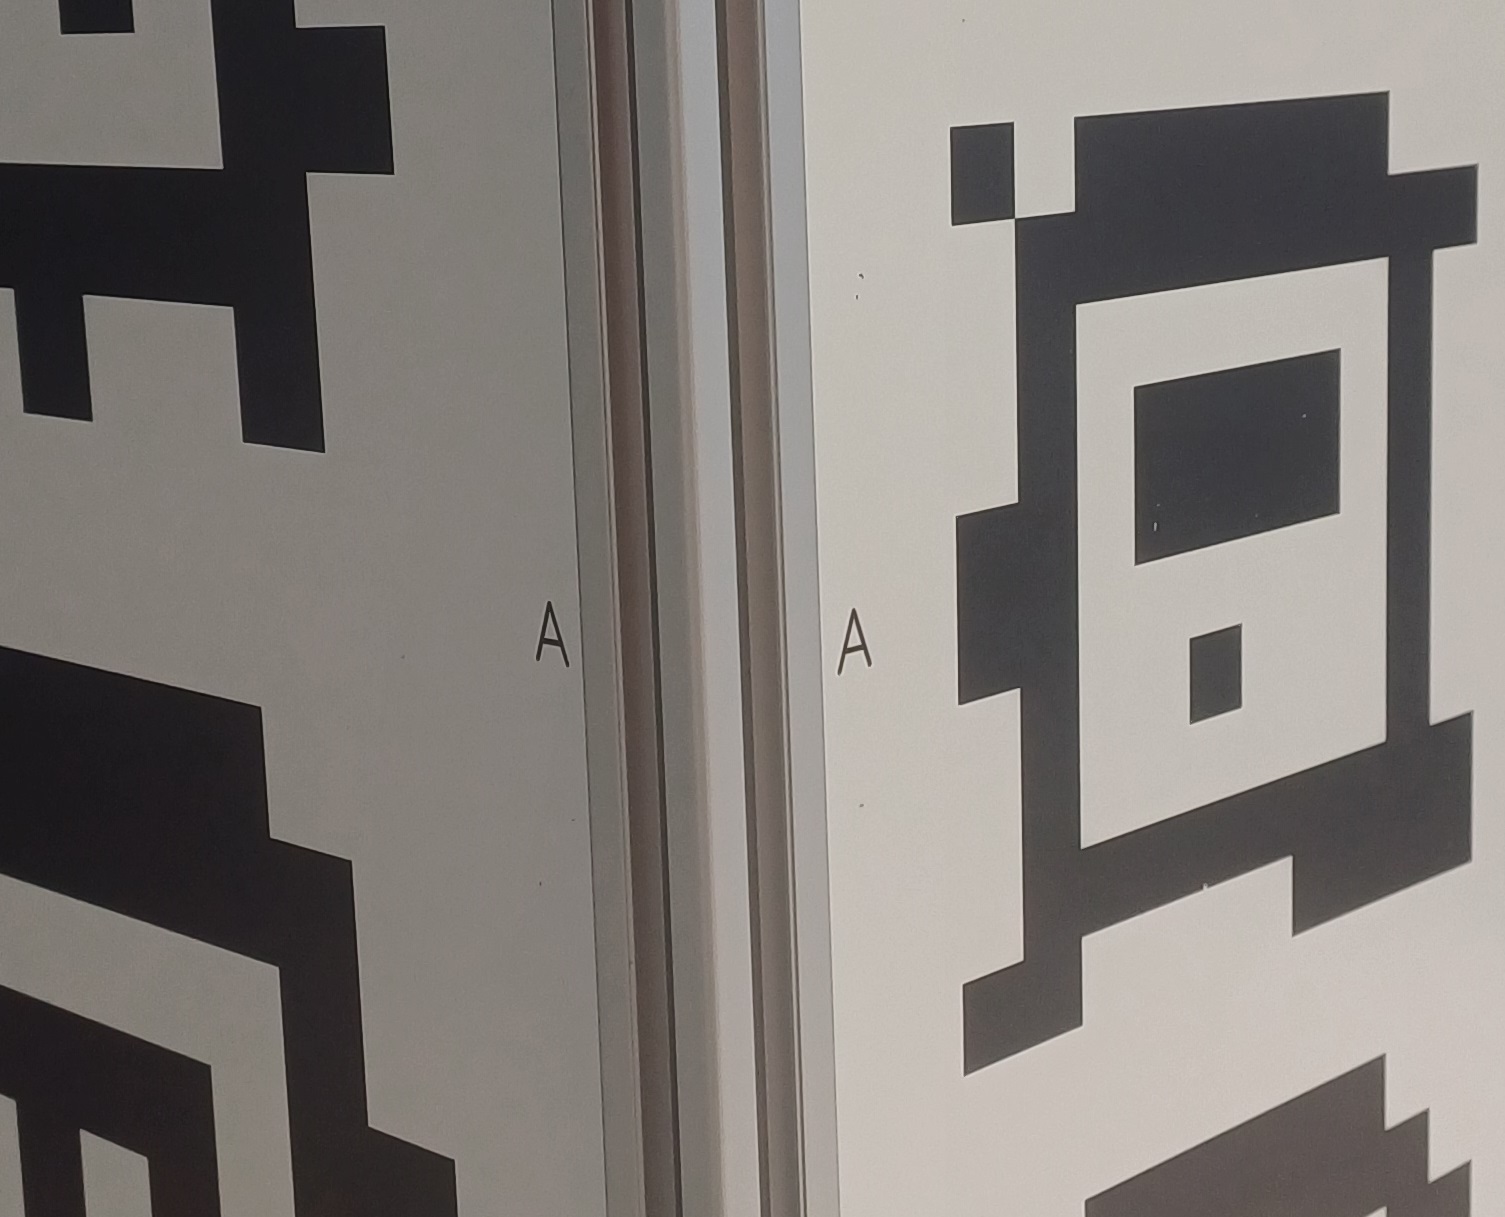
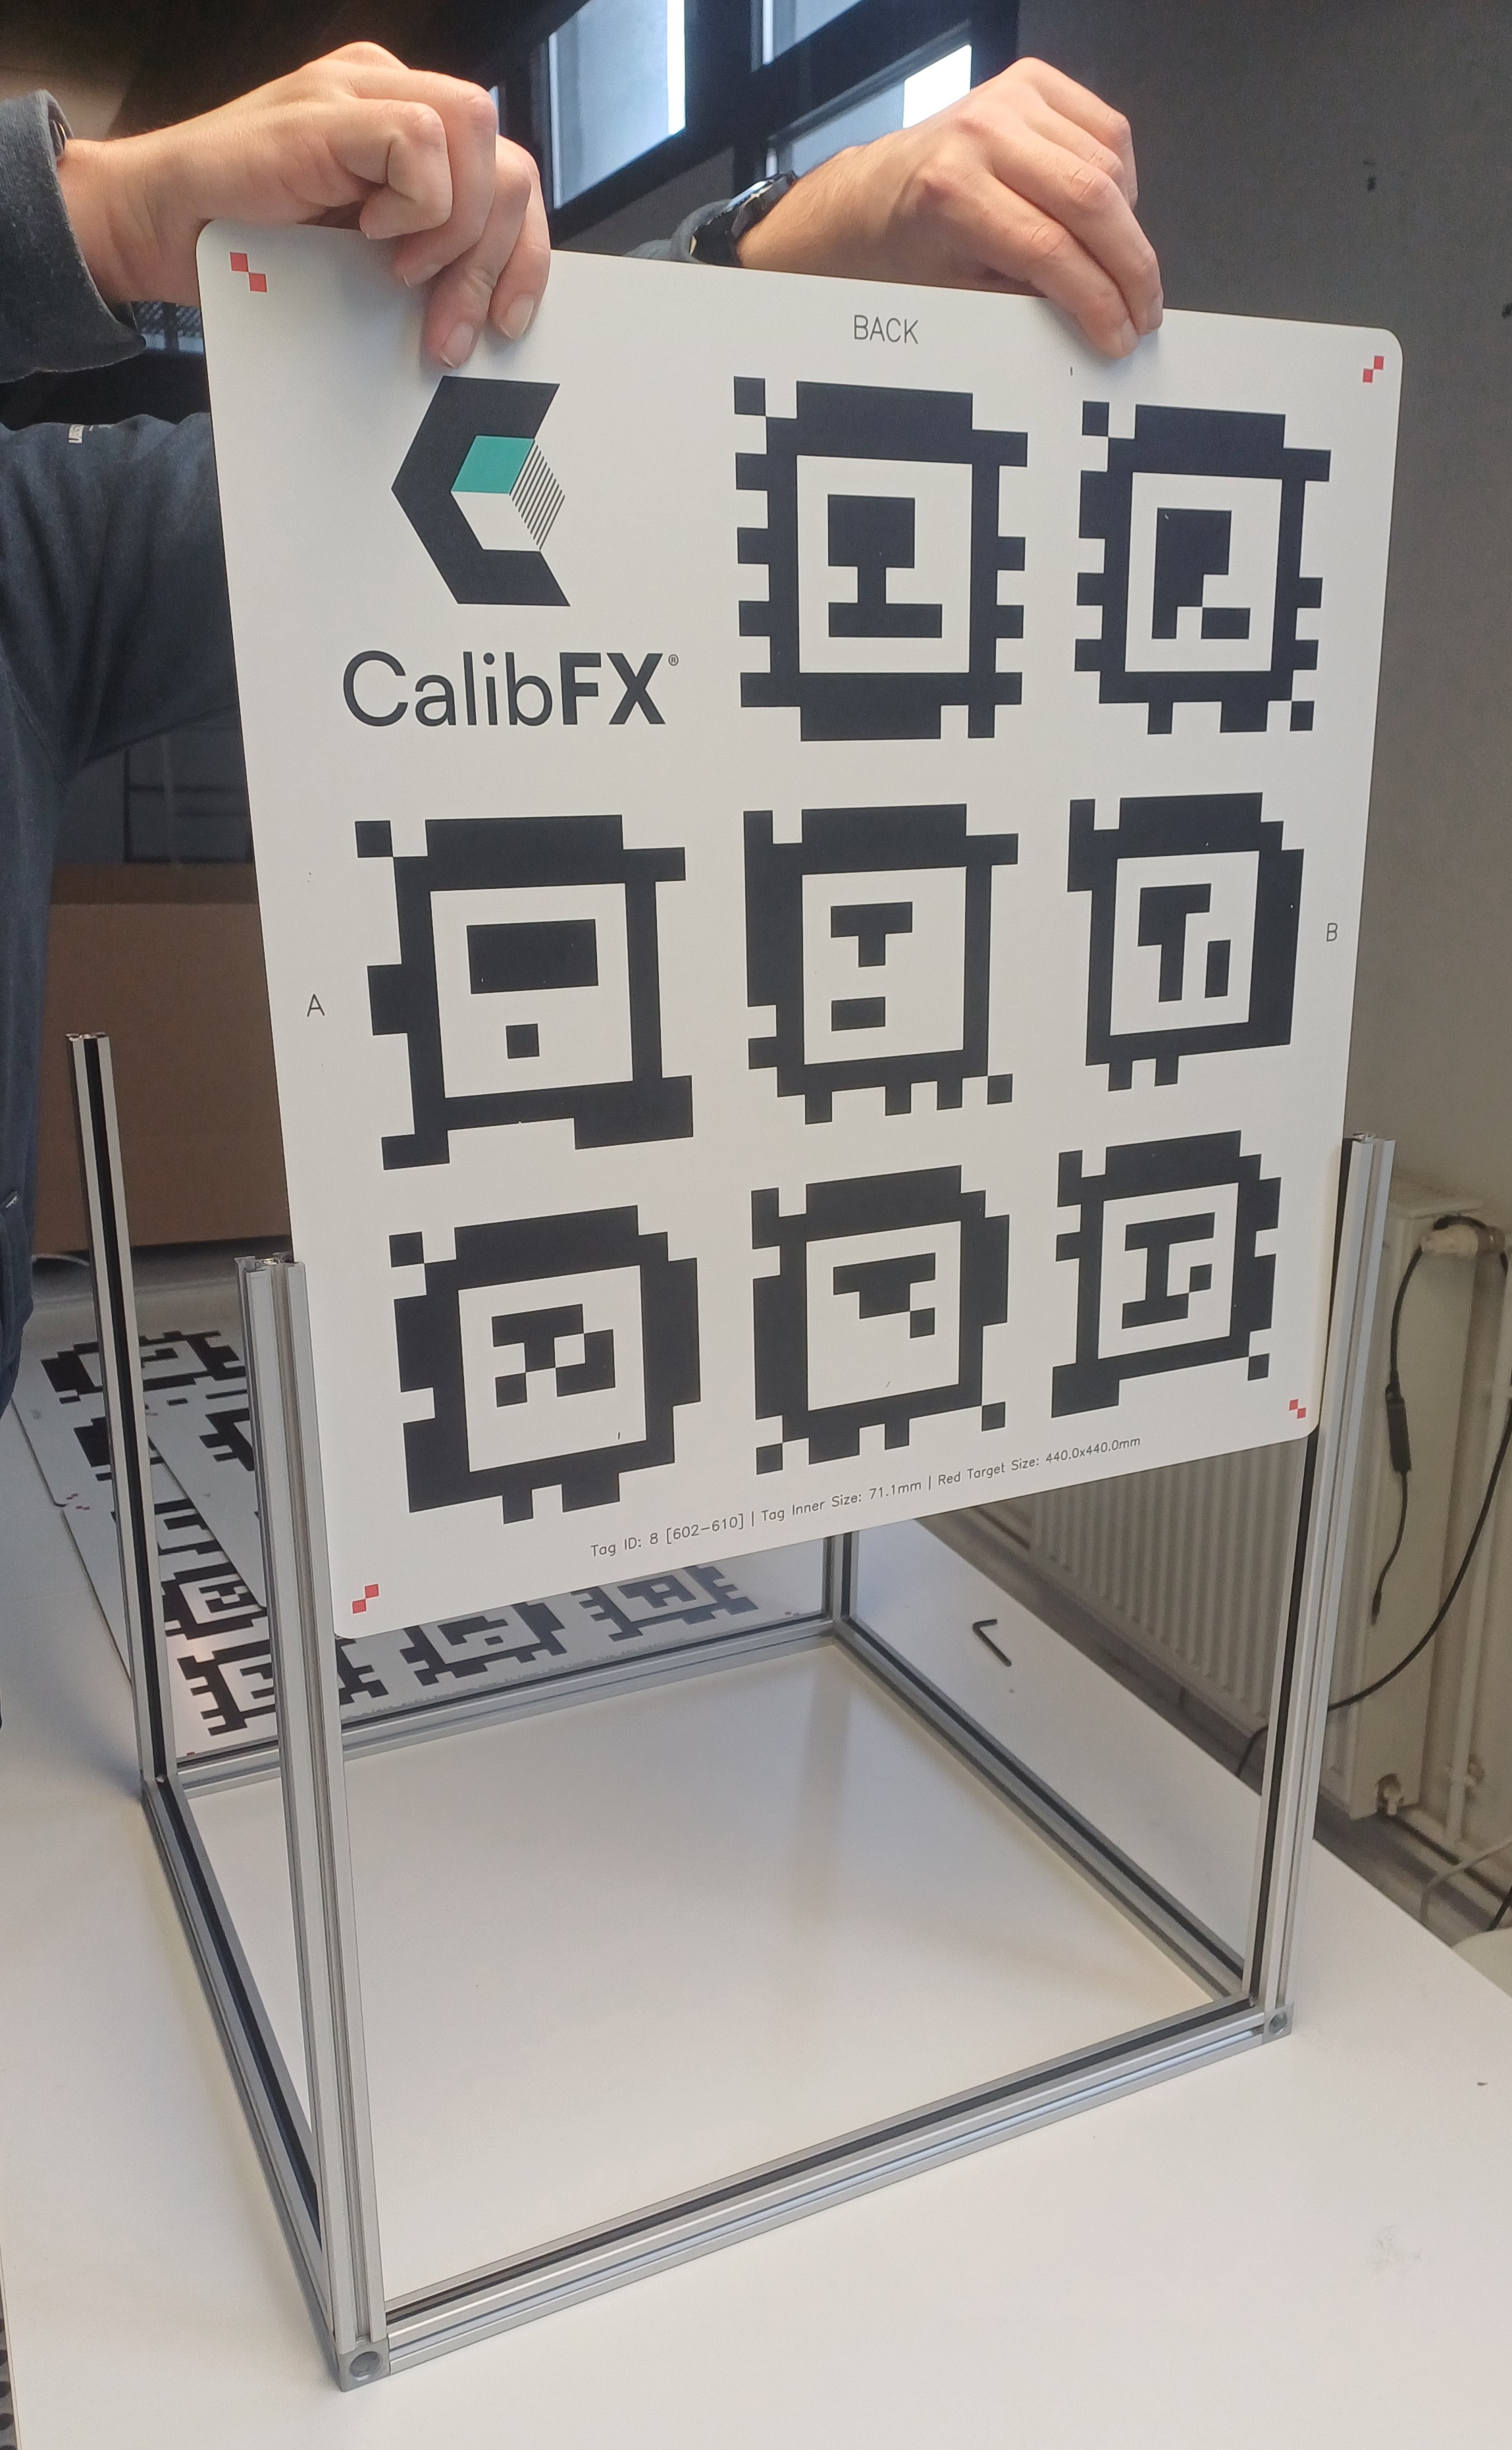
Once you have found the matching panel, insert it so that the matching letters are on the same corner. The name of the face (for example ''Back'') must be at the top:
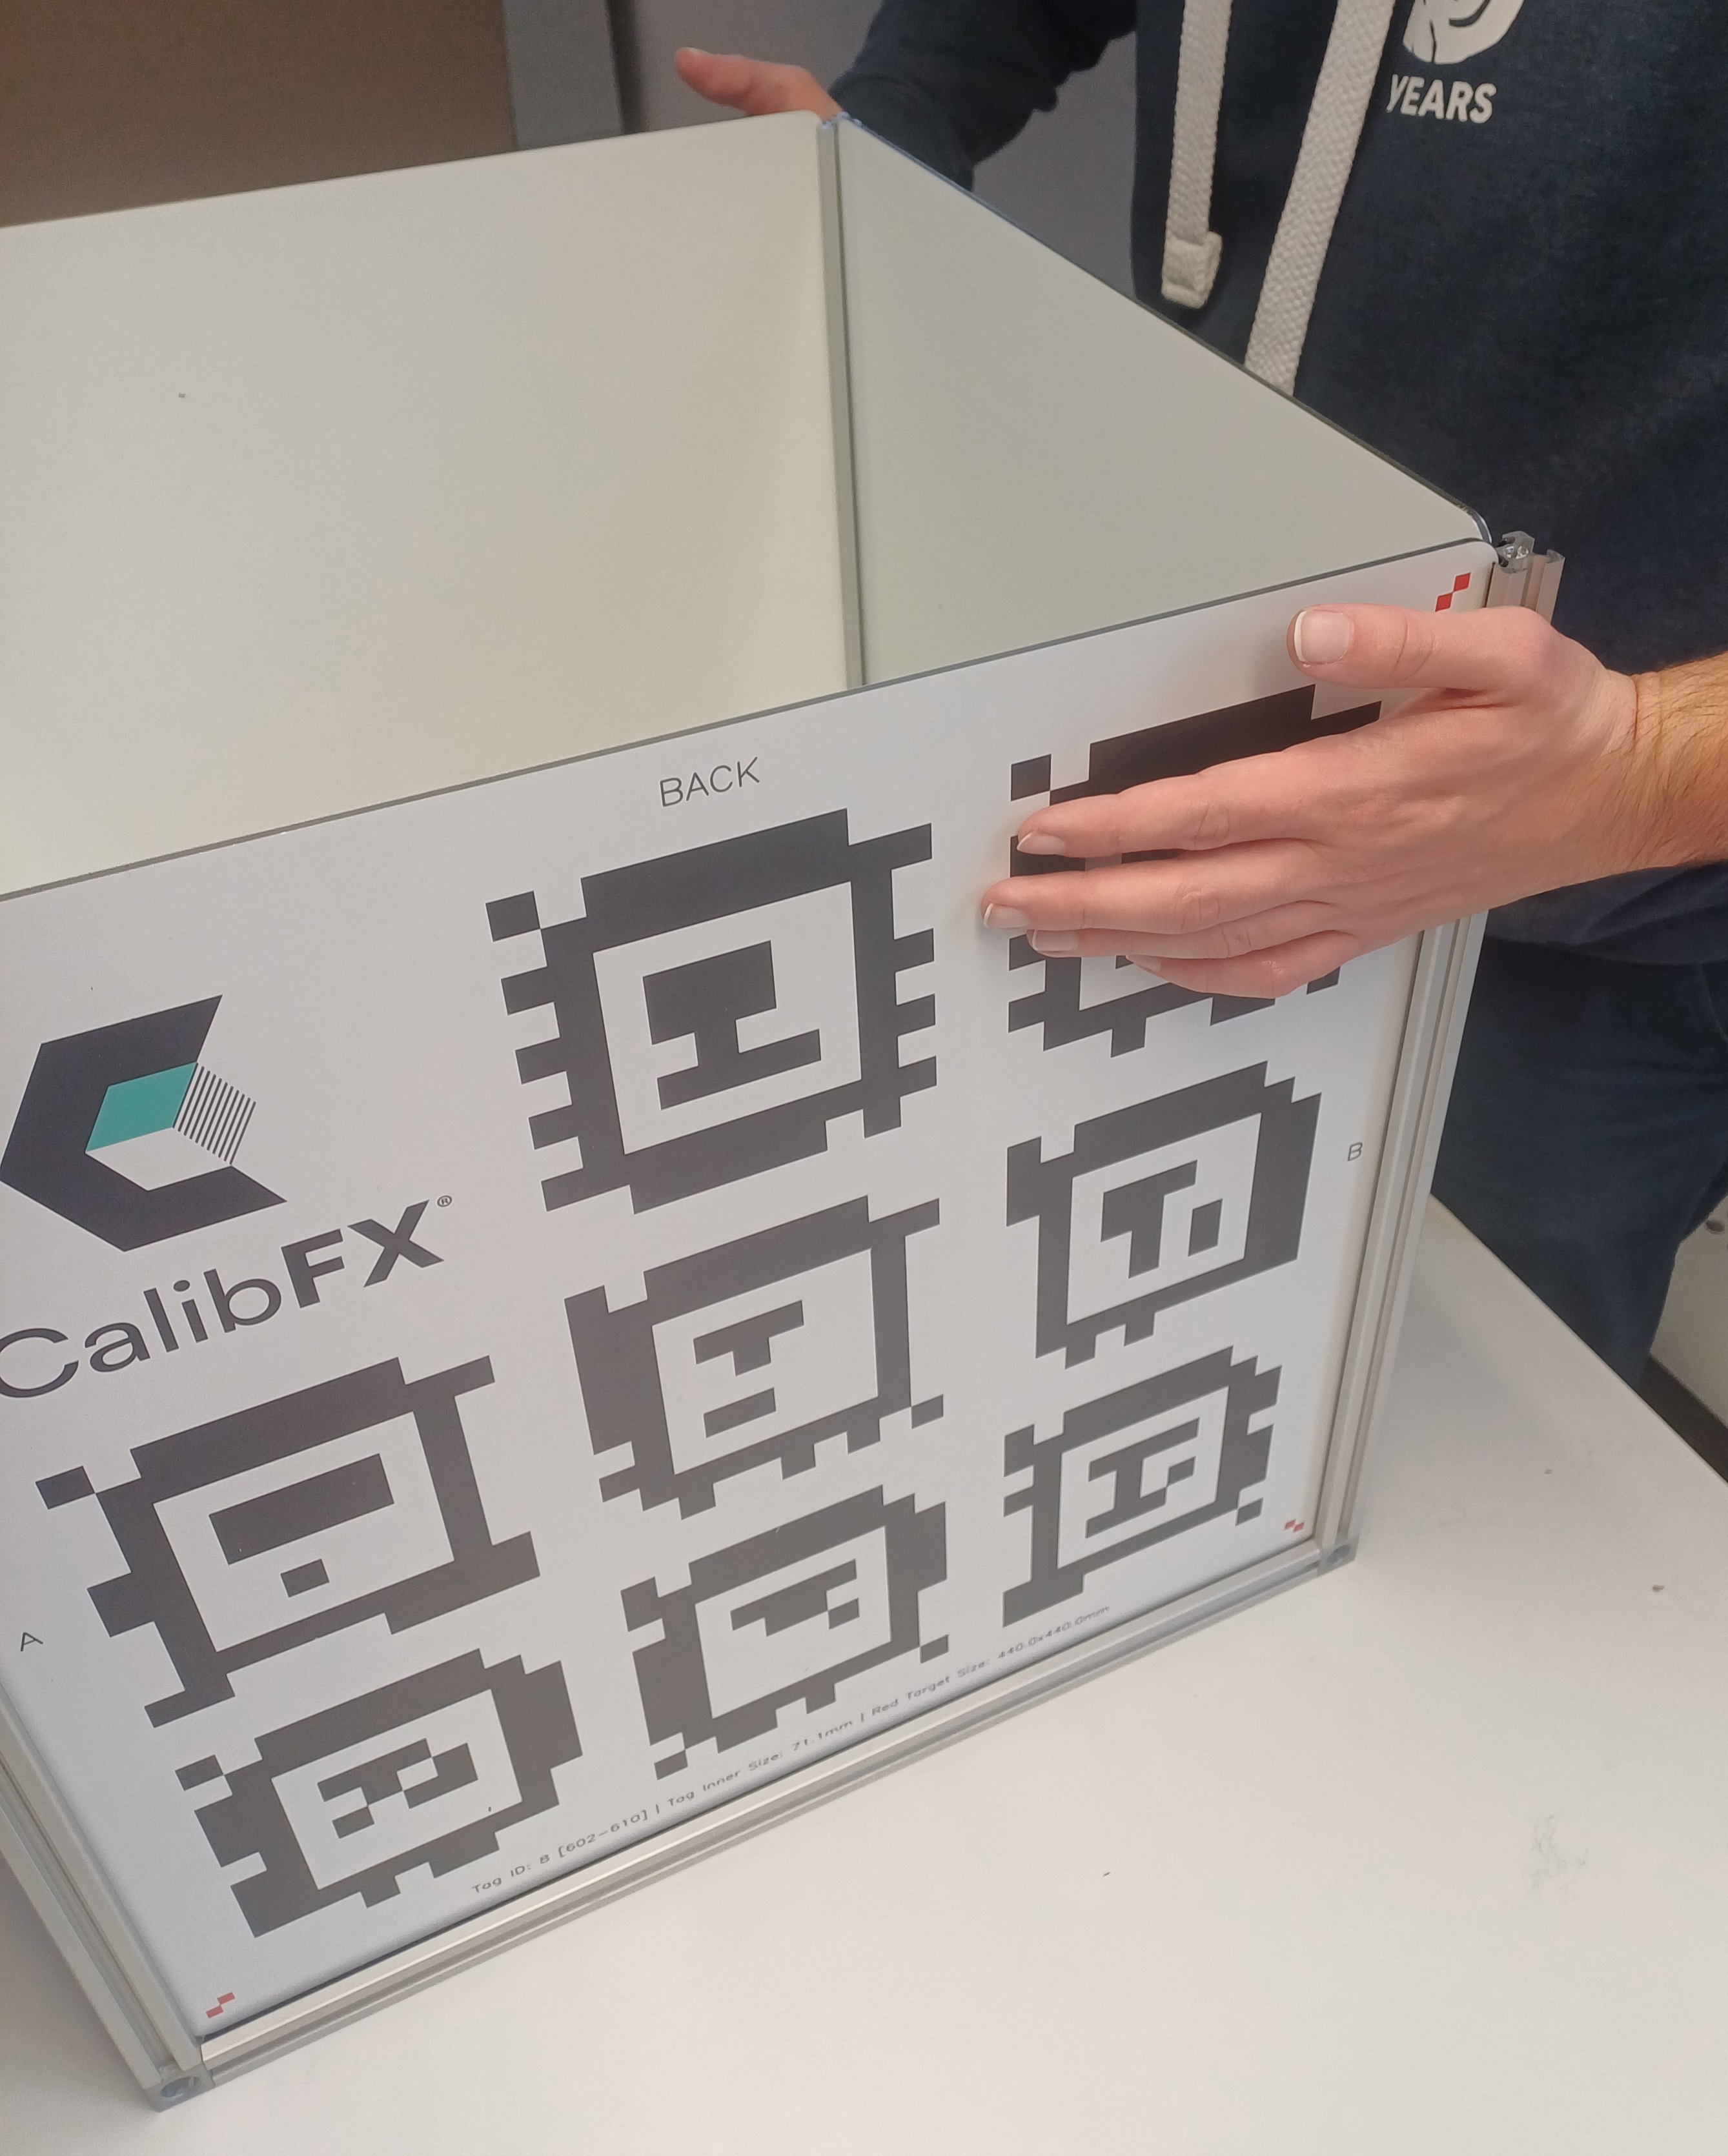
Push the panel downward until you hear the opposing join crack. Press the panel and the sides firmly to penetrate the joints fully.
Once all faces are set in, press the sides to ensure the side joints are broken in as well.
1.3. Top face attachment
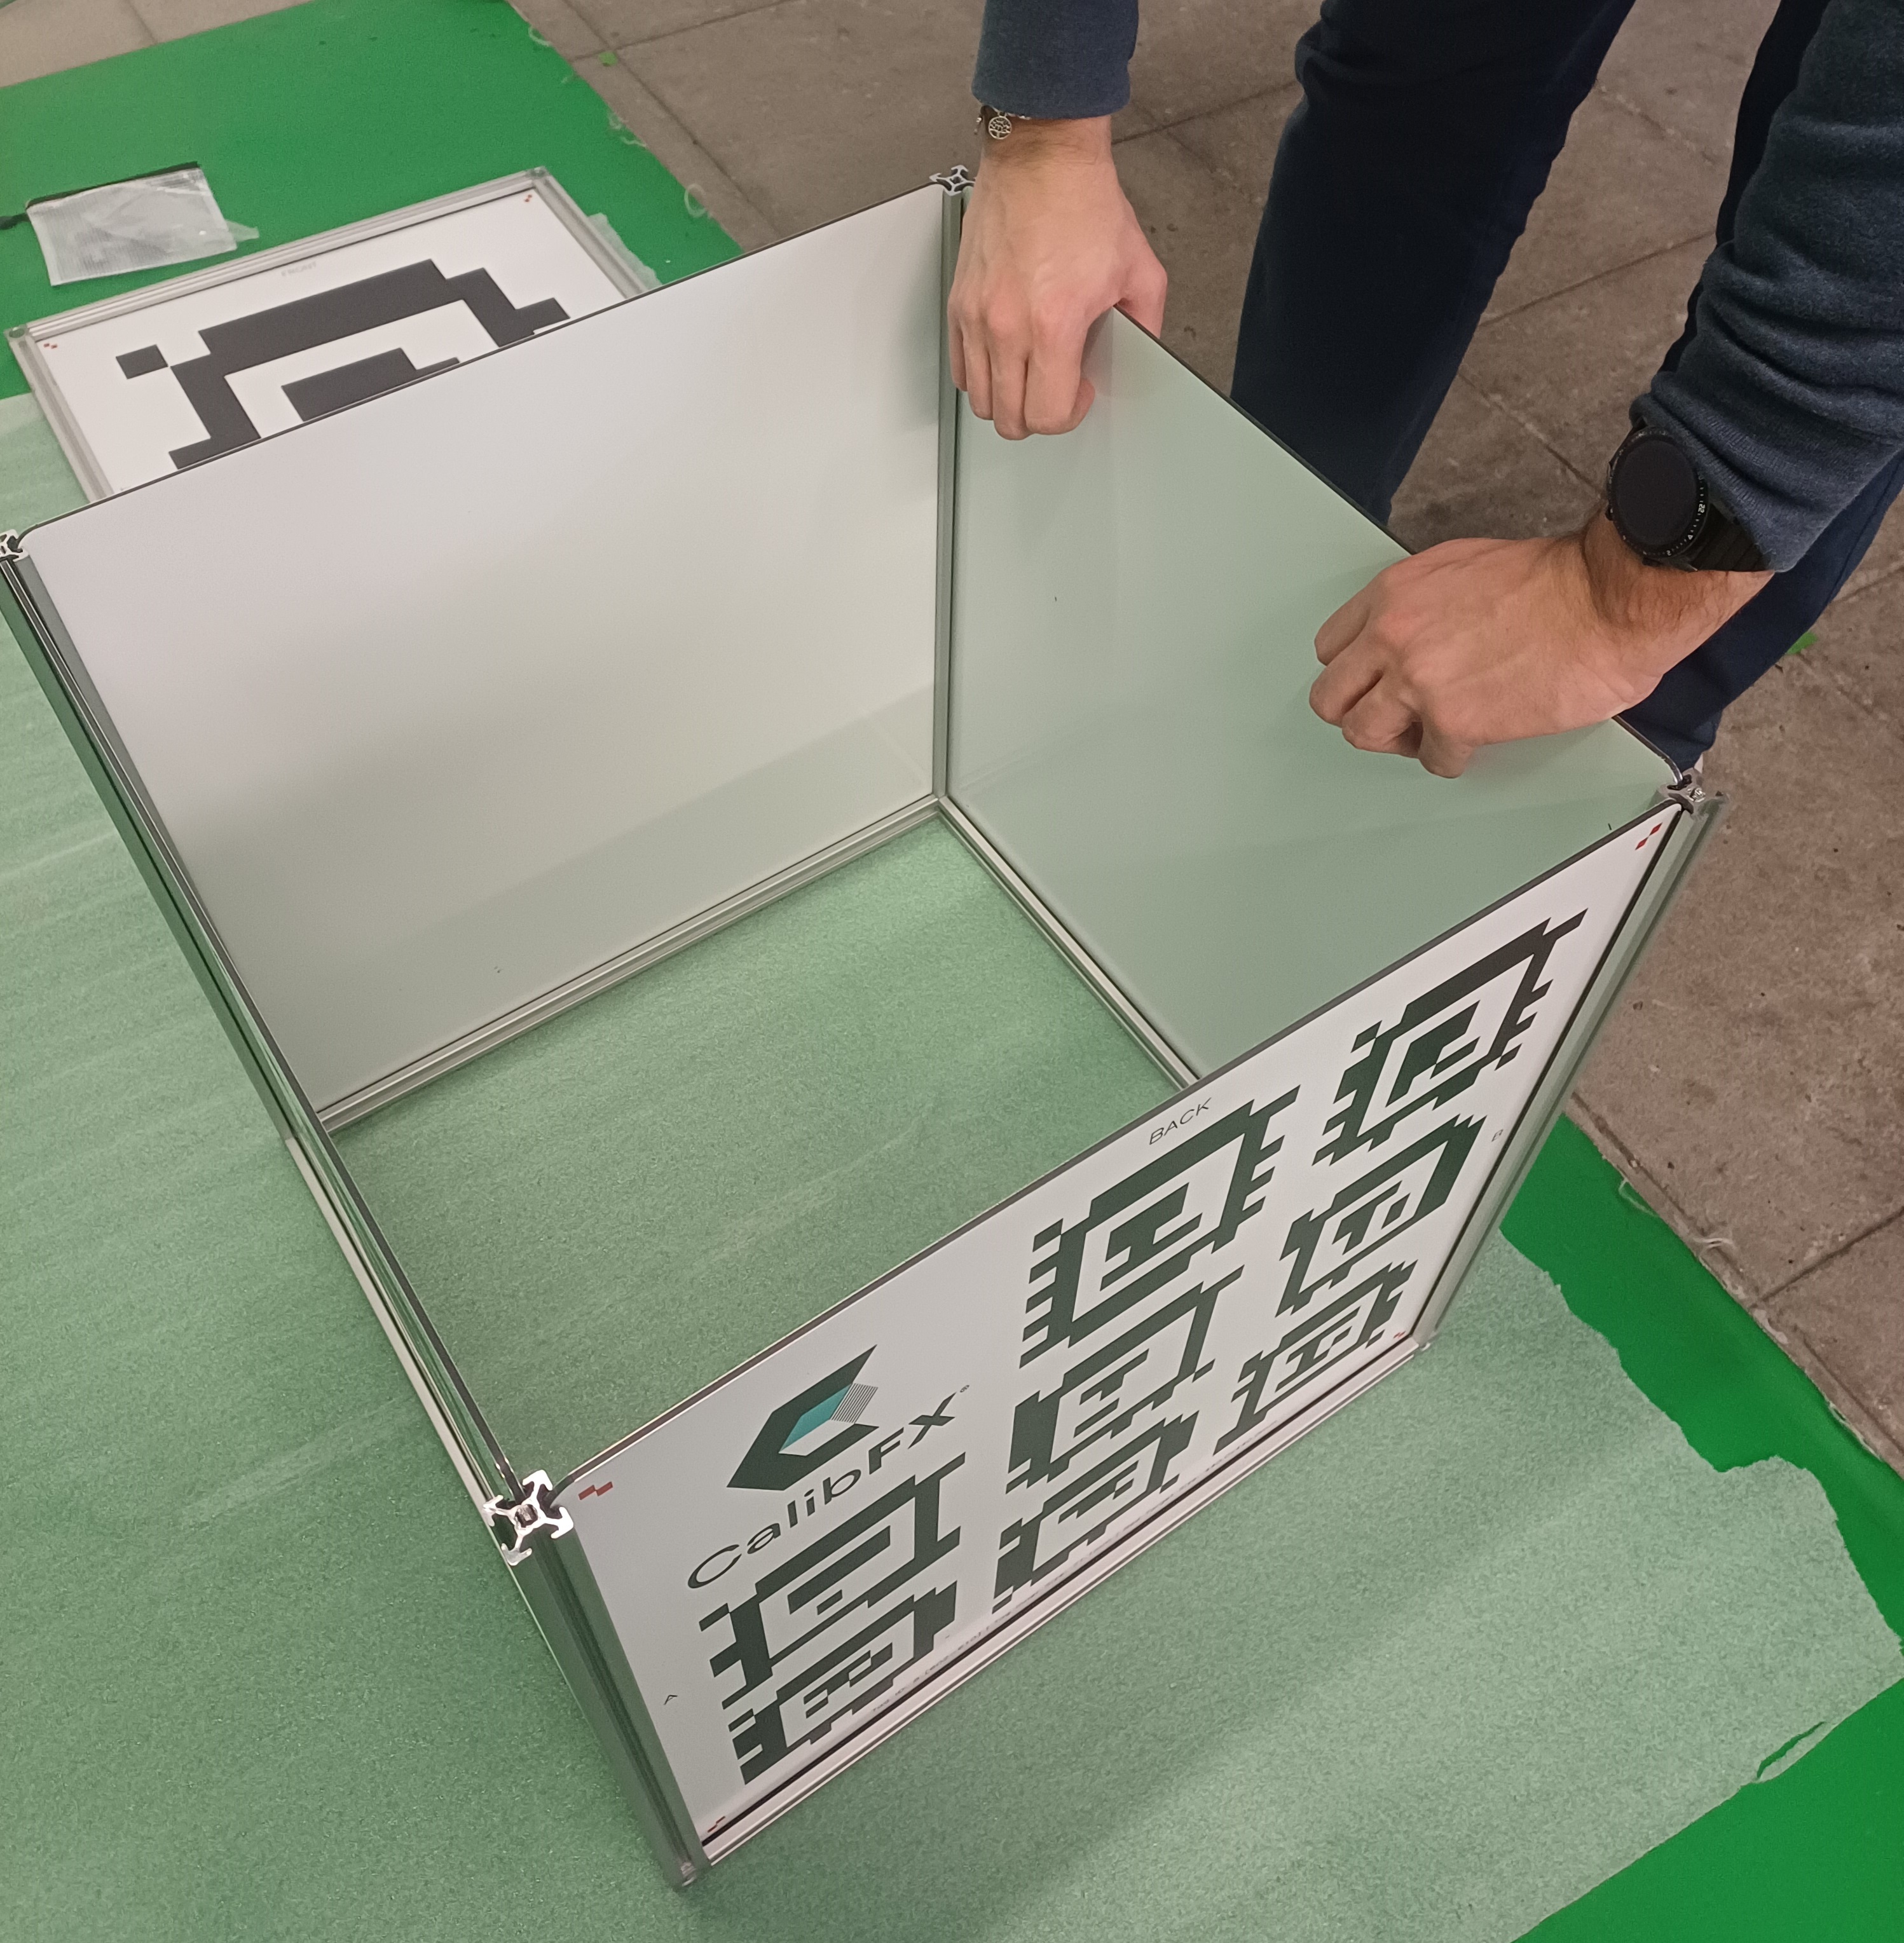
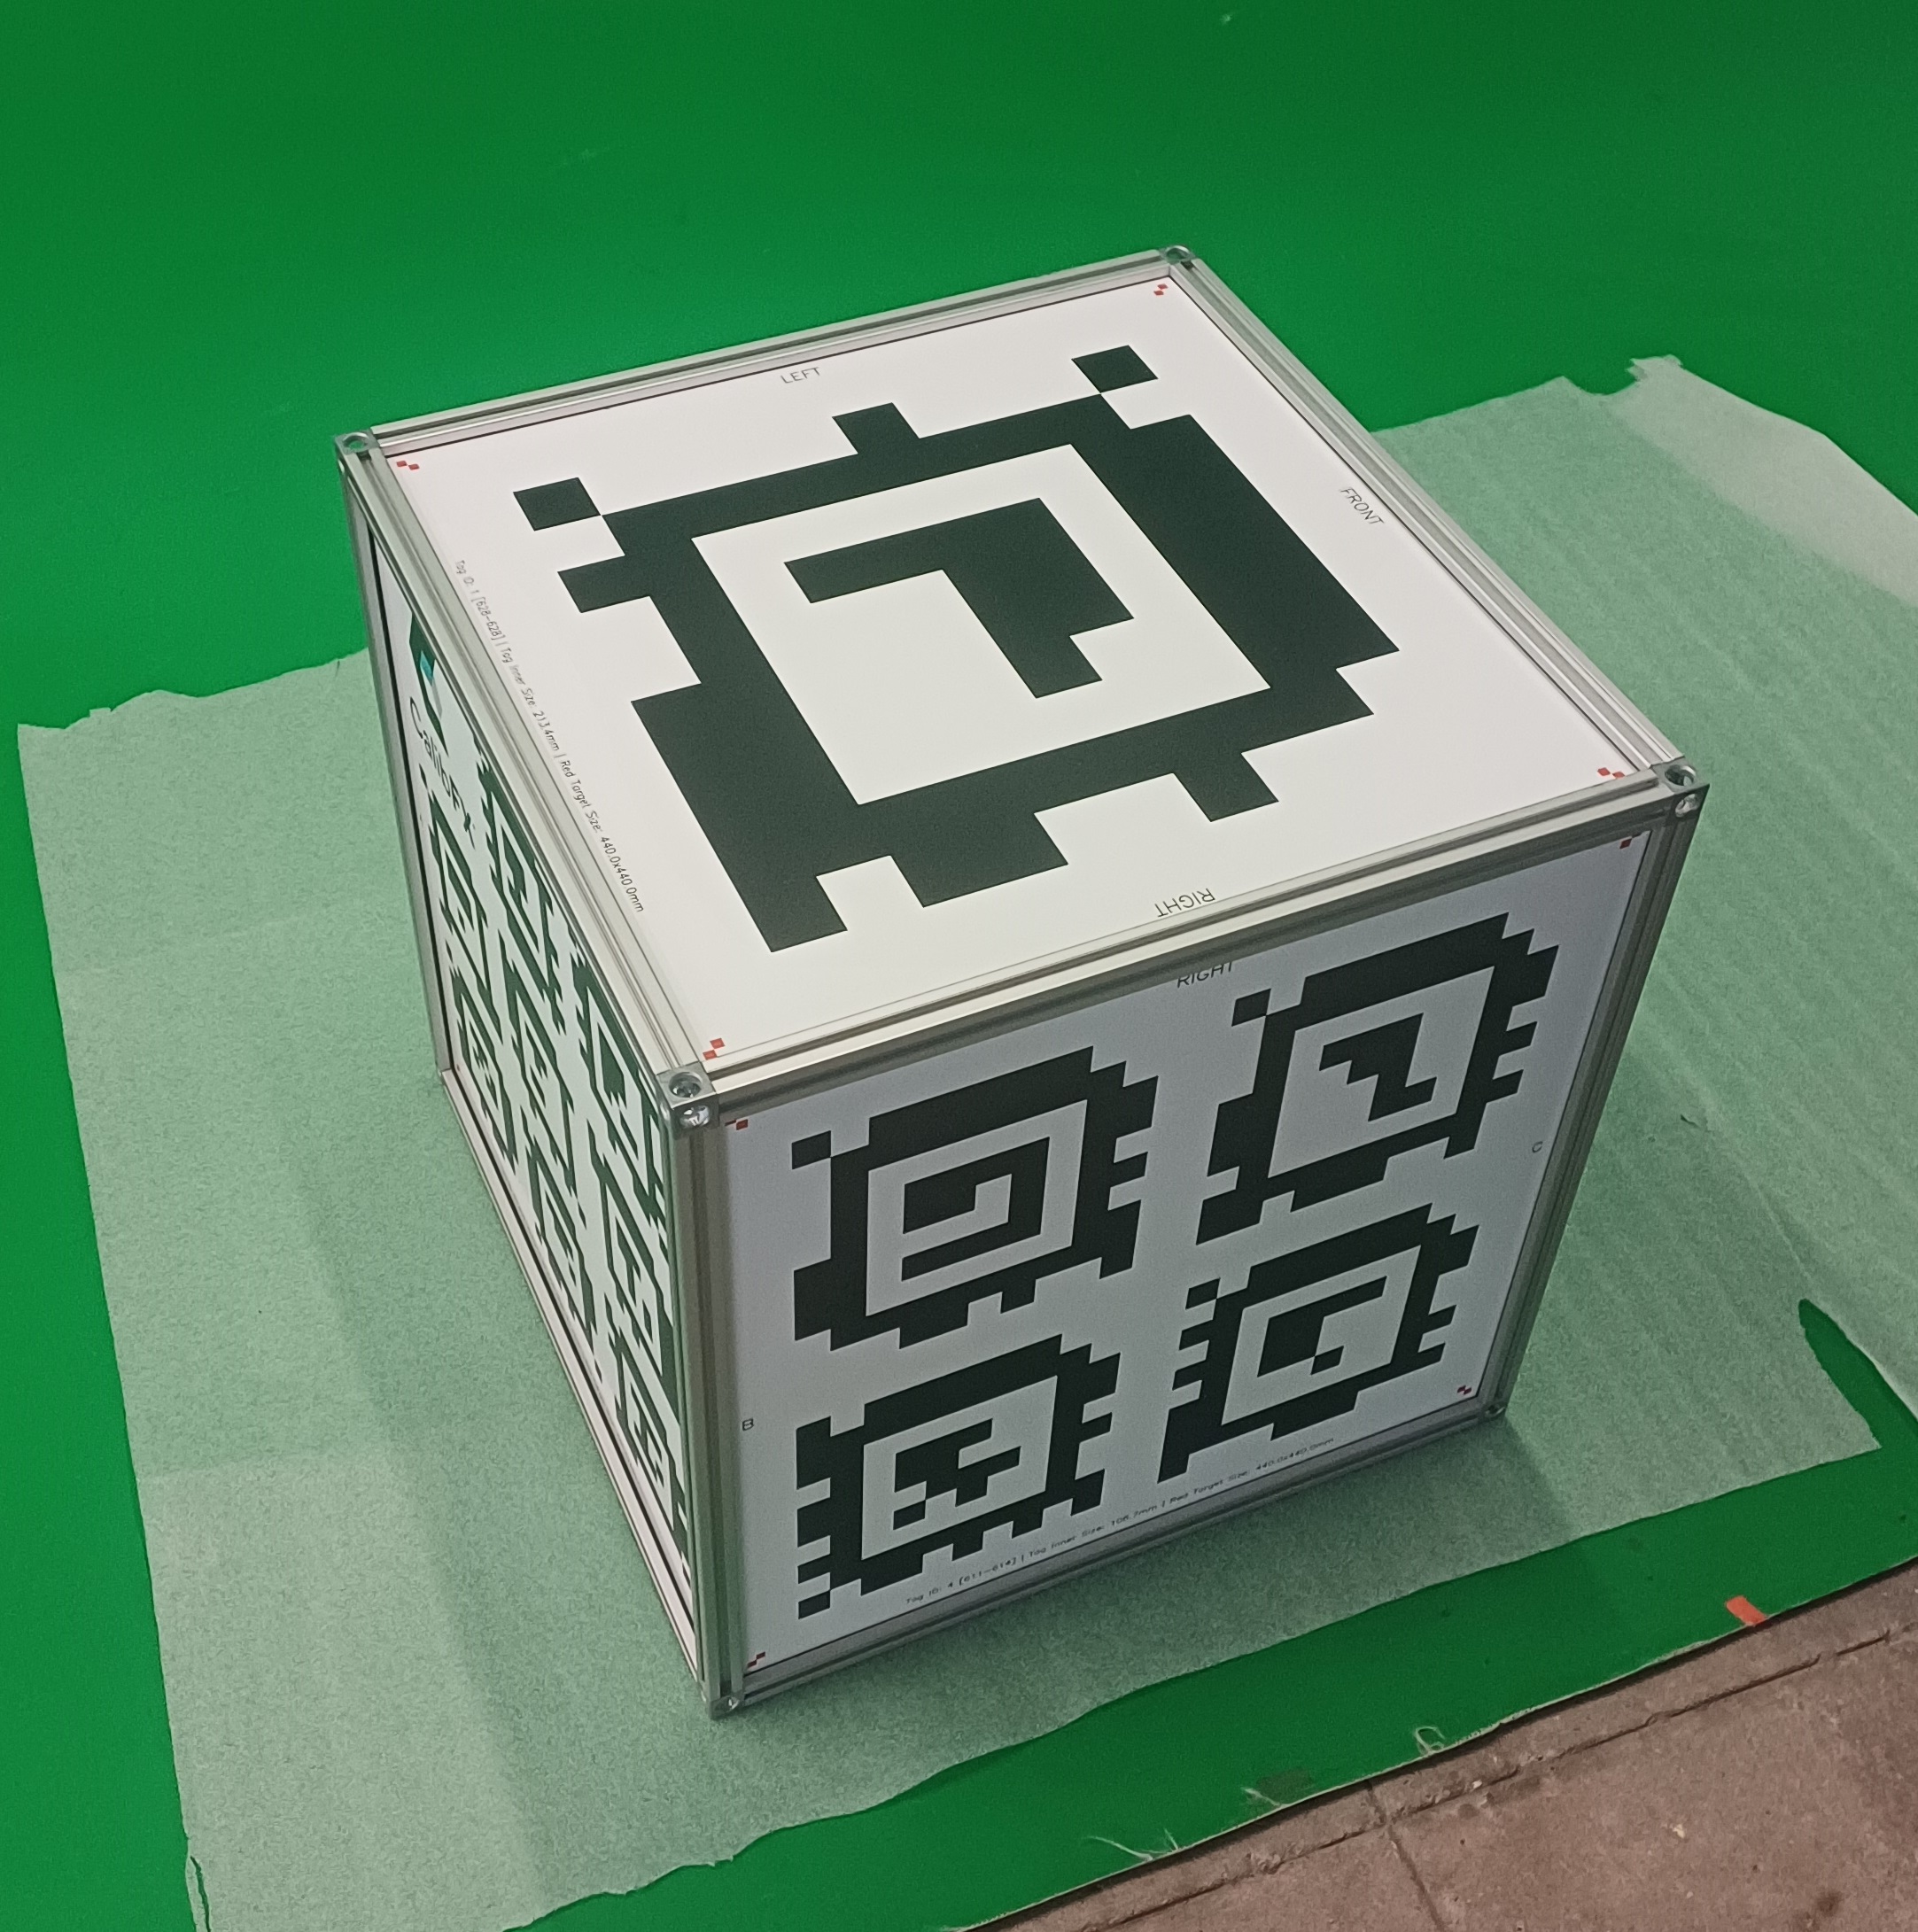
Lay the top face over the lower half of the cube:
Mind the orientation, again aligning the labels of each side:
Align the bumps on the corner of the top face with the exposed profiles on the lower frame.
Once the top face holds on its own thanks to the bumps, you can screw the connections together, first loosely all around, then come back to each and tighten firmly:
Even if the alignment was correct, fastening the others screws may have raised a corner upward. It will come down as its own screw is tightened, until it becomes flush with the lower half, like the others.
2. Disassembly
If you need to disassemble the cube for transport or storage, we recommend going back to the kit state, that is just removing the 4 profiles that join the top and bottom faces.
Going further will make reassembly take much longer for a minimal gain of space.
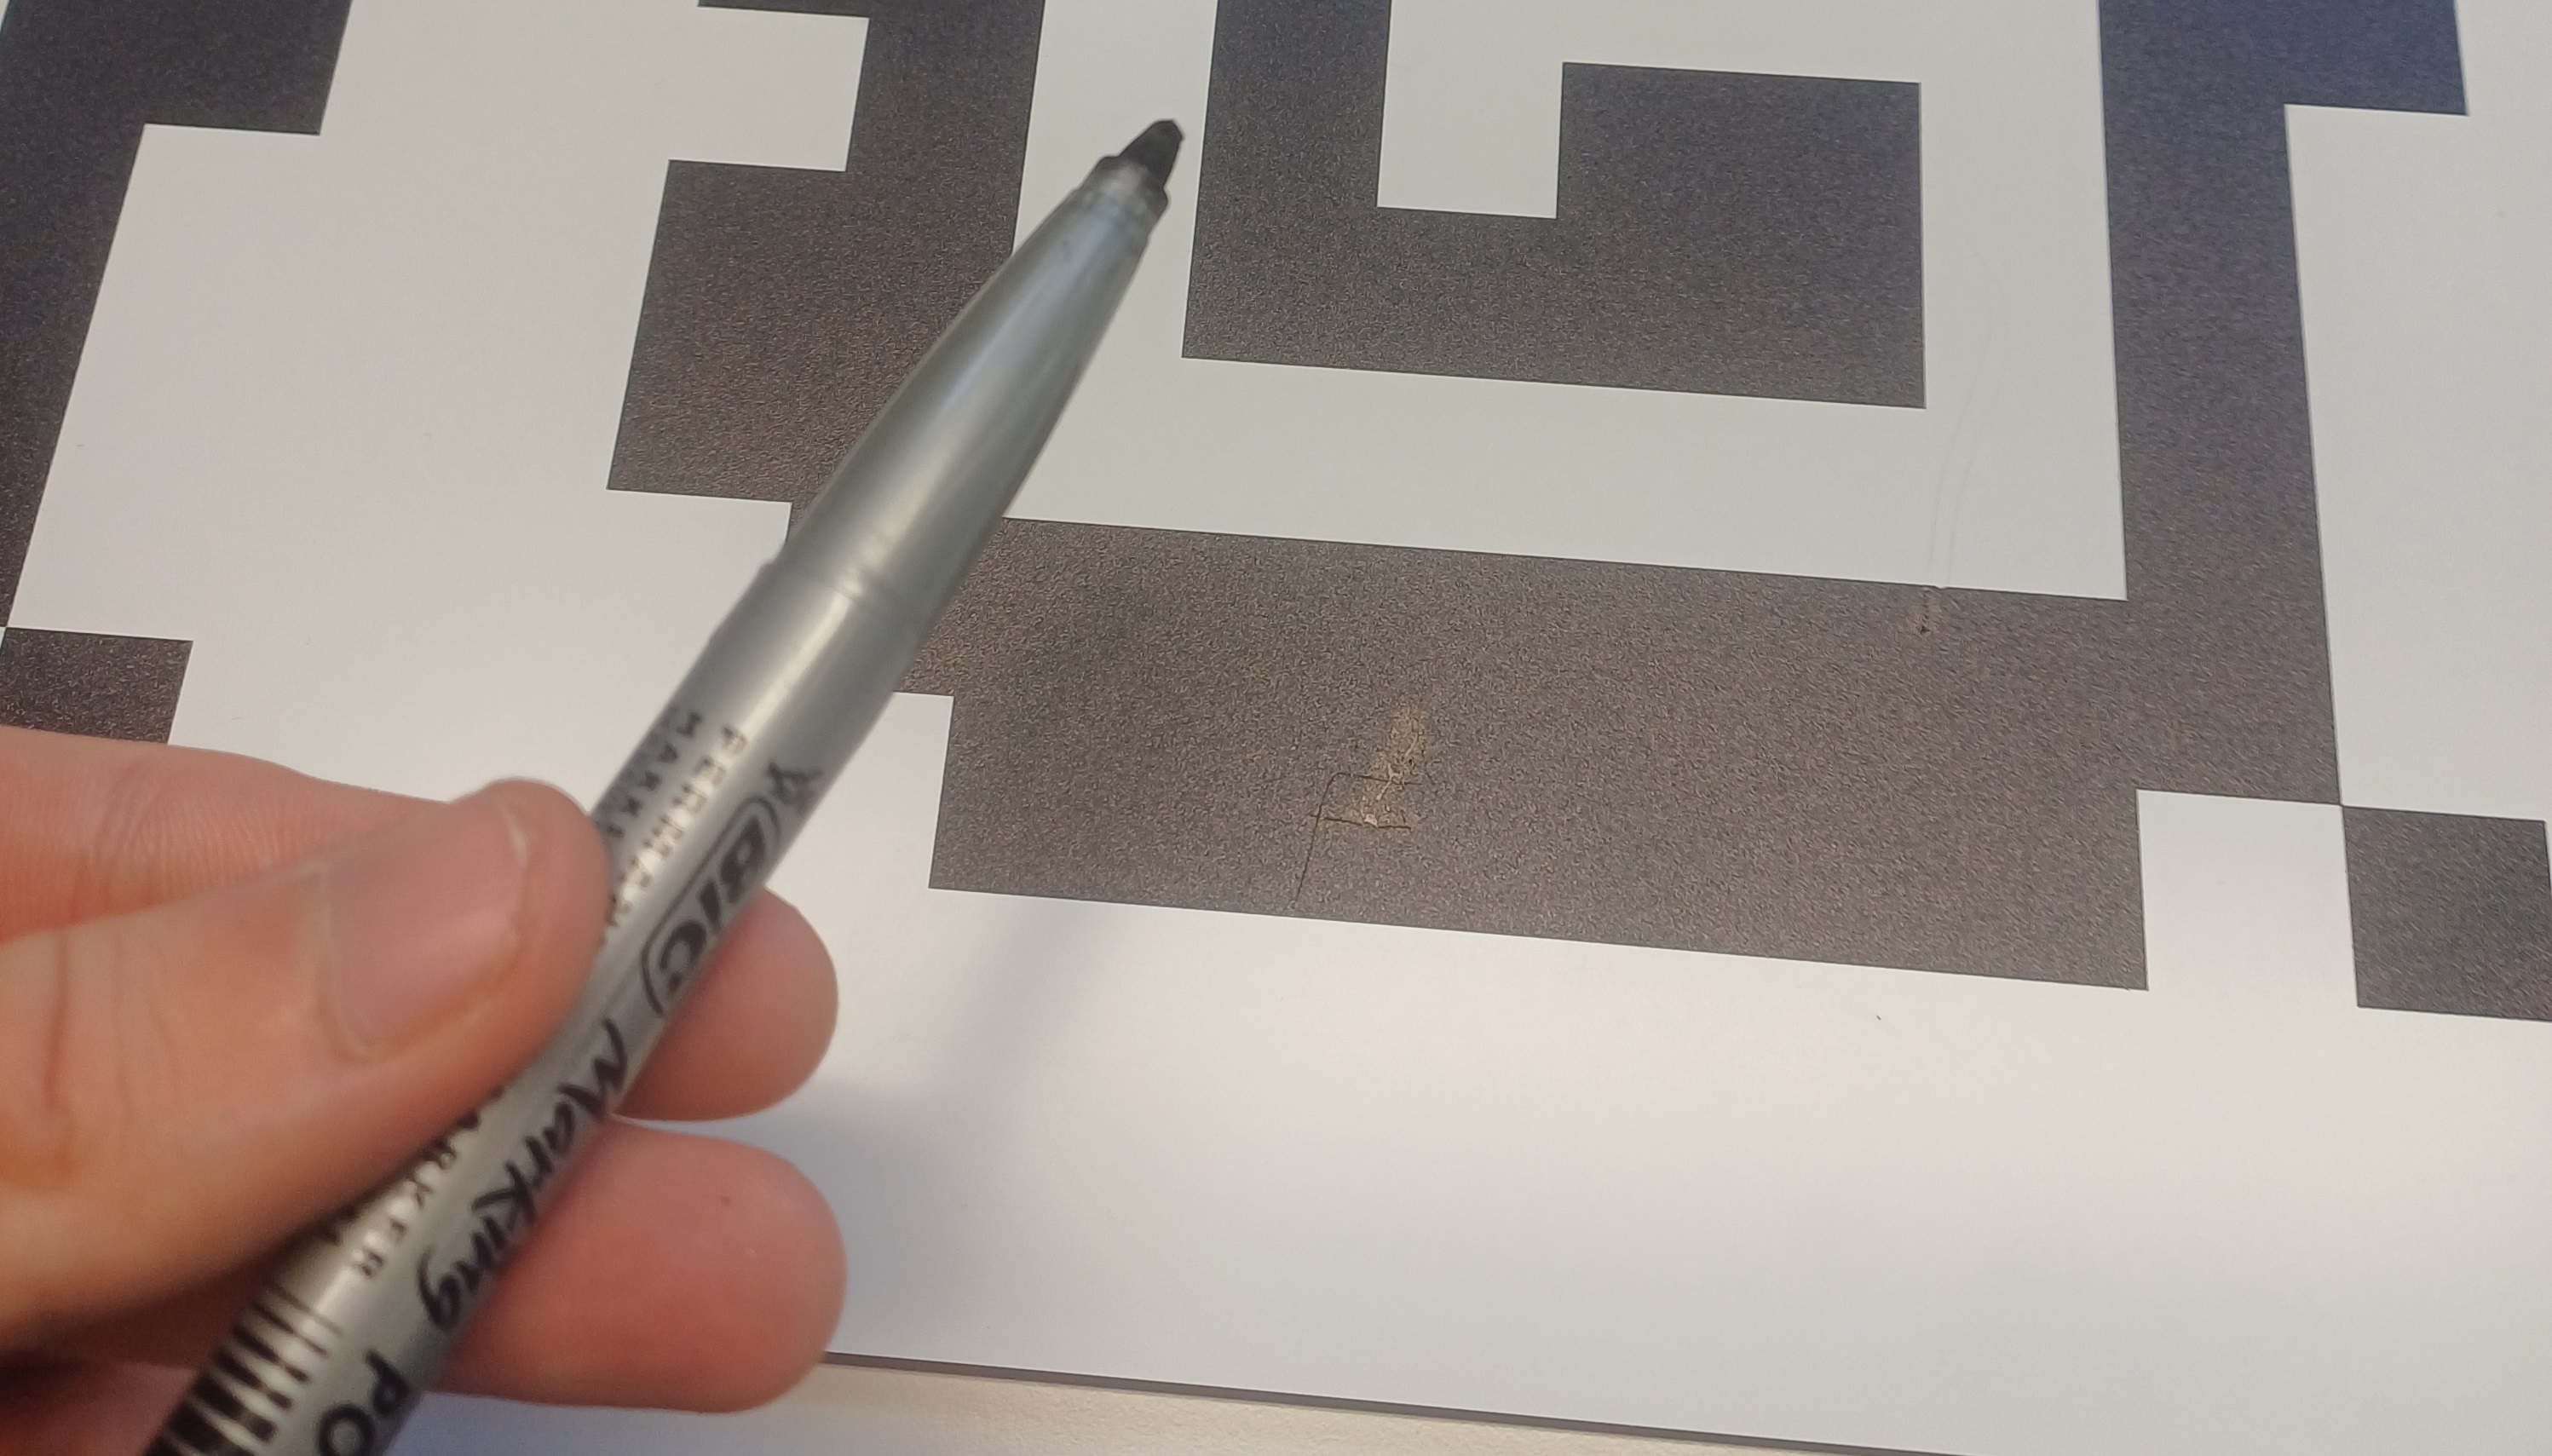
3. Repair
It can happen that a face is scratched, which can hinder tag detection if there are too many large scratches.
In this case, painting over the scratch with a black marker will fully restore its functionality.