Line-Up Workflow
1. Prepare Data Receiving
Before starting a calibration, it is mandatory to setup data receiving.
The button to take pictures will be greyed out until this preparatory step is complete.
2. Take Pictures
When everything is set to start the calibration, the "Take Picture" button will unlock itself:
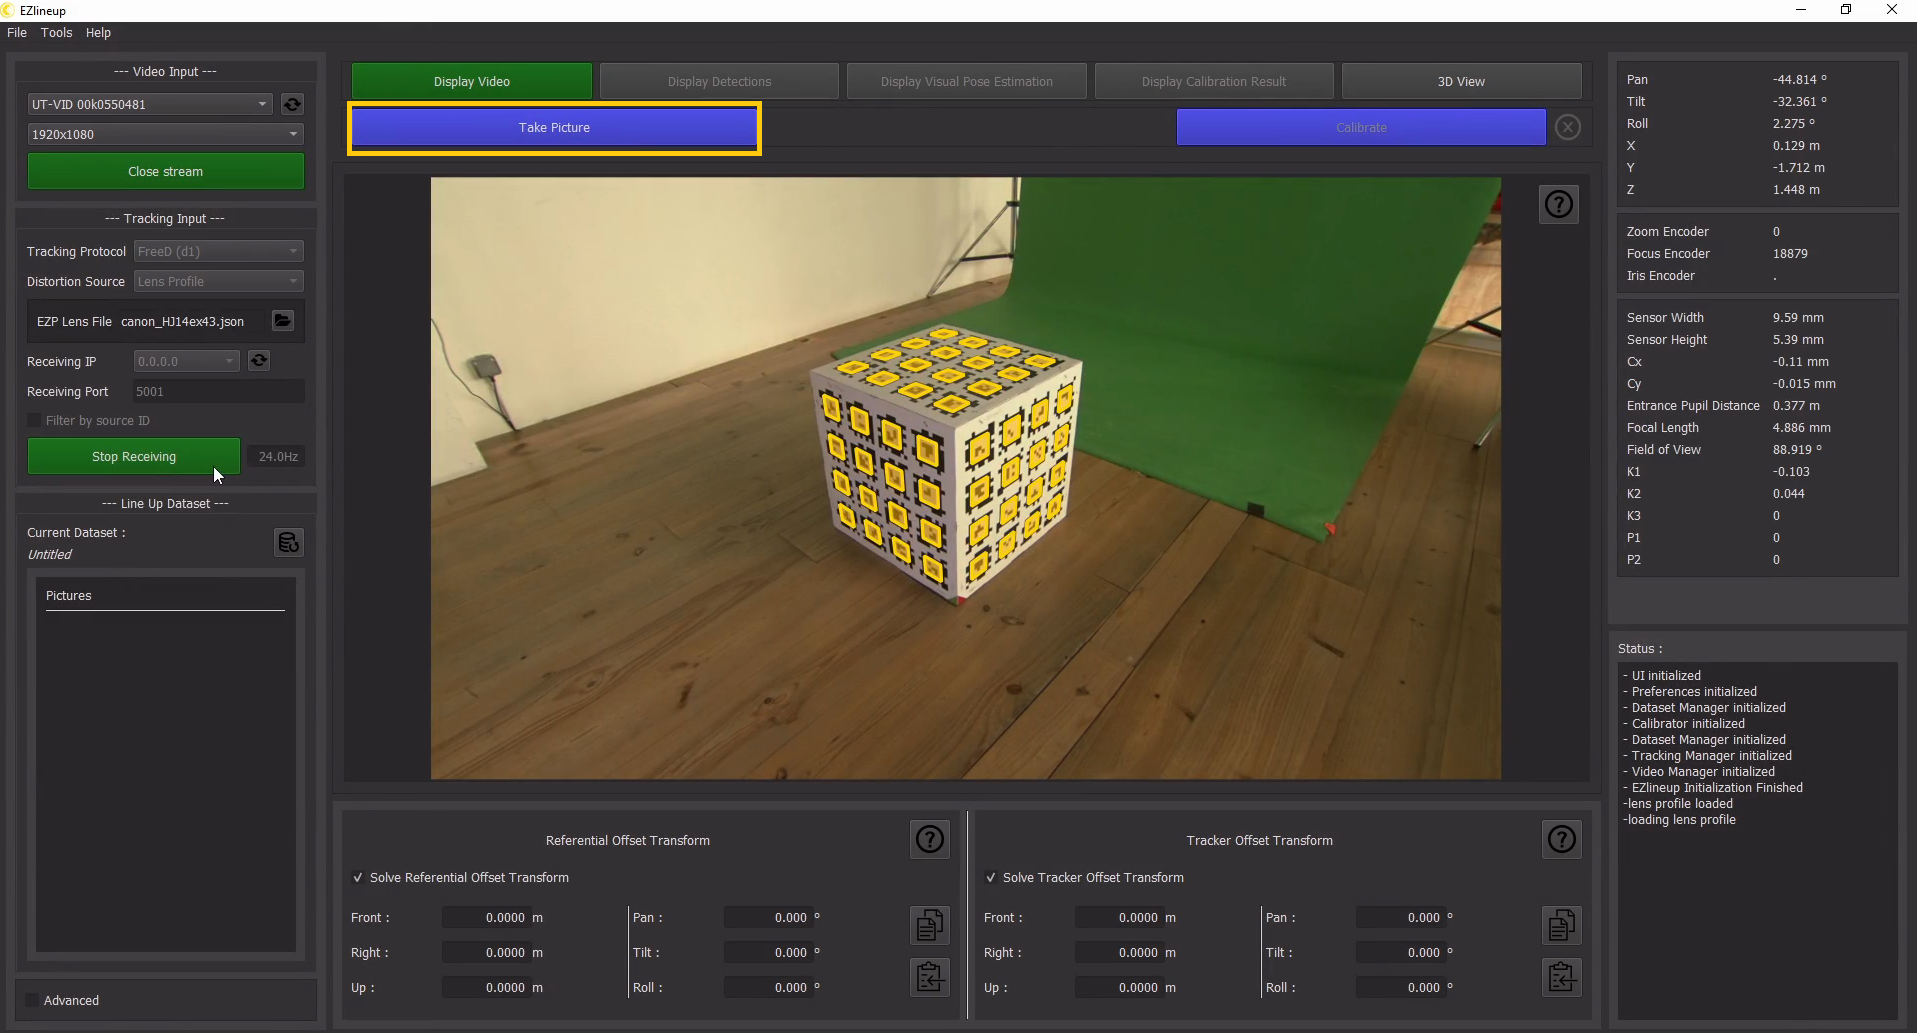
This means you are ready to take calibration pictures of the cube.
Note
The following process gives a robust and fast way to proceed, but once the tracking and video are set, you can go whereever you please with the camera to take pictures of the cube, as long as the camera is completely static at the moment the picture is taken.
2.1. Pictures for the current position
For this step the camera should be static, for example on a tripod.
Go to each of these 6 positions using Pan and Tilt:
For each position, lock the camera and then take a picture.
Tip
To take a picture, it is also possible to use a remote instead of the "Take Picture" the button.
2.2. Move the camera to a new position
Danger
only do this step if your tracking system allows you to move the camera. If you are using an encoded Pan-Tilt head or a PTZ without a slider, stop here after the first 6 pictures.
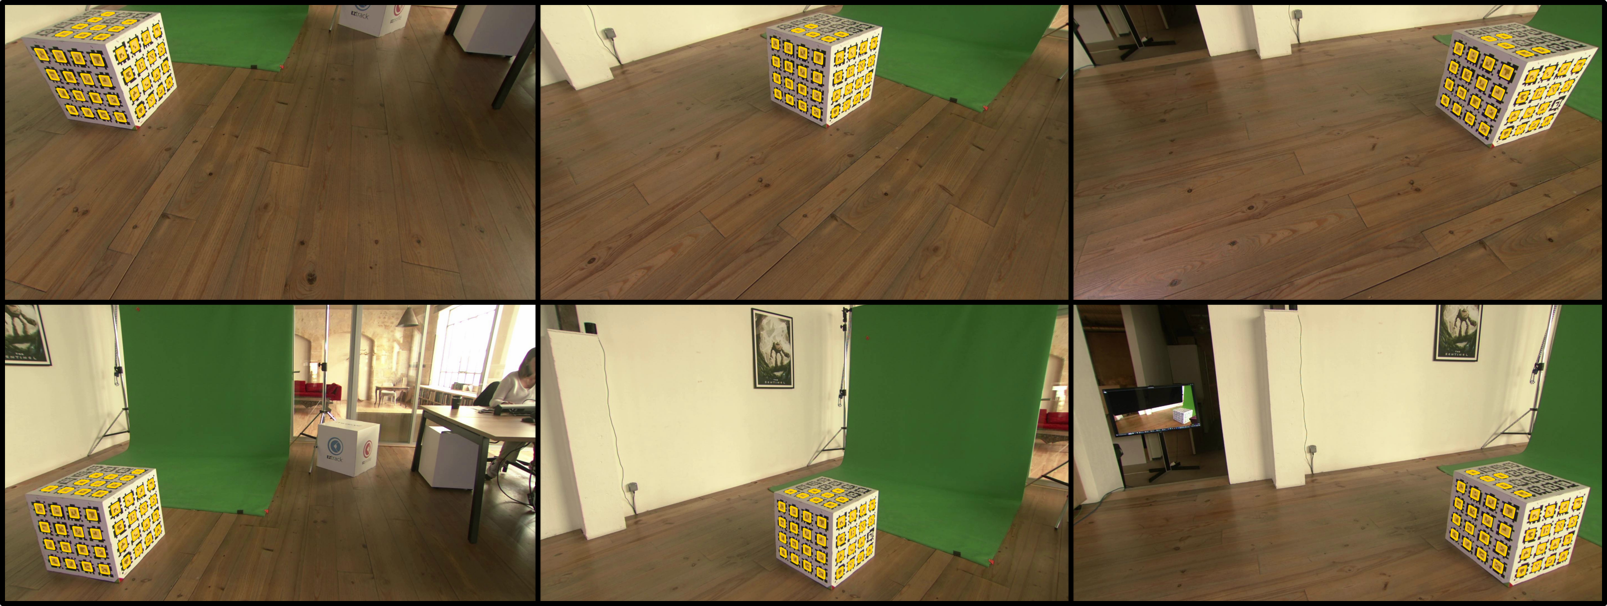
Move the camera to another position in the tracked area and repeat step 2.1.
The idea is to roughly cover the tracking area.
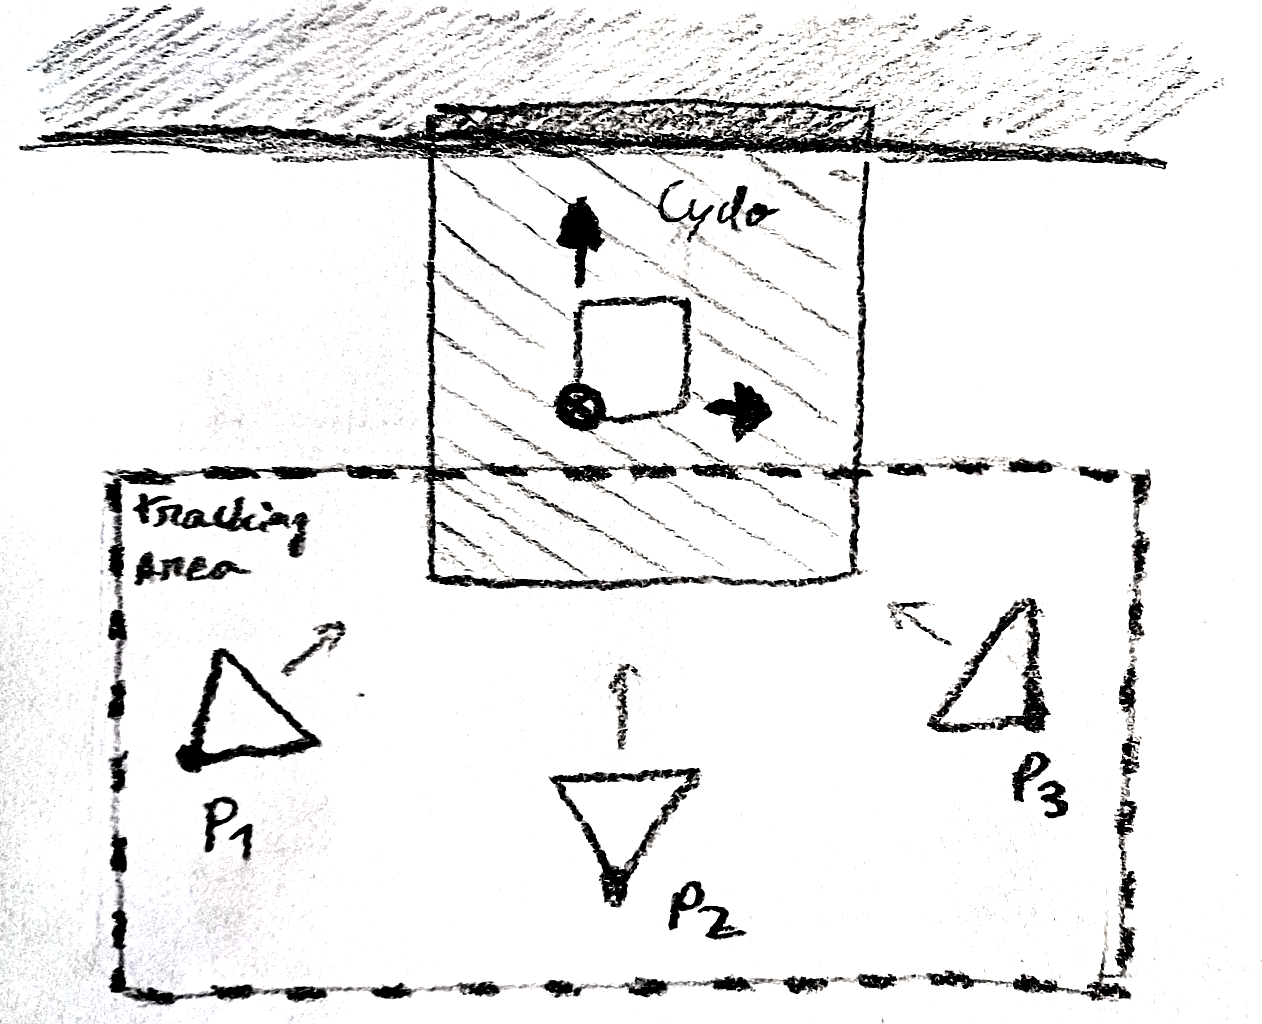
Example
Imagine you have a cyclorama against a wall. The camera will be able to move mostly left and right toward the wall.
In this case, three positions would be enough. They are placed near the main angles the camera will have to cover during production:
3. Calibrate
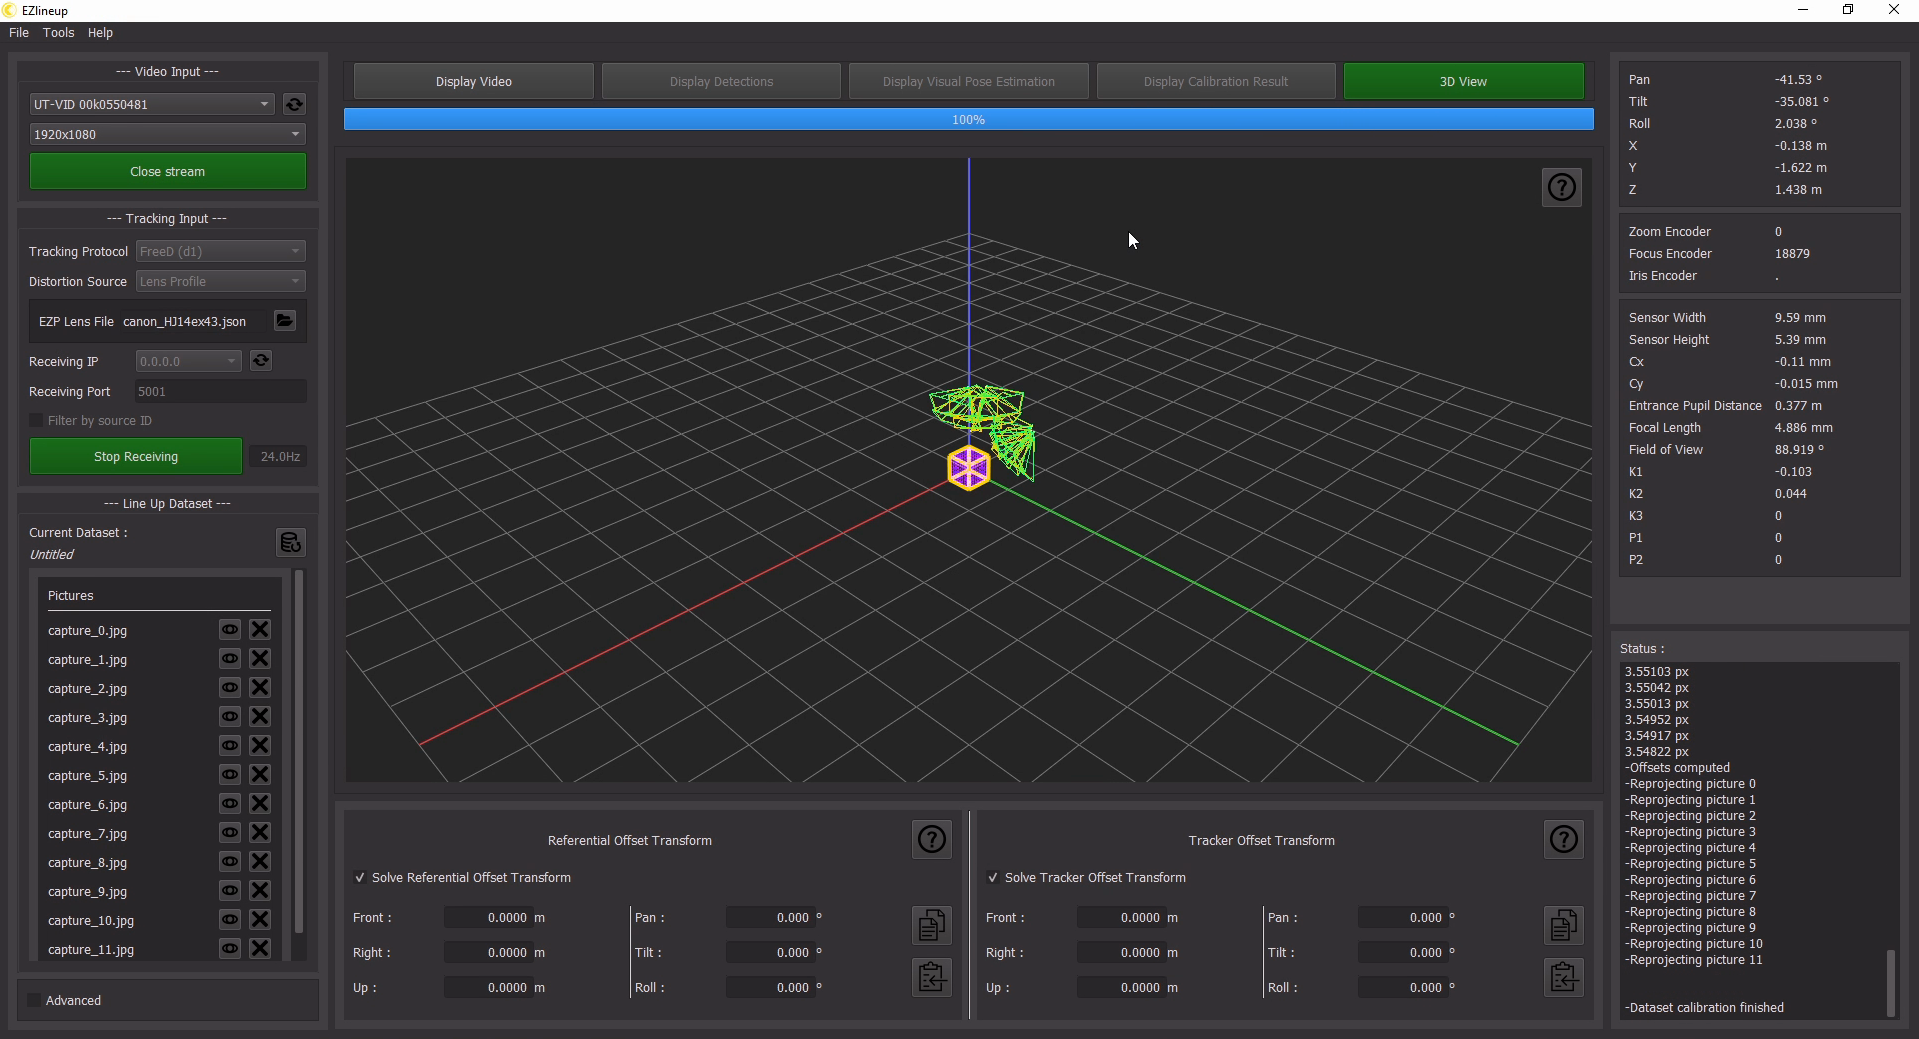
Once you have done enough pictures, press the "Calibrate" button:

A progress bar will appear at the top and the viewport will switch to a 3D scene where cameras positions are added one by one:
Note
You can still go back after calibration and add new pictures to the dataset by clicking on "Display Video".
4. Result
4.1. Offset Transforms
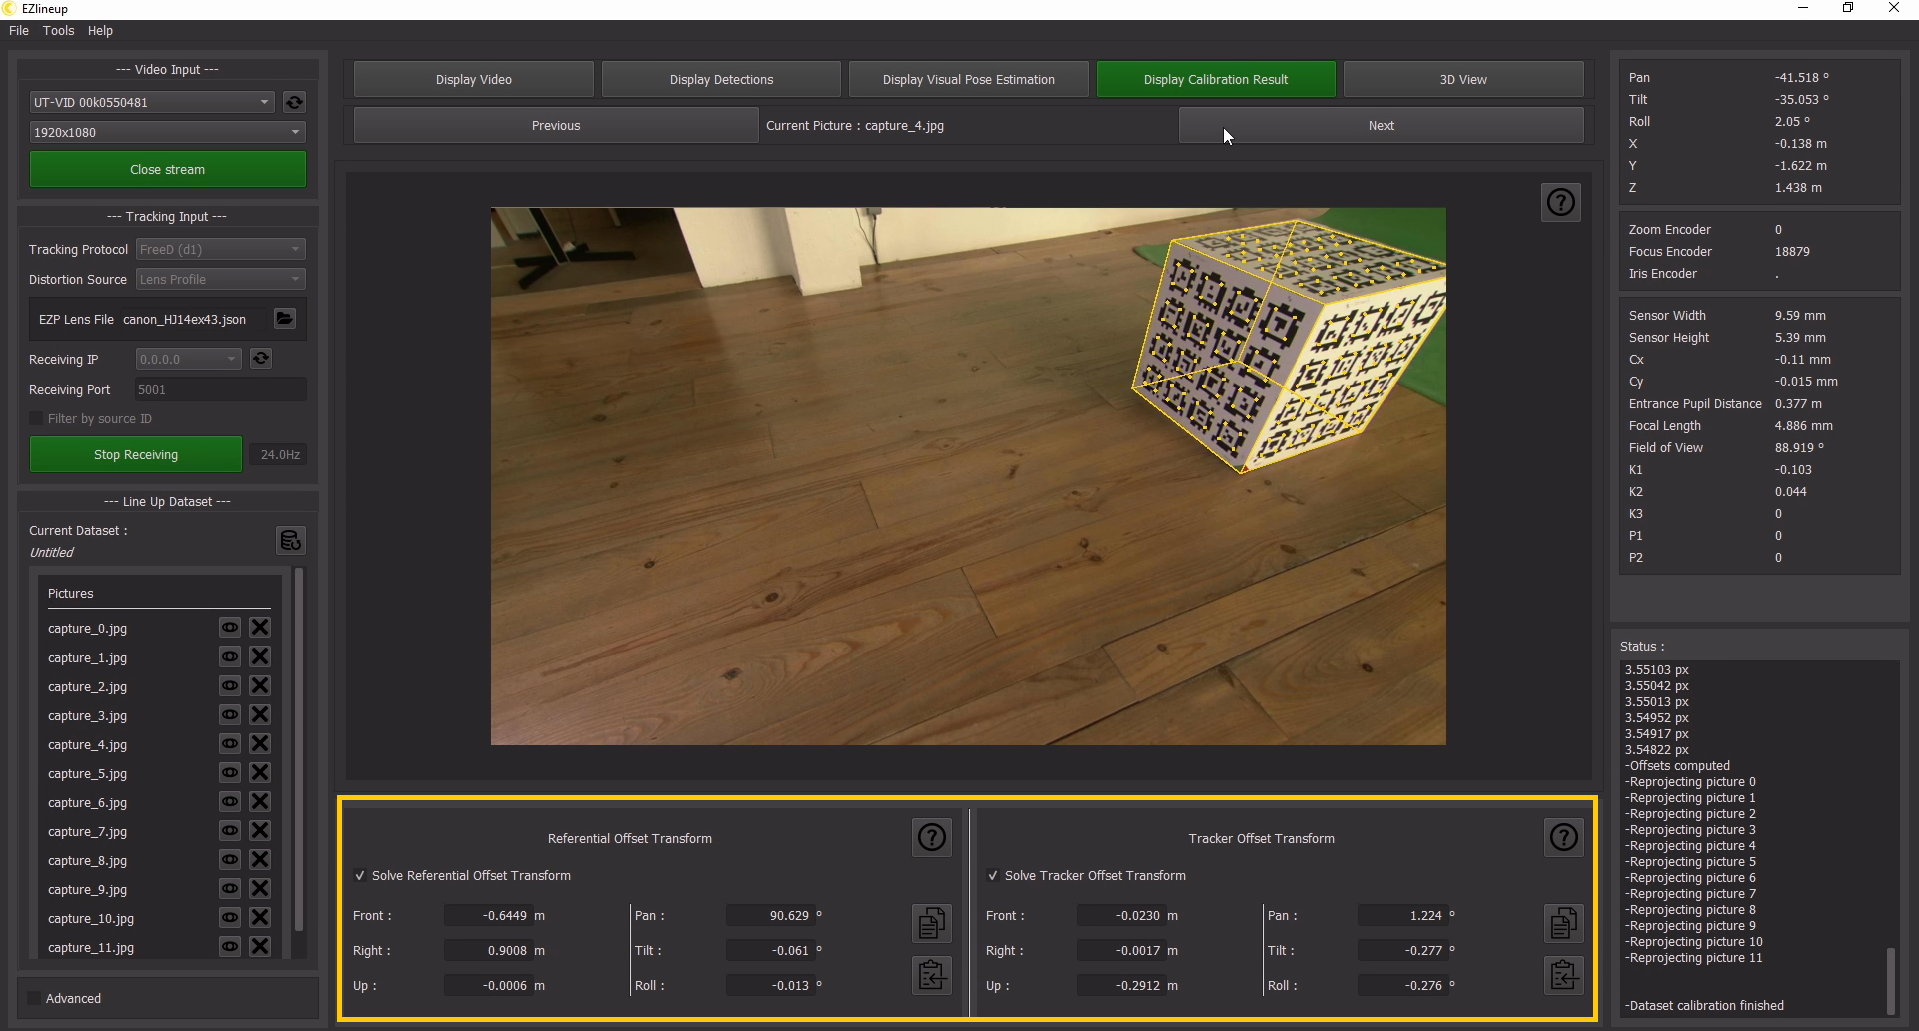
These values are the result of the calibration:
- The Referential Offset Transform gives the transform to apply to go from the studio referential to the tracking referential.
- The Tracker Offset Transform gives the transform to apply to go from the tracker to the camera sensor.
If you are using EZtrack, you can quickly copy and paste the transforms into the web-app.
4.2. Verify the result
The viewport displays each picture with a reprojection of the cube:
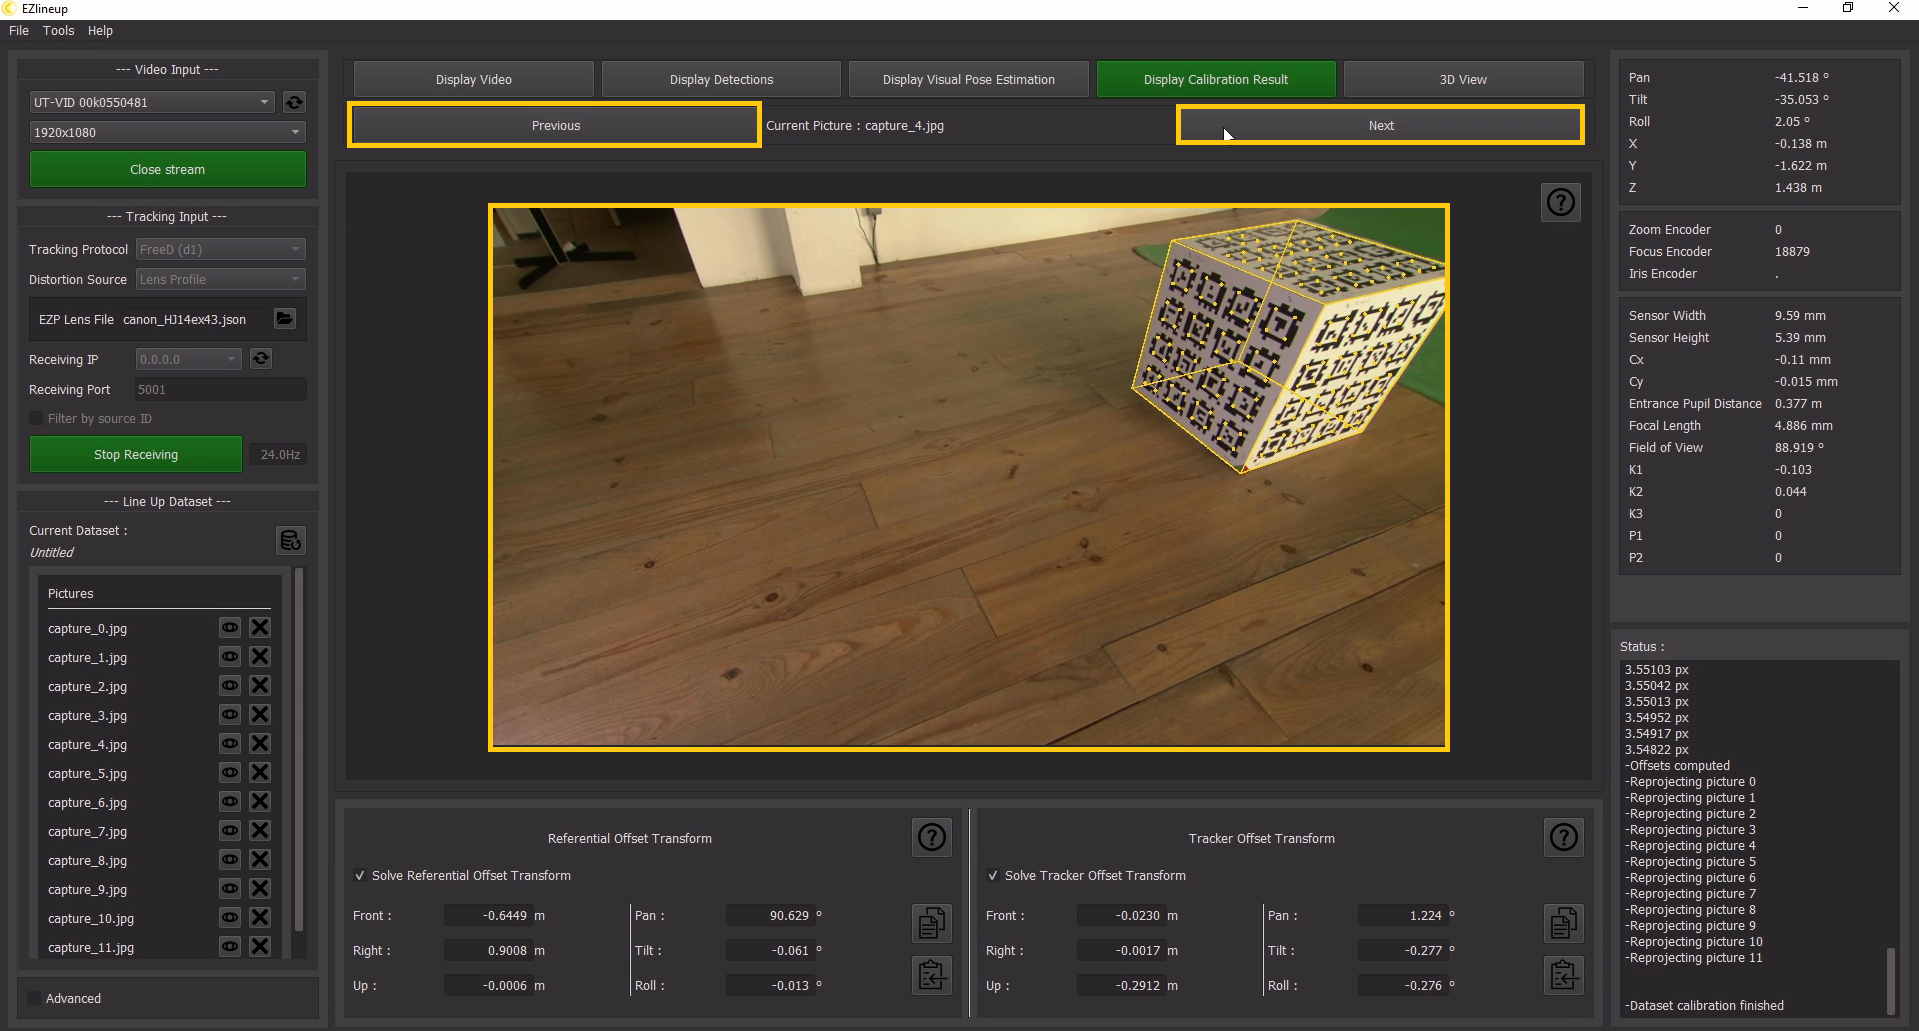
You can assess the quality of the alignment by sifting through the pictures using the "Previous" and "Next" buttons.
Detailed Page on Troubleshooting
You may also want to save the dataset, otherwise it will be overwritten when you do another calibration.