Prepare Received Data
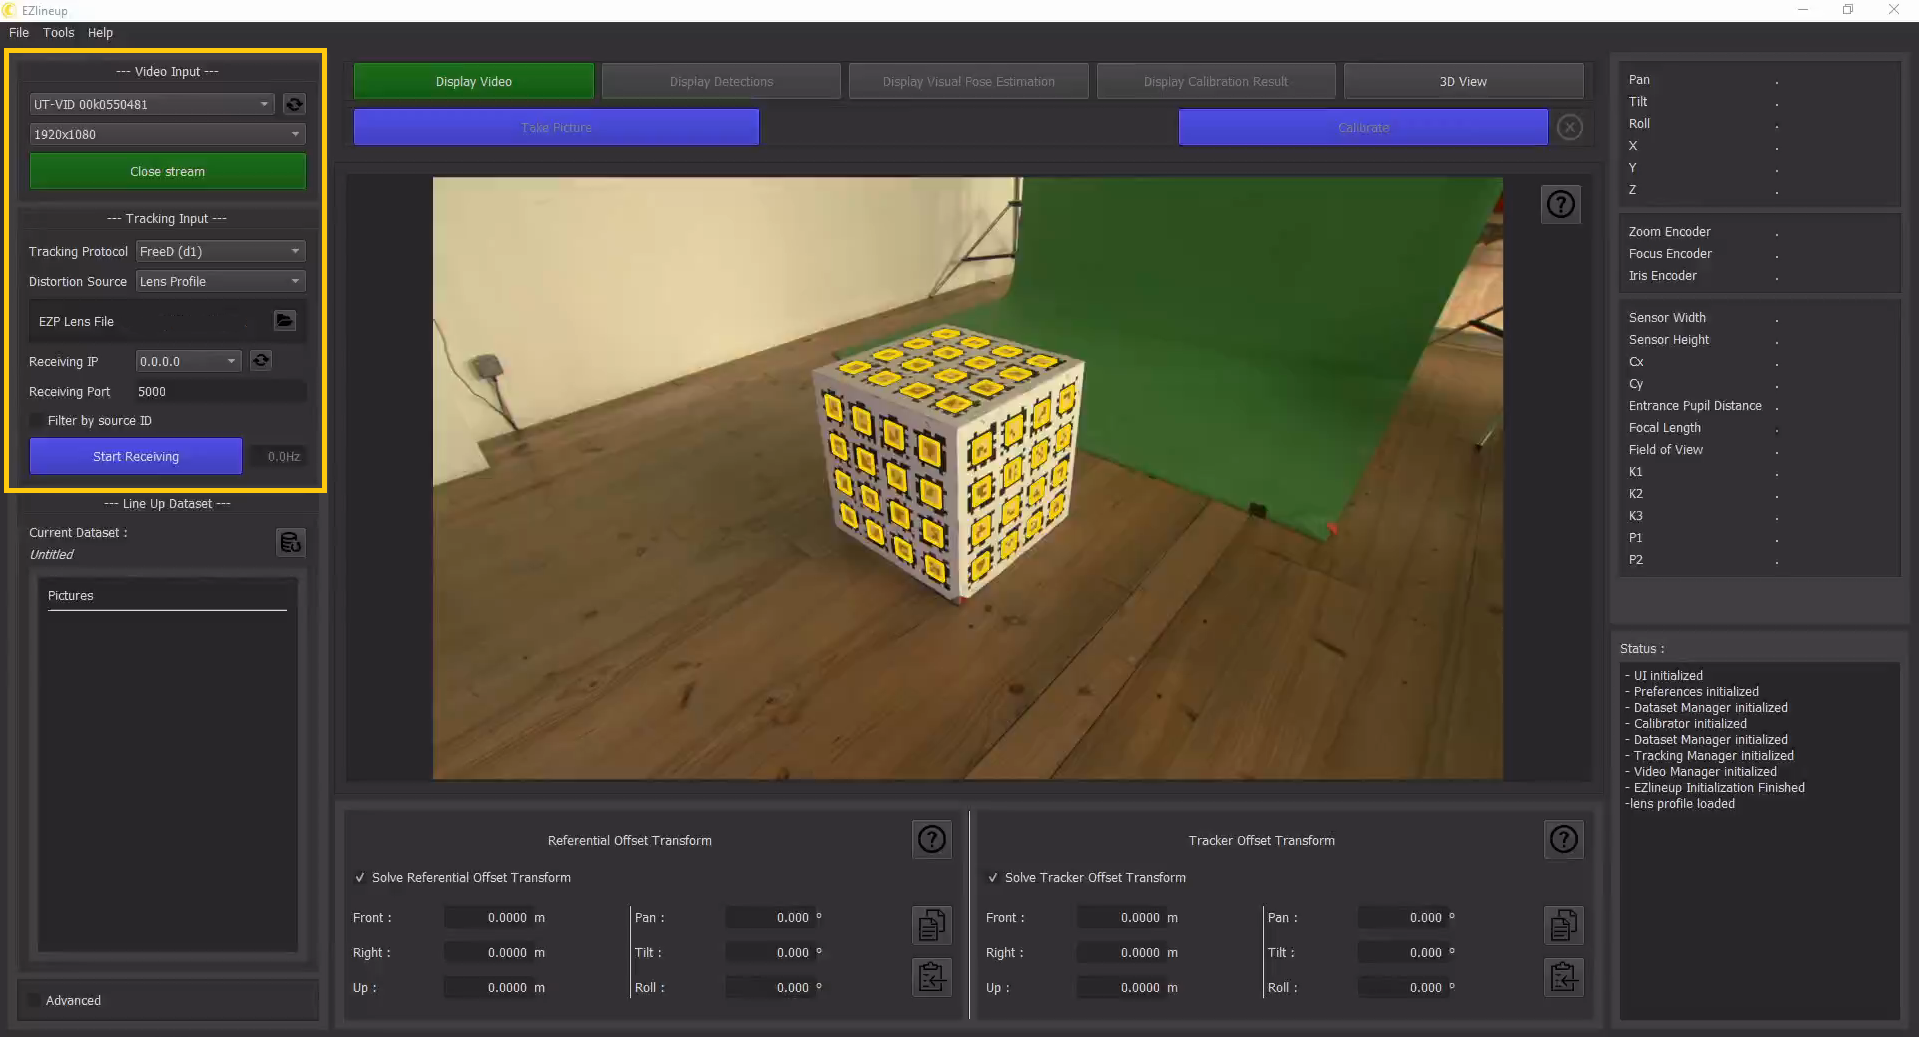
1. Video Input
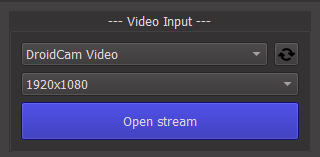
Select the feed from your camera here. You can refresh the list of video sources using the button in the top-right.
After changing the source, you have to press "Open Stream" to receive video again.
Once you see the video in the middle area you can move on to the next step.
Using OBS to interface with video capture card
2. Tracking Input
![]()
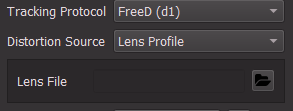
2.1. Select the tracking protocol
FreeD or TCD. If you don't use EZtrack, the only possible option is FreeD.
2.2. Provide lens data
Depending on the tracking protocol used, there are a few options to provide the calibrated lens data:
-
FreeD:
- Lens File: Load a JSON file exported by EZprofile using the Open Lens File export
- Lens File: Load a JSON file exported by EZprofile using the Open Lens File export
-
TCD:
- Embedded Lens Data: the TCD protocol already carries calibrated lens data
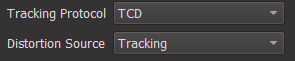
- ST-Map: for advanced users using another model than Brown-Conrady.
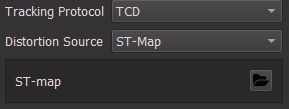
- Embedded Lens Data: the TCD protocol already carries calibrated lens data
Detailed Page: FreeD input + Lens File
Detailed Page: TCD input
Detailed Page: TCD input + ST-Map
2.3. Choose the receiving IP and Port
The "Receiving IP" drop down lists all available network interfaces on the machine. To listen on all interfaces use "0.0.0.0".
The port is specified below.
Filter by source ID
Only takes messages from a specific source according to an index in the tracking messages. It is only useful in some multi-camera setups.
2.4. Start Receiving
Press the "Start Receiving" button.
To verify the tracking data is complete, check that all fields have a value in the panel on the right:
![]()
If you move the camera, the values should move as well. Perfectly static tracking values are suspicious.
You are now ready to proceed to the Line-Up Workflow or the Quick Referential Workflow