Center Shift Calibration (Tutorial)
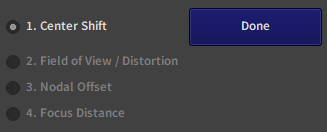
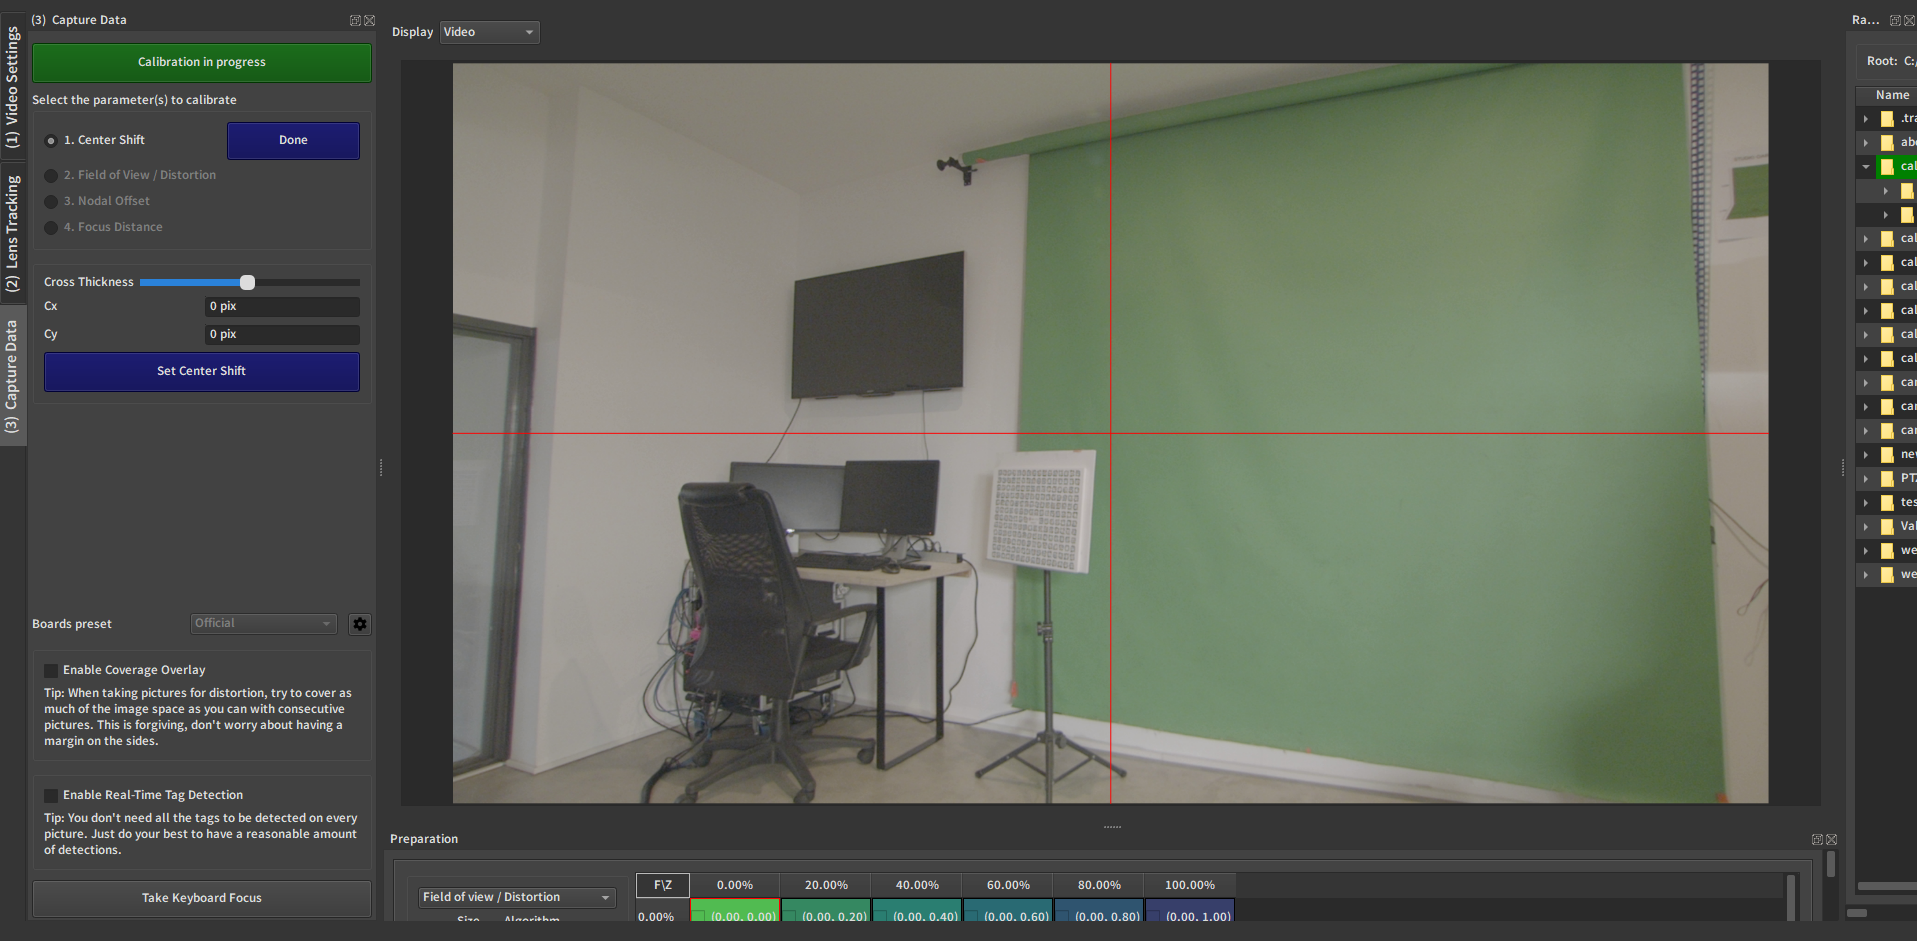
Center Shift calibration UI details
Note
The method described here to obtain the center shift only works with a zoom lens. There is also a notion of center shift for prime lenses based on the center of distortion, which is less precise.
If you are calibrating a prime lens, skip this step. In this case the center shift will be estimated after, at processing step, using distortion.
1. Calibration Process
The method is based on the fact that a point aligned with the optical axis does not move on the image plane when changing the focal length. We can search such a point by moving both the camera and a digital crosshair, iteratively reducing the distance to this static point. The convergence is quick, making this method both precise and relatively fast to perform.
Warning
You will need a EZprofile feedback while changing the zoom on the lens. This could be achieved by putting the camera near your computer (or vice versa), sending the EZprofile viewport to a screen or having a remote control for the zoom. Do whatever you want, but you will need to be able to see the EZProfile crosshair while moving the camera.
Also the camera has to be moved precisely and stay static between motions, so at least mounting it on a tripod is necessary.
2.1. Choose a sailliant feature of a nearby object
Find an easily identifiable shape, which defines a point, like a corner. You can use whatever calibration equipment you have around for this. The EZprofile boards give plenty of such features. For this tutorial, as an example, we will target the top left corner of a board.
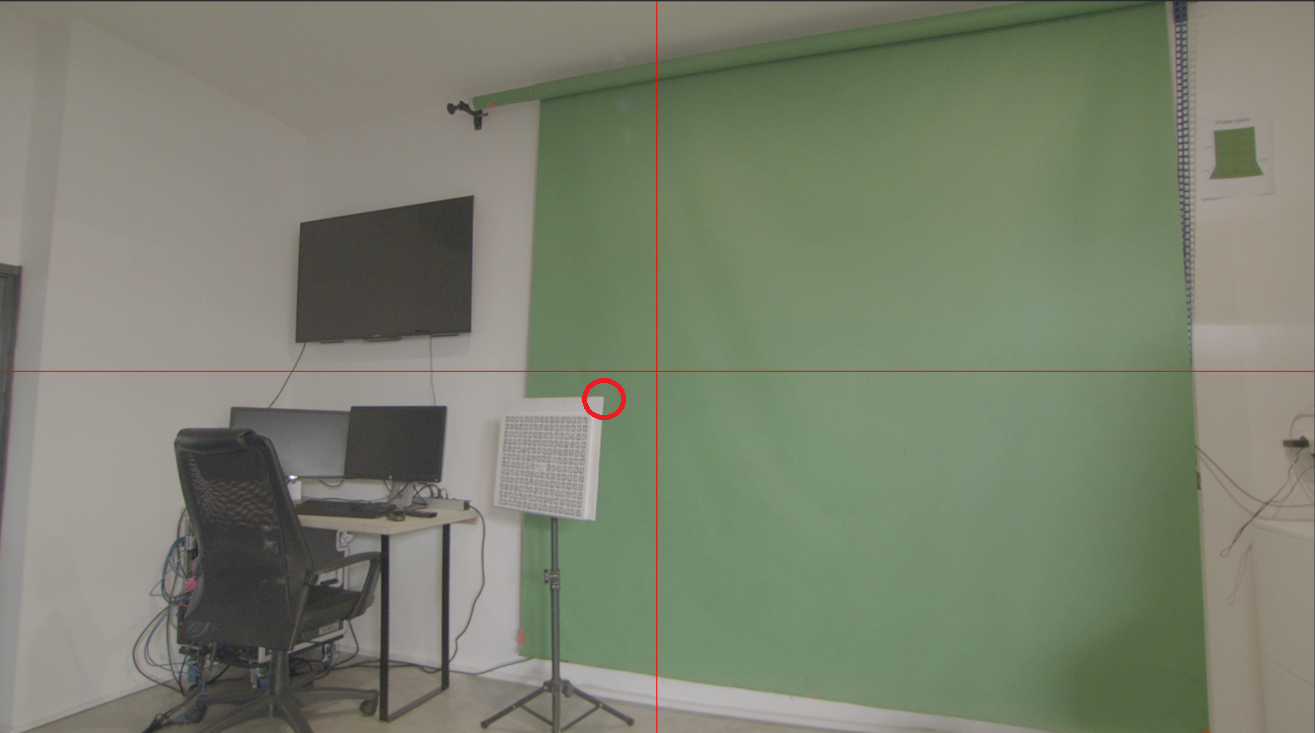
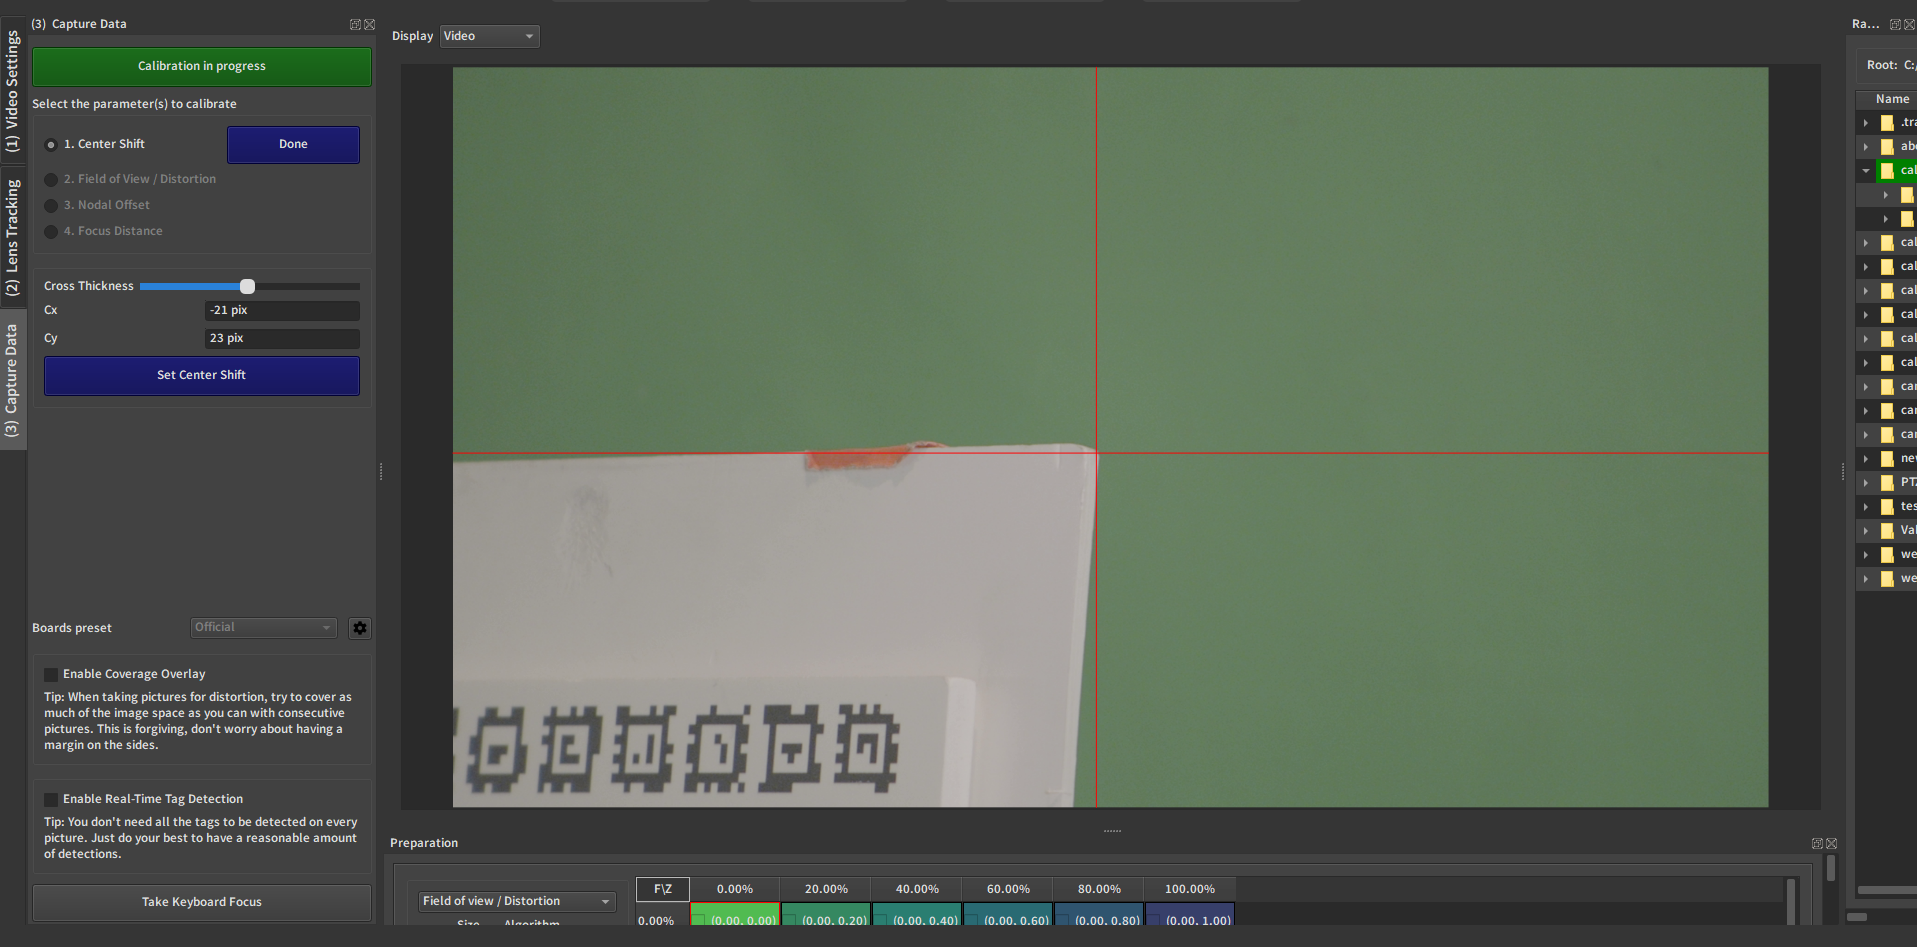
2.2. Zoom to the maximum and align the feature by moving the camera
Zoom and align the center of the crosshair with the feature by moving the camera, then lock the camera in place.

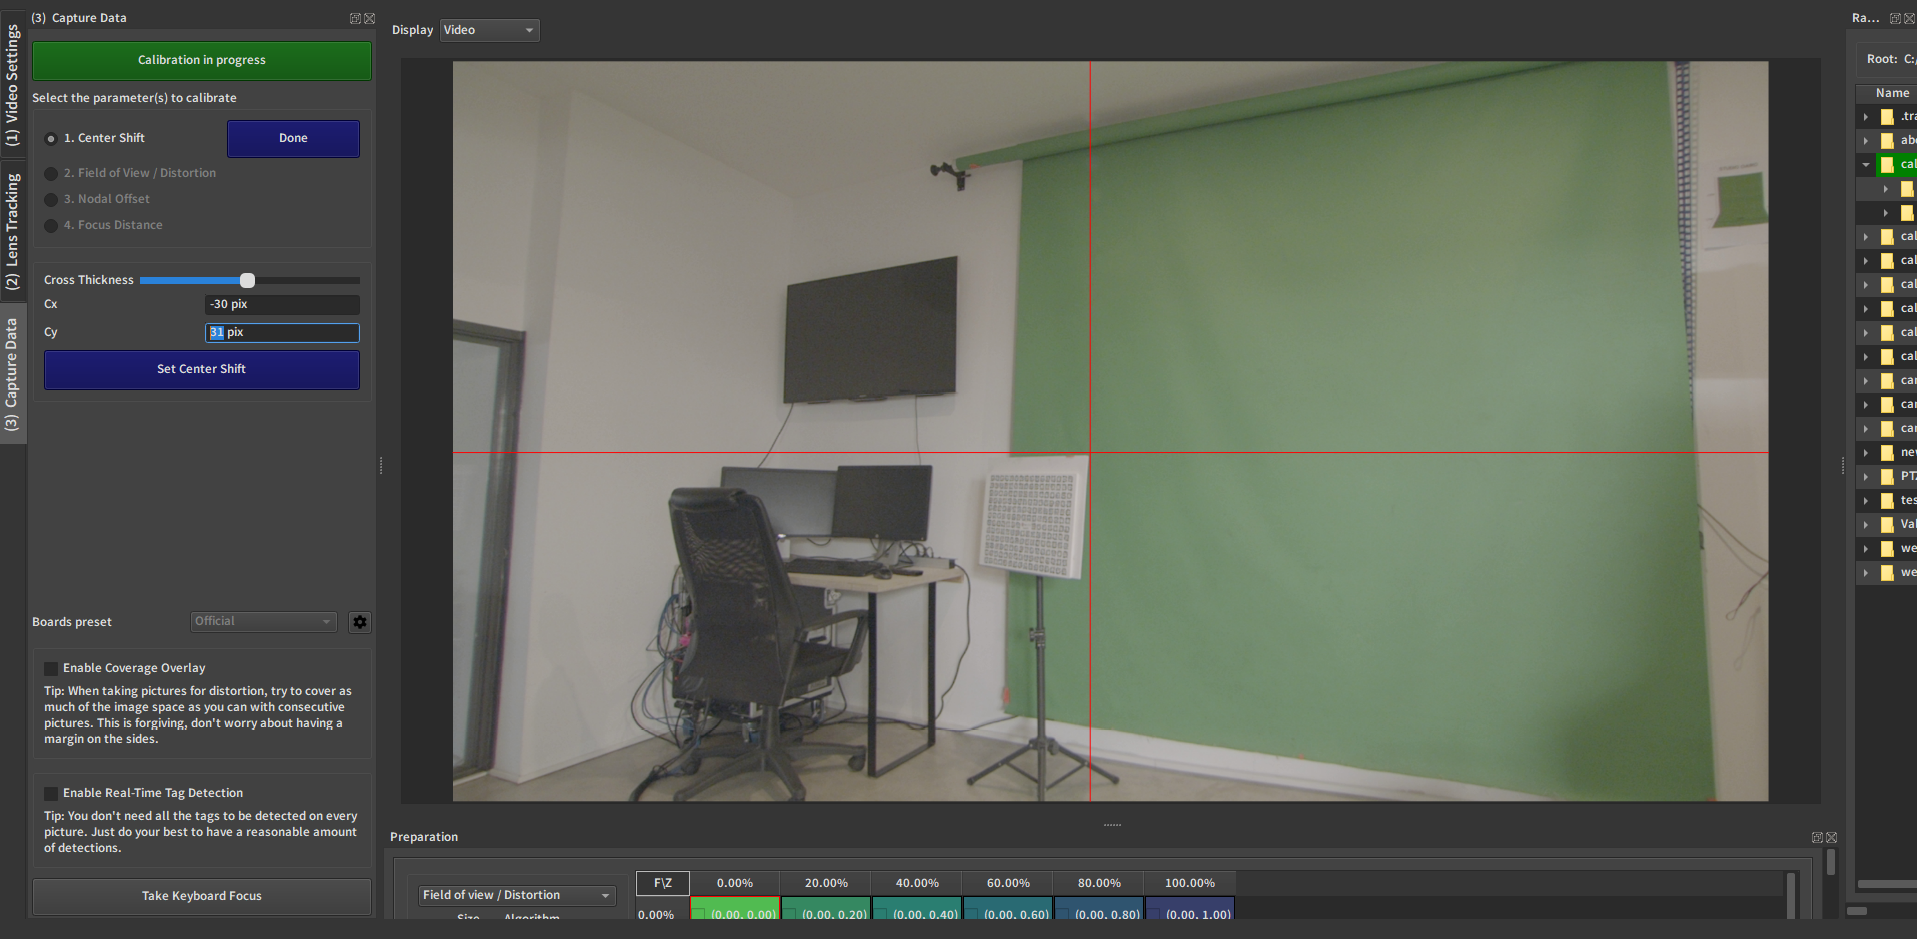
2.3. Dezoom to the widest angle
Note that in general the crosshair is not on the same point anymore. This is because the center of the sensor does not coincide with the optical center, so the point we aligned with the center of the image is not zoom-invariant.
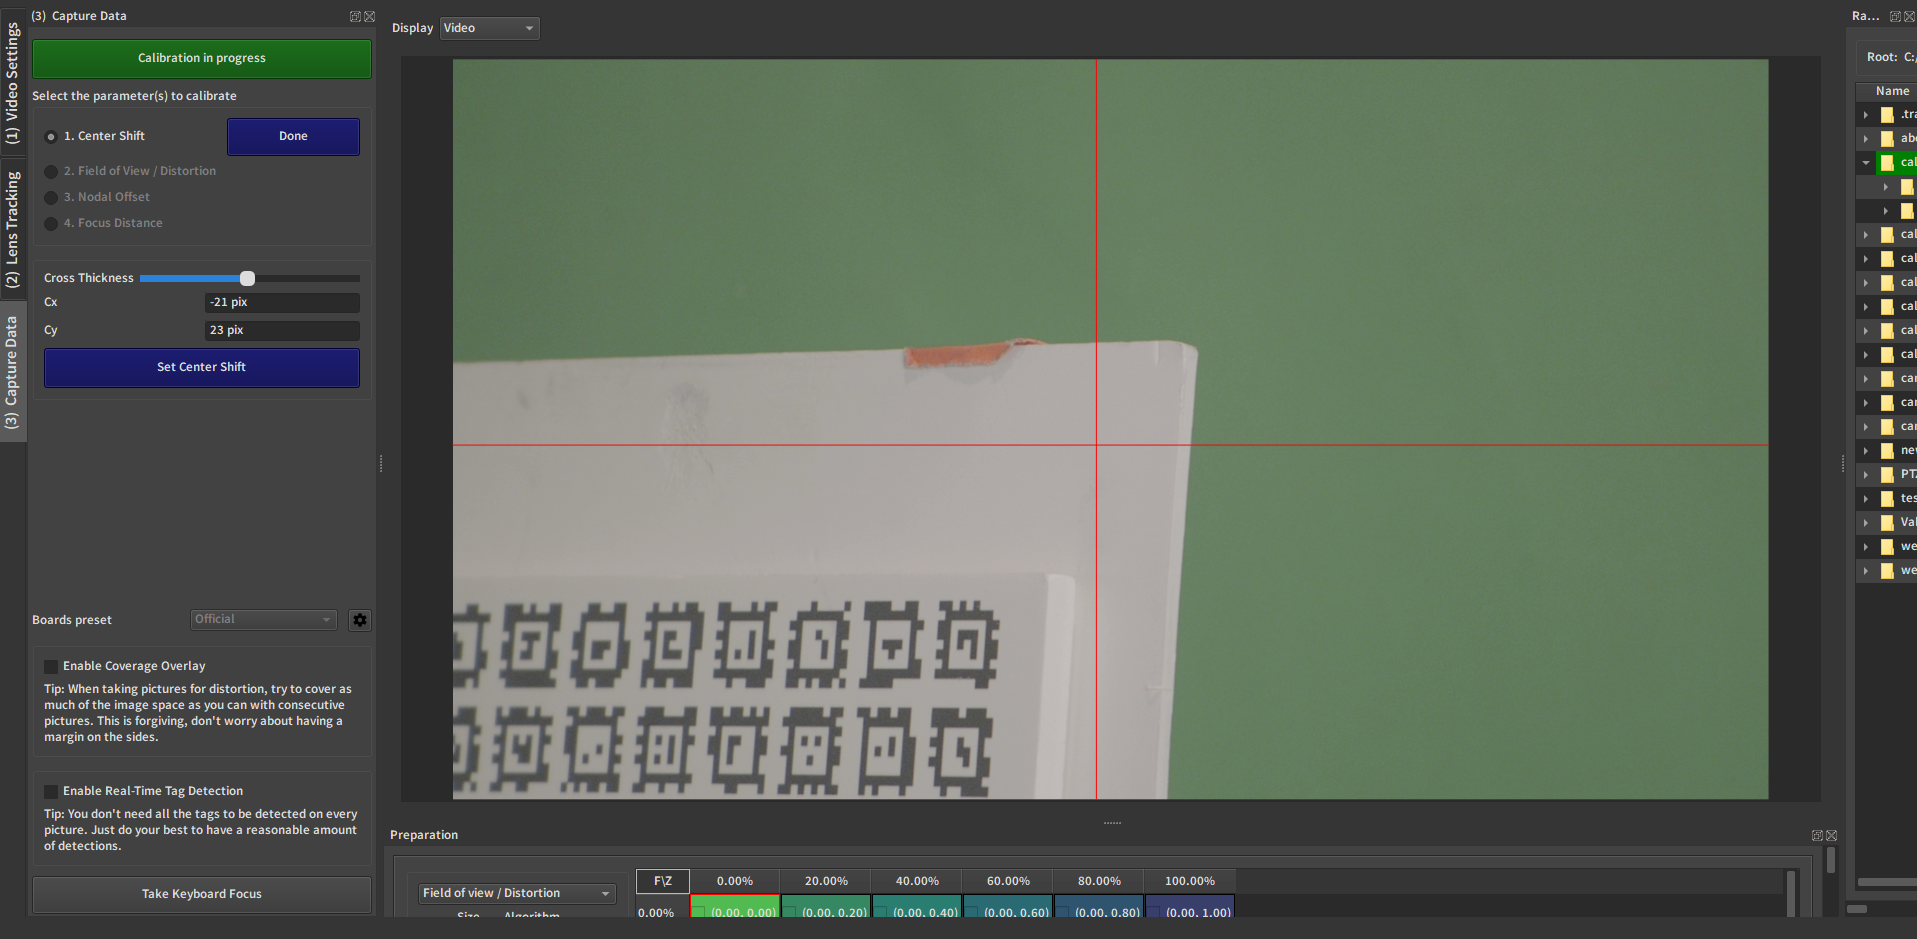
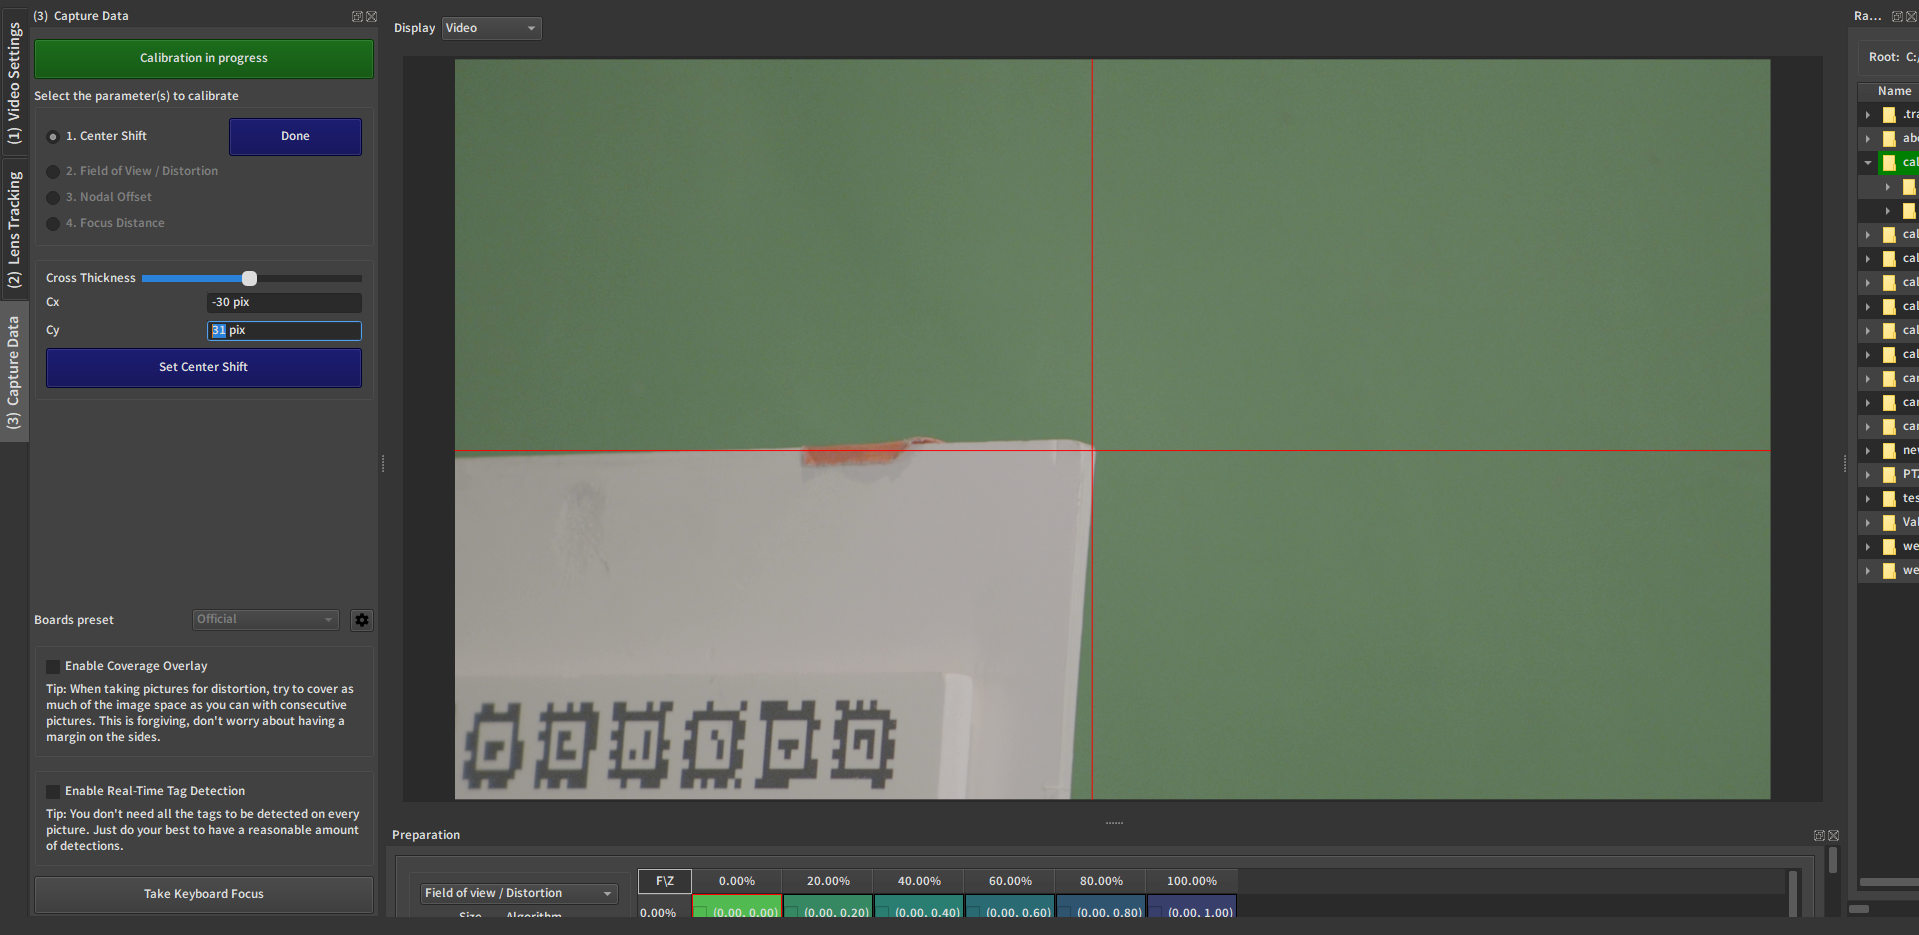
2.4. Re-align the crosshair using the centershift values
(you can move them continuously by scrolling the mousewheel on the input box)

2.5. Go back to step 2.2. and repeat
Zoom again. The crosshair is not aligned with the same point, but we are closer than we were with a centershift of (0,0). Re-align the crosshair to test how good this point is as a candidate for zoom-invariance.
(2.2. again)
align by moving the camera.
(2.3. again)
Dezoom.

Re-adjust the values.
2. Zoom and dezoom to check
The point still looks like it is in the same spot, so this is a visually good solution. We have obtained a good result in two iterations. Sometimes you will need more or less back-and-forth between tight-angle-camera-move and wide-angle-digital-move to converge to a visually good result.
3. Save the result
Press Set Center Shift to save the Center Shift in the current calibration.
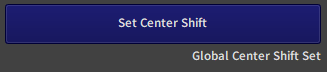
Once this is done, a message saying "Global Center Shift Set" will appear, indicating that the Center Shift has indeed been stored in this calibration.
4. Exit this step
Press the Done button next to the step name to exit and unlock the other steps.