Field of View / Distortion Calibration (Details)
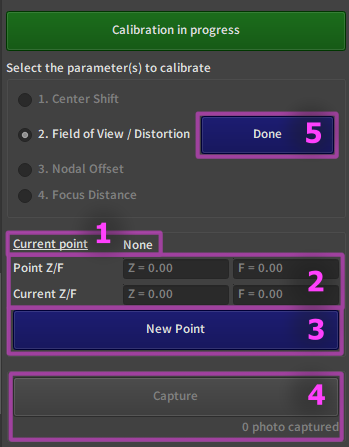
1. Name of the current point
If no point is currently being calibrated, it displays "None". Otherwise the path to the point folder in the calibration dataset.
2. Zoom/Focus values
Point Z/F is the encoder zoom and focus of the currently calibrated point.
current Z/F is the encoder zoom and focus received in real time from the lens.
There is usually a bit of jitter on the value in the current Z/F, but it is non-problematic. If the two values stray too far, for exemple if someone touches the lens, the point calibration will be exited automatically.
Tip
this functionnality means you never have to stop calibrating a point by clicking on the green button again, you can just go to the next point on the lens and press "New Point".
3. Create a new Z/F point
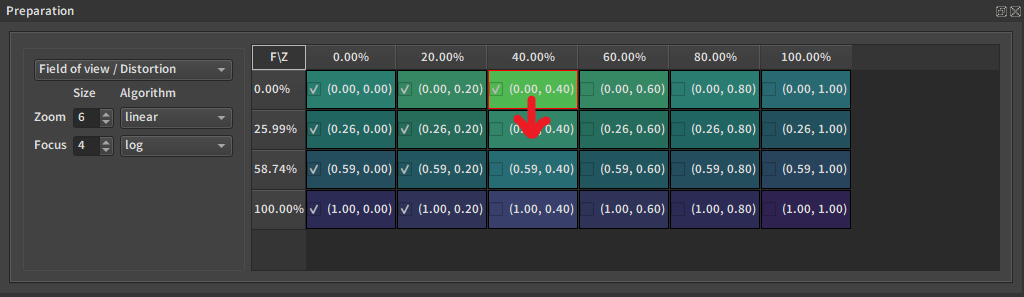
Put your lens in the right Z/F position using the controls on its barrel. You can use the preparation table as a guide to know which points are left to do. You will have to go through the entire preparation table creating a new point for each cell.
Once you are at the desired Z/F position, press the 'New Point' button.

Note
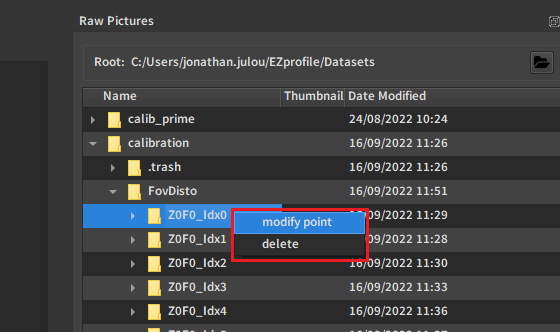
If you already have a point at the same Zoom/Focus in your calibration, you can edit it instead of creating a new one to avoid duplicates.
In the panel on the right, there is a folder hierarchy. The current calibration folder should be open in it. Find your point, right click on it and select the option 'modify point'.
Note
If a remote controller is setup, one of the button can be used to trigger this action.
See Remote Control
4. Take a new picture for this point
Press the 'Capture' button to take a picture

Taking a picture directly writes a picture along with the recorded encoder values in the calibration dataset. From pressing this button on, this data is saved.
The counter at the bottom tells how many pictures you have taken for this particular step.
Note
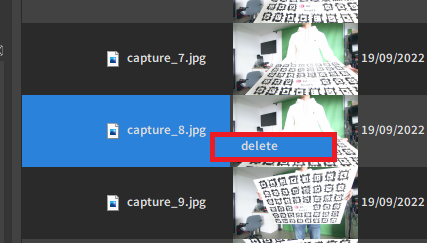
If you don't want a picture, you can delete it from the dataset by right clicking on it in the file explorer on the right and pressing 'Delete'.
Note
If a remote controller is setup, one of the button can be used to trigger this action.
See Remote Control
5. Exit this step
Press the Done button next to the step name to exit and unlock the other steps.
