Installation
1. Preparation
After purchasing EZprofile, you should have been sent two files:
- An installer: EZprofile.msi
- A license generation file: license.ezplic

2. Installation
2.1 Install software
Run EZprofile.msi
Warning
Windows may tell you that the file is not safe.
Press More Infos, Run Anyways, and proceed with the installation.
This window should open up:
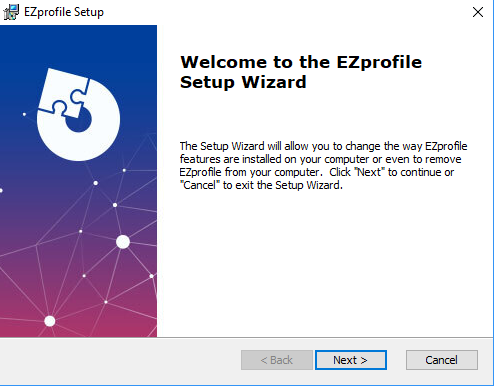
This is a standard installation wizard, follow the instructions until the end.
2.2 Install license
At first startup you will be prompted with a window asking you to update your license:

Press the Update button and navigate to your .ezplic license generation file.
Warning
The license generation file is only valid for a week. Make sure you activate your actual license on a computer before it expires. In case there is an issue, contact the support email.
3. Hardware Setup
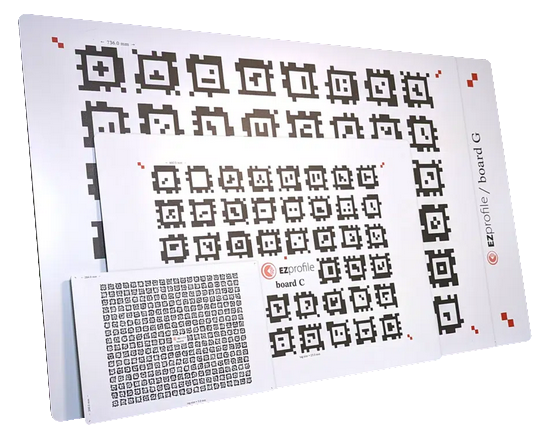
3.1 Calibration Boards
The associated calibration boards, bought from the Miraxyz website with the software, are required for the calibration process.
3.2 Measurement Equipment
Focus distance and nodal offset require to be able to measure a distance. You can use measuring tape, and/or a laser meter, which is a bit more convenient and precise.
3.3 Video Input
There are a few options to get the video feed from the camera into EZprofile. For now there is no direct support for SDI video capture cards, so currently all solutions convert the video stream into a webcam-like feed.
Direct USB support
A few cameras provide a direct link to USB (for exemple if you want to calibrate a DSLR or a webcam). In this case they should be readily supported. Note that professional cinema cameras do not offer this option.
SDI to USB adapter
It is possible to use a hardware SDI to USB adapter to achieve the same result.
An exemple of such an adapter is https://www.aja.com/products/u-tap-sdi.
Virtual Camera
If a software on your computer can read the non-USB flux and allows creating a virtual webcam, this can be used too. We recommend using OBS with the DroidCam Virtual Output plugin. It works with both Decklink and Aja video capture cards.
Danger
Don't use the built in virtual camera in OBS as it is not compatible. If you use this technique and don't get video in EZProfile, the first thing to check is that you are using the plugin and have not unknowingly used the built-in webcam.
detailed page : Setting up OBS for EZprofile
4. Lens Tracking Setup
Note
EZprofile was mainly conceived as a lens profiler for AR, so to be used with encoded lenses inside a virtual production environment. It is however also possible to use it to calibrate the intrinsics of a regular lens for VFX by ignoring some functionalities. Only in this case, lens tracking is not needed.
Two raw lens tracking protocol are currently supported by EZprofile: FreeD and TCD. FreeD is the most common protocol for receiving tracking data in render engines, so if you already have a virtual production studio, there is a very high chance your equipment already supports sending lens data in FreeD. Just set the computer running EZprofile as target, with the same port as specified in EZprofile (see Lens Tracking).
In case the EZtrack hub is used, this beginner guide explains how to connect the lens to it and send data to EZprofile: Setting Up EZtrack for EZprofile
Once all of this is set up, you are ready to use EZprofile