Field of View / Distortion Calibration (Tutorial)
FOV/Disto calibration UI details
Note
for the process described below, you need 2 people, or to use a remote controller while manipulating the boards.
In either case, it is very useful to see the tag detections and coverage overlay while manipulating the boards. You should duplicate the video area in a new window and put it on a big screen visible from in front of the camera.
1. Calibration Process
1.1 Create a new point
Set your lens at the desired Z/F position in the Preparation Table by moving the controls on its barrel.
Then press the "New Point" button to create a new calibration point at this position.

1.2 Take pictures
Press the 'Capture' button to take a picture

The counter at the bottom tells how many pictures you have taken for this particular step.
Follow the instructions below to capture these:
1.2.1. Board Positions - Distortion
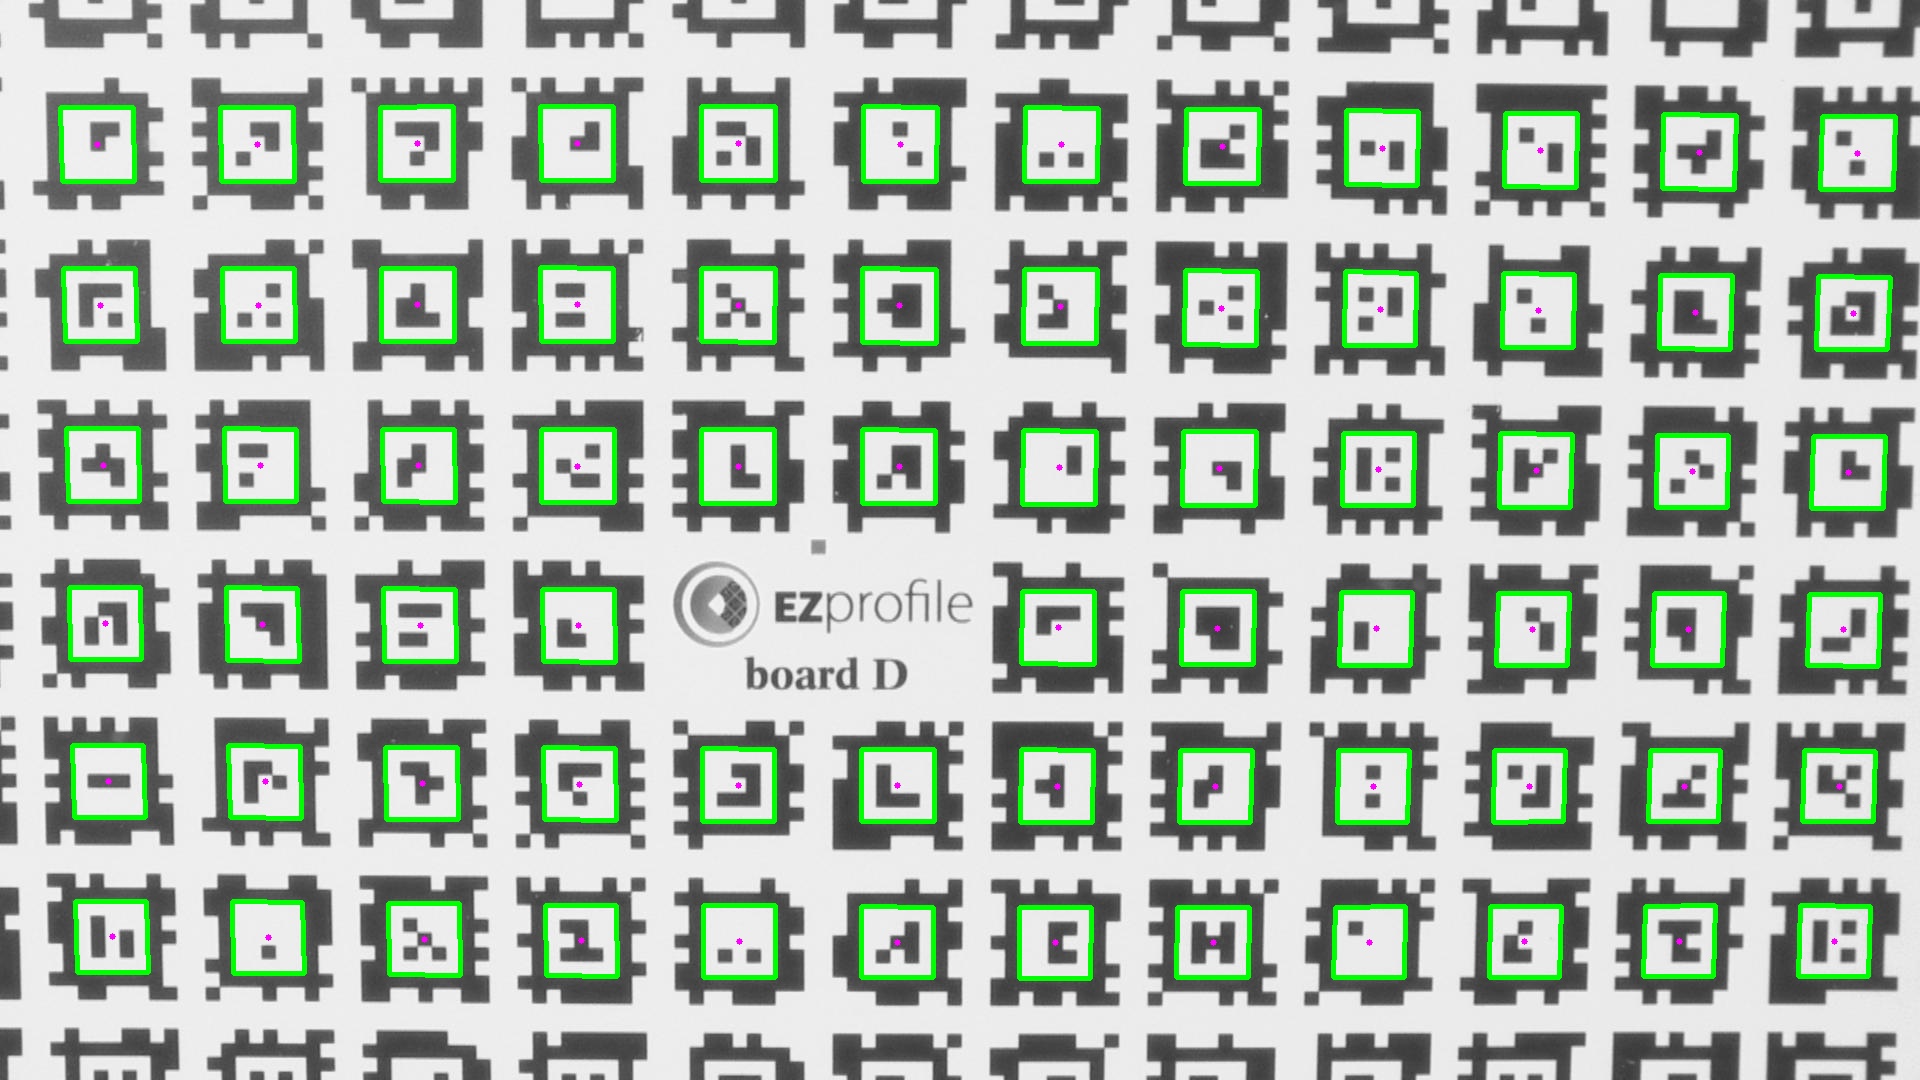
For estimating distortion, you have to distribute tags across the whole screen. The denser the tag distribution the better, so you want to use boards B, D or F whenever possible. You should hold the board approximately parallel to the camera image plane for these pictures.
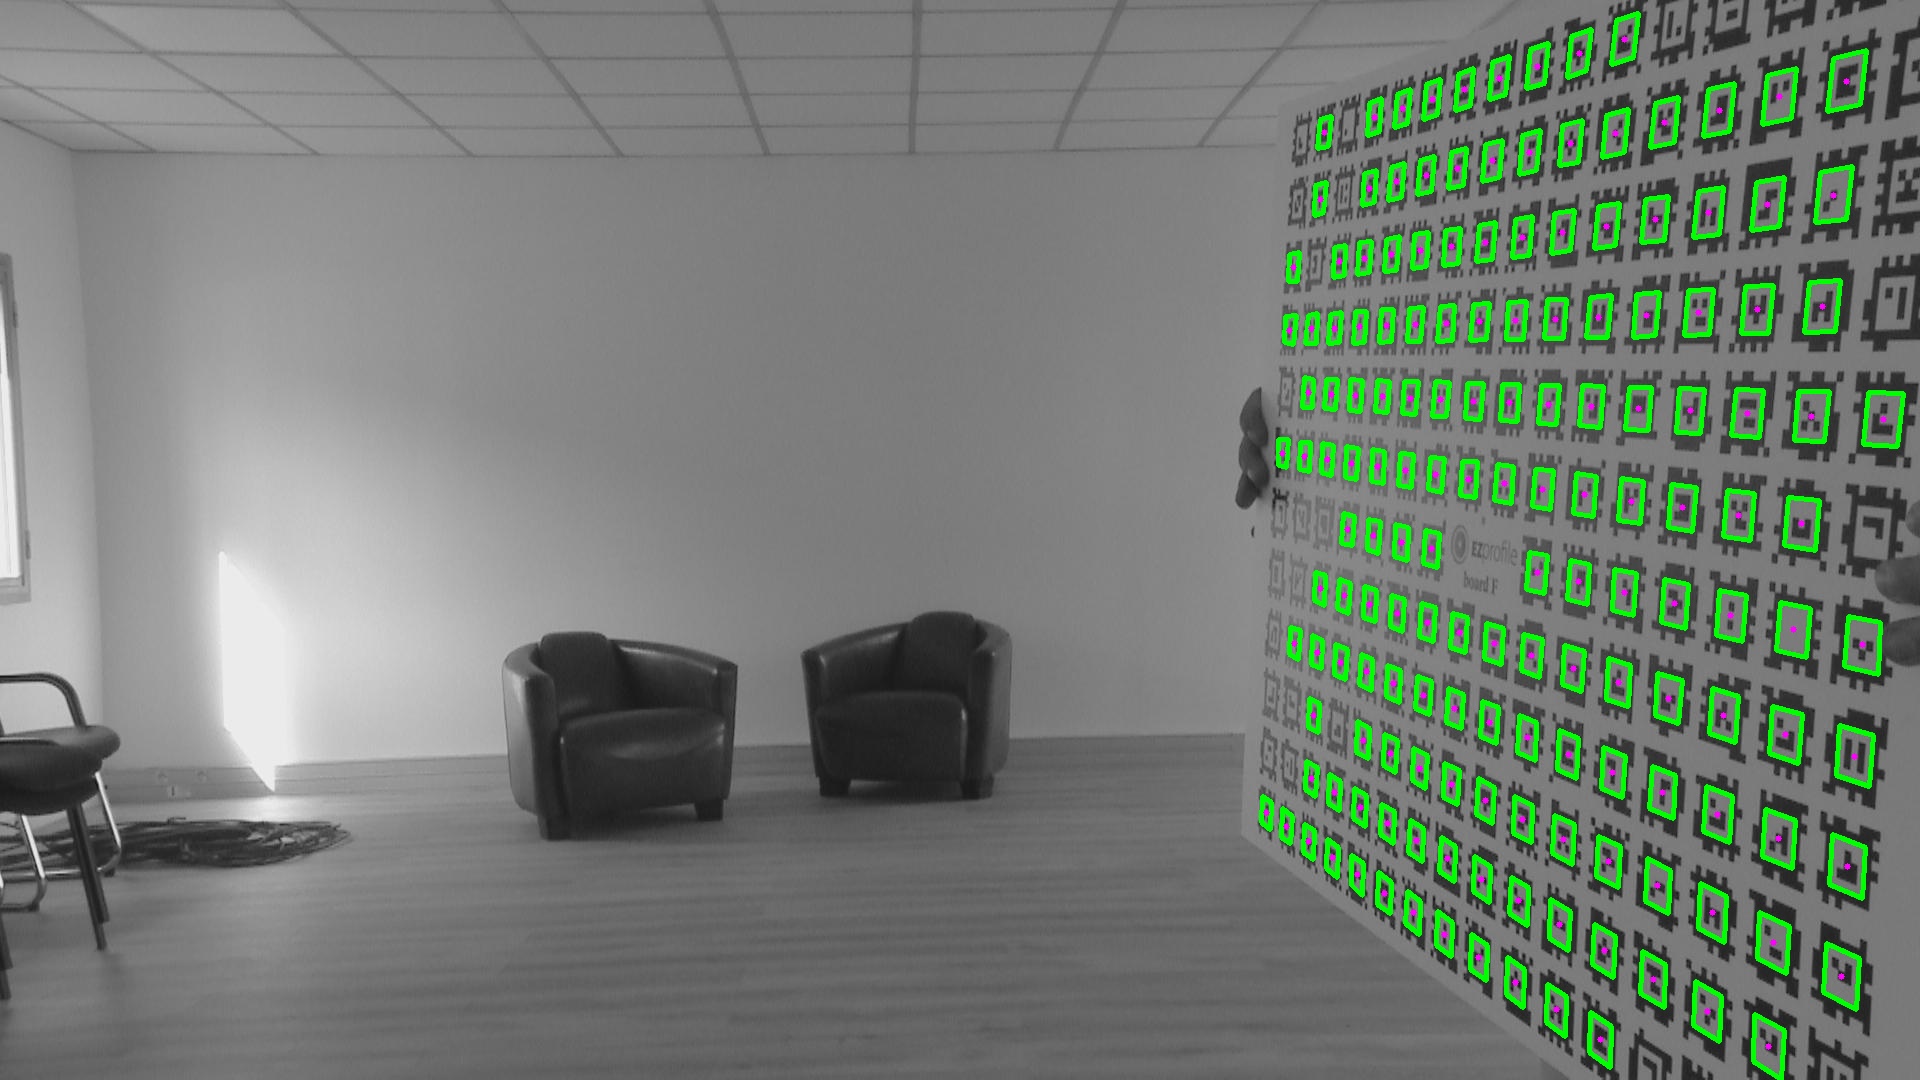
If your board can cover the whole screen, one picture will be enough:
However if your board appears smaller, you will have to subdivide the image area in different board positions across multiple pictures. You can wing it using the Screen Coverage Overlay.
As an example, here are distortion pictures from one of our calibration using five positions:
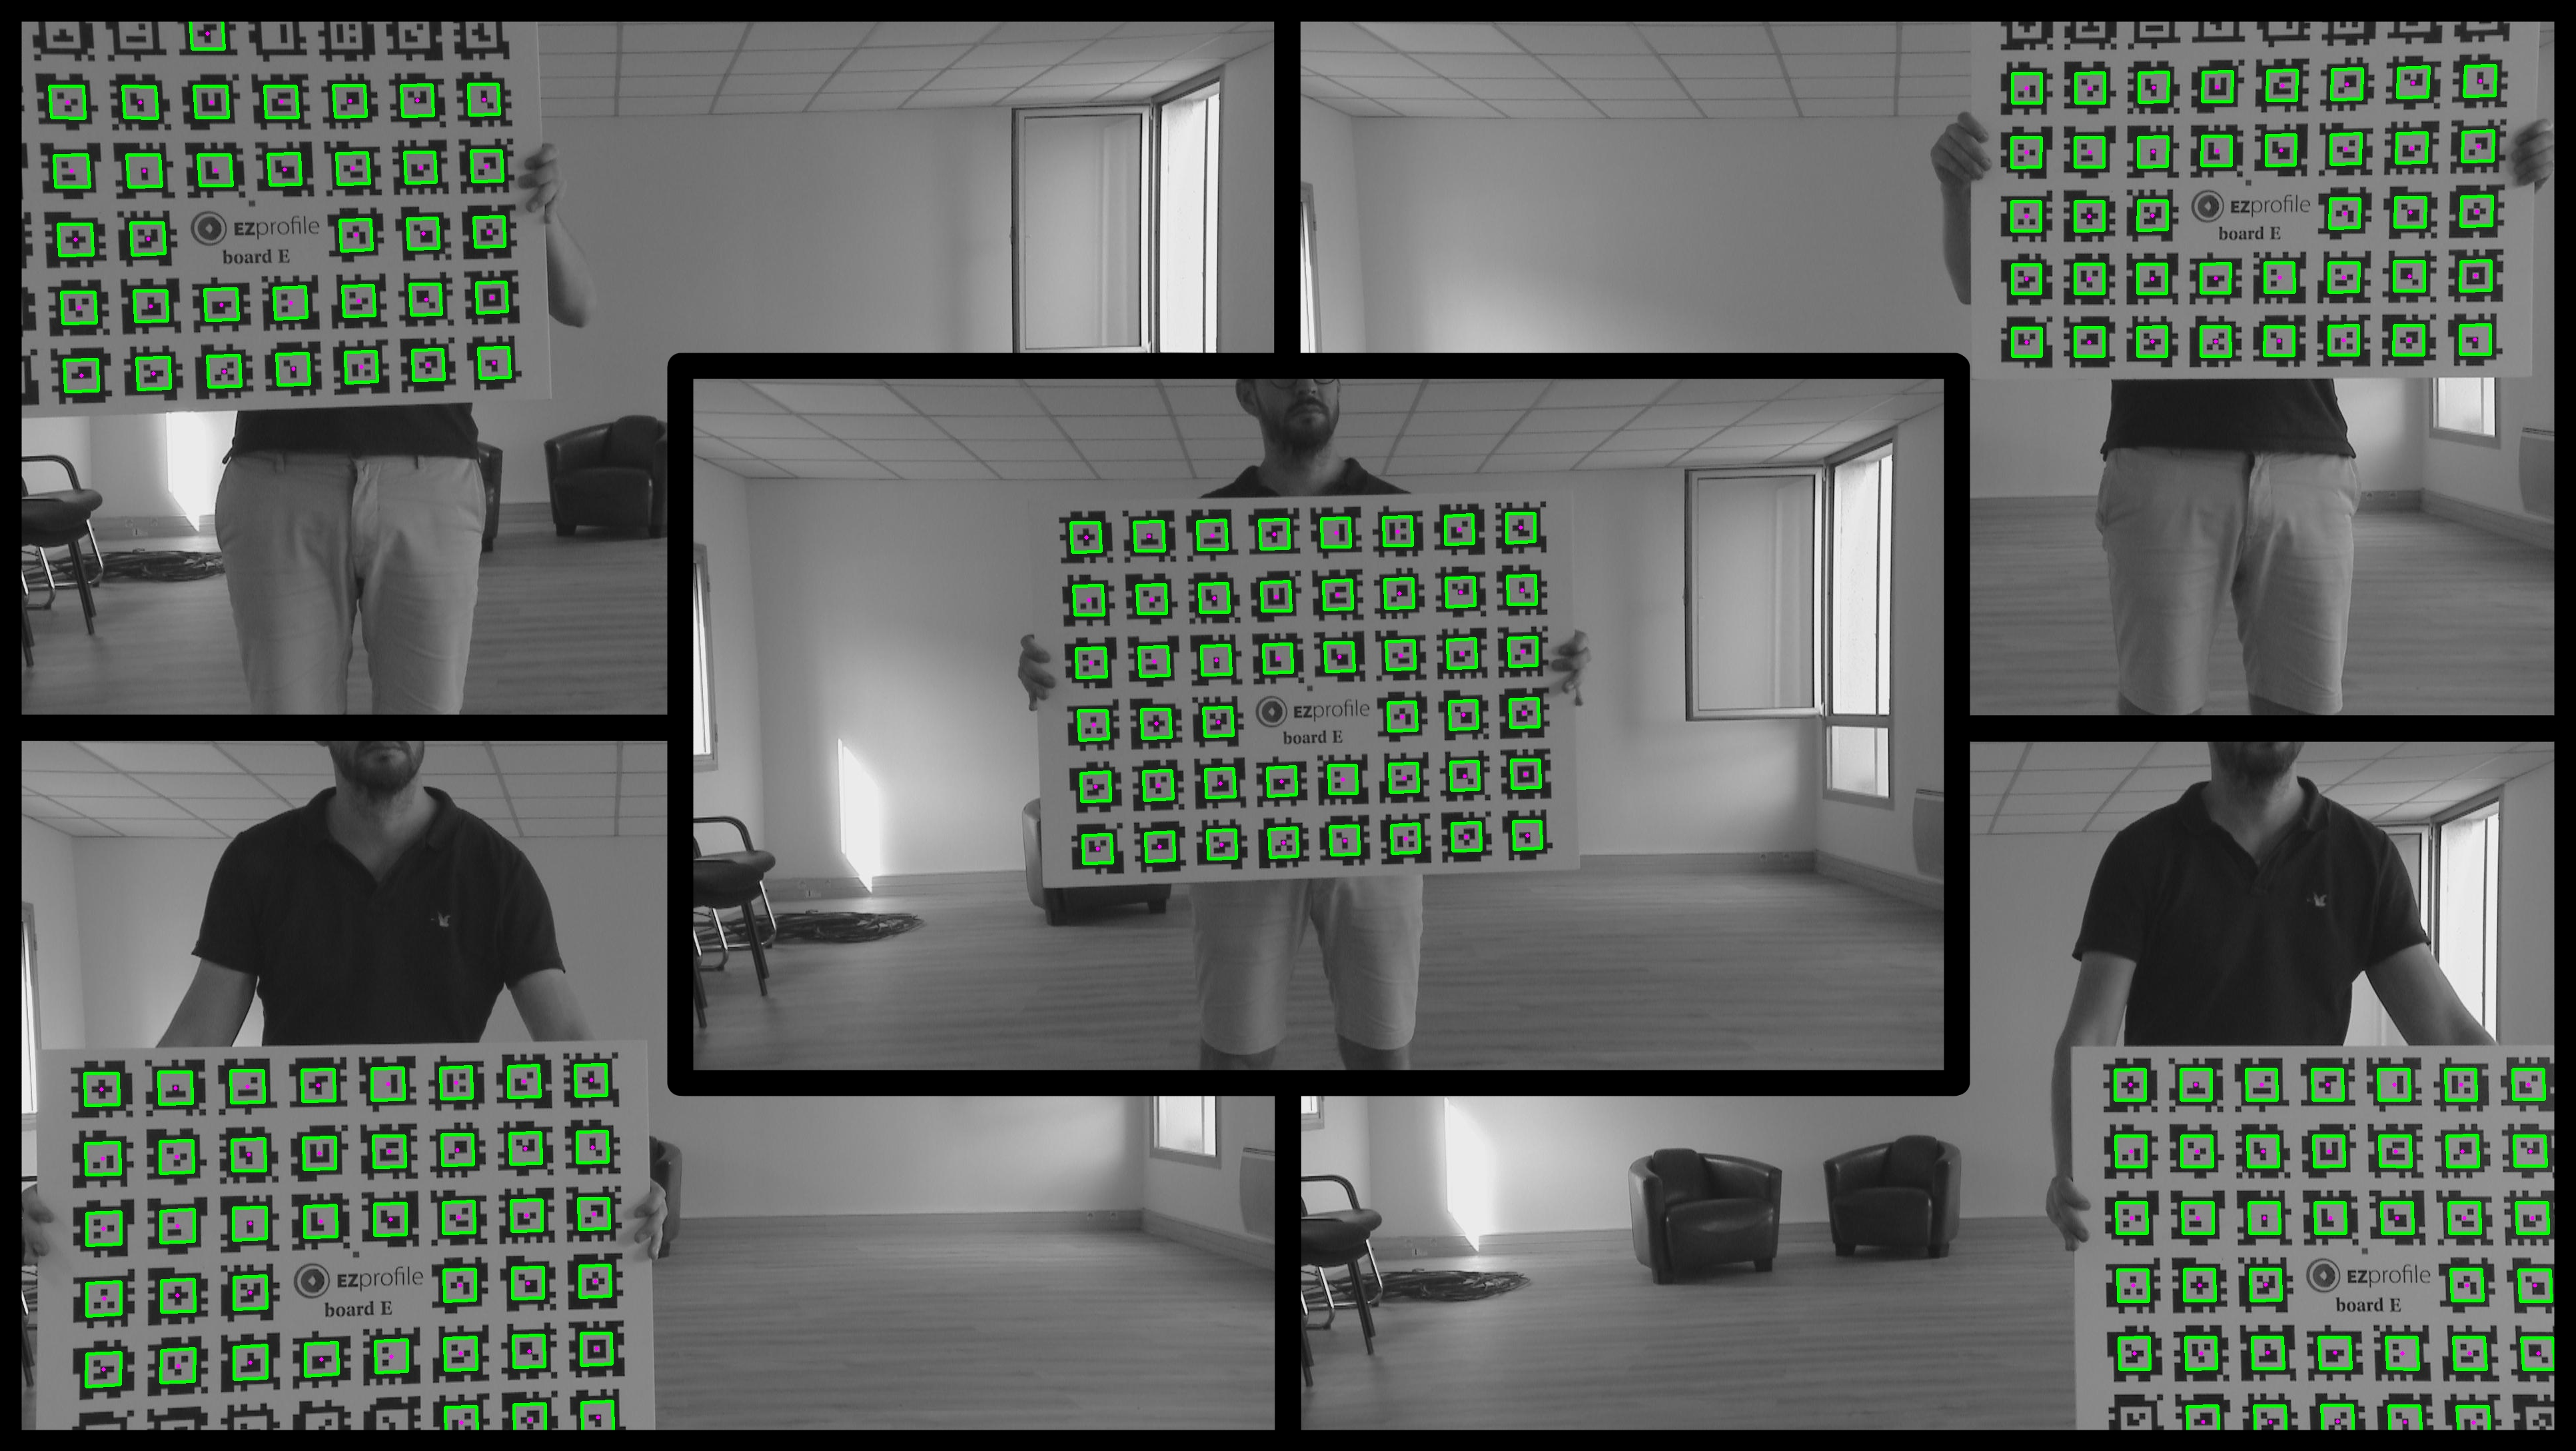
In any case, at this point your coverage overlay should take roughly the whole screen.
Tip
When placing yourself with the board, don't necessarily try to be in focus. It can be better to be closer to the camera a bit out of focus as long as enough tags are detected.
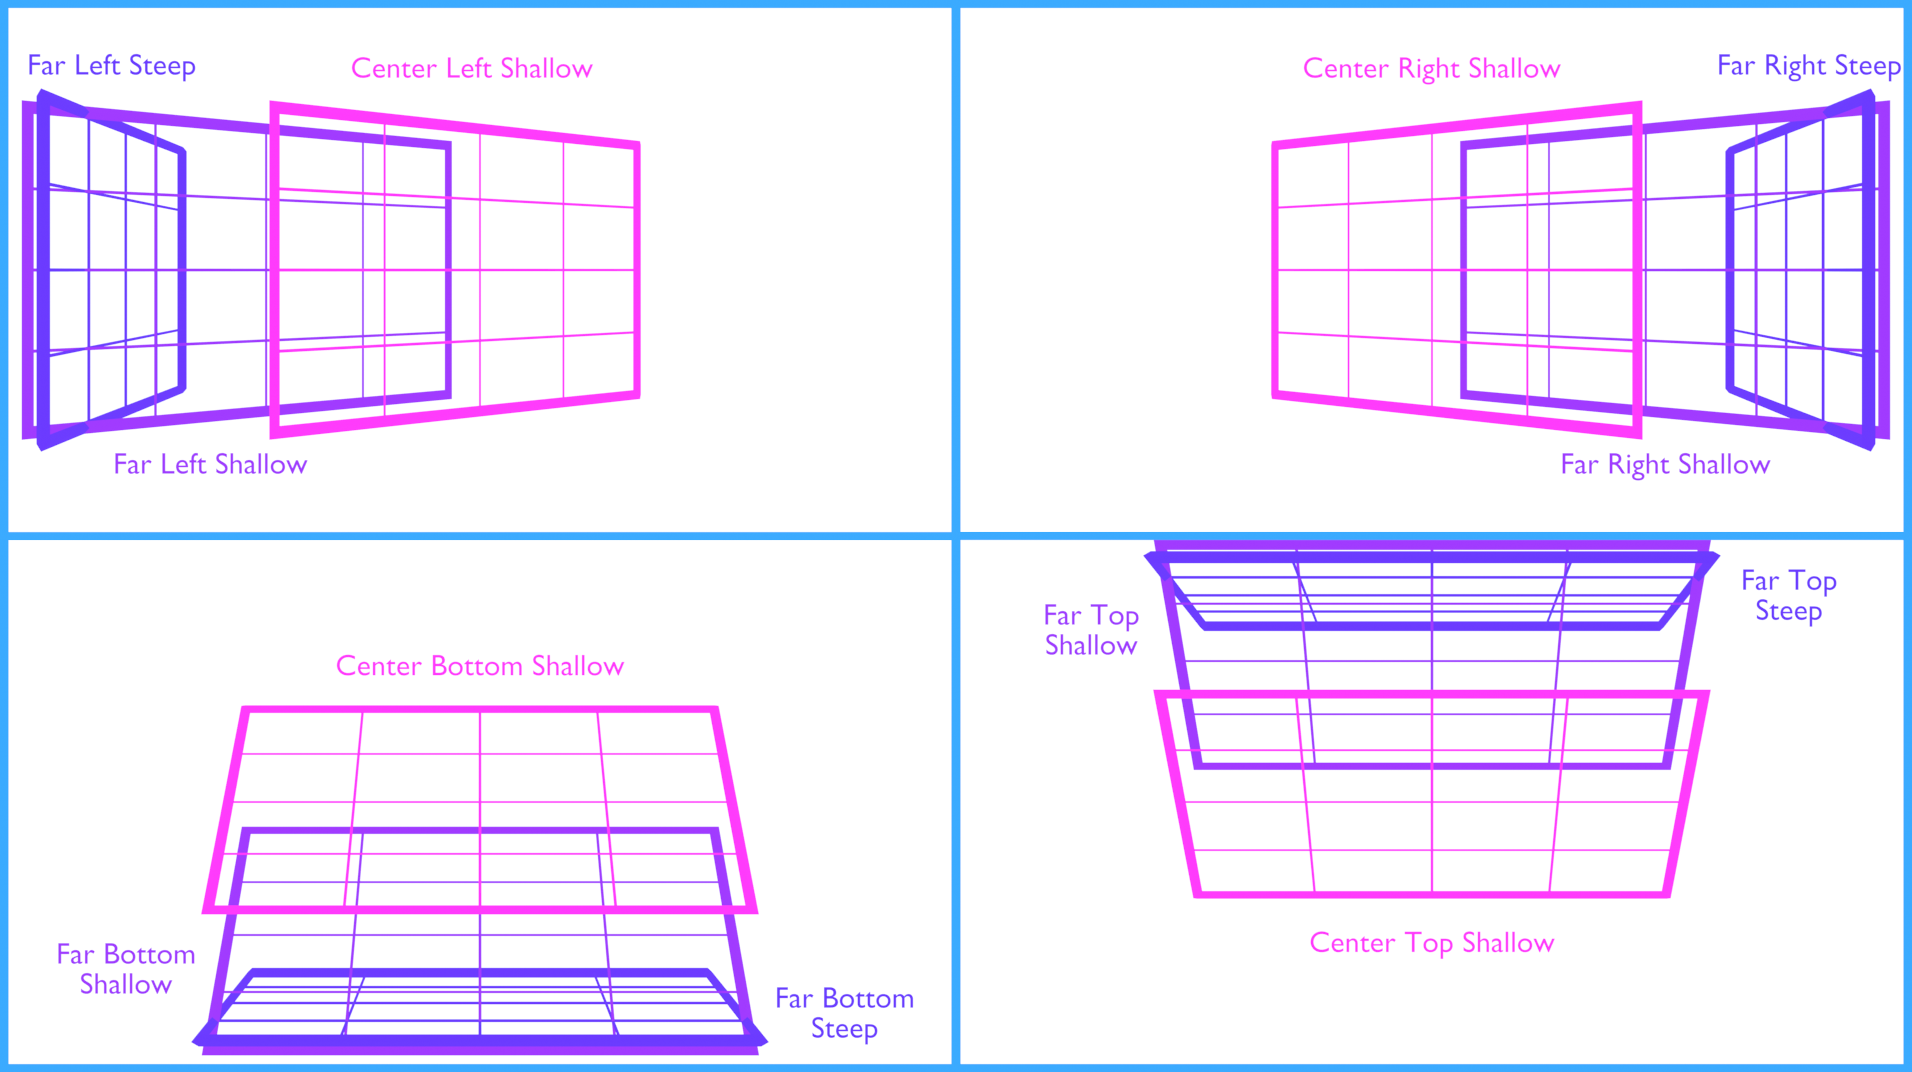
1.2.2. Field of View
For estimating the Field of View, the boards have to be at an angle relative to the optical axis.
On the example picture above, note how the board is held at a very steep angle relative to the camera. The drawing below illustrates why steep angles are needed for FOV precision. While the method used in EZprofile is more accurate than shoddy red lines, it uses vanishing points too.
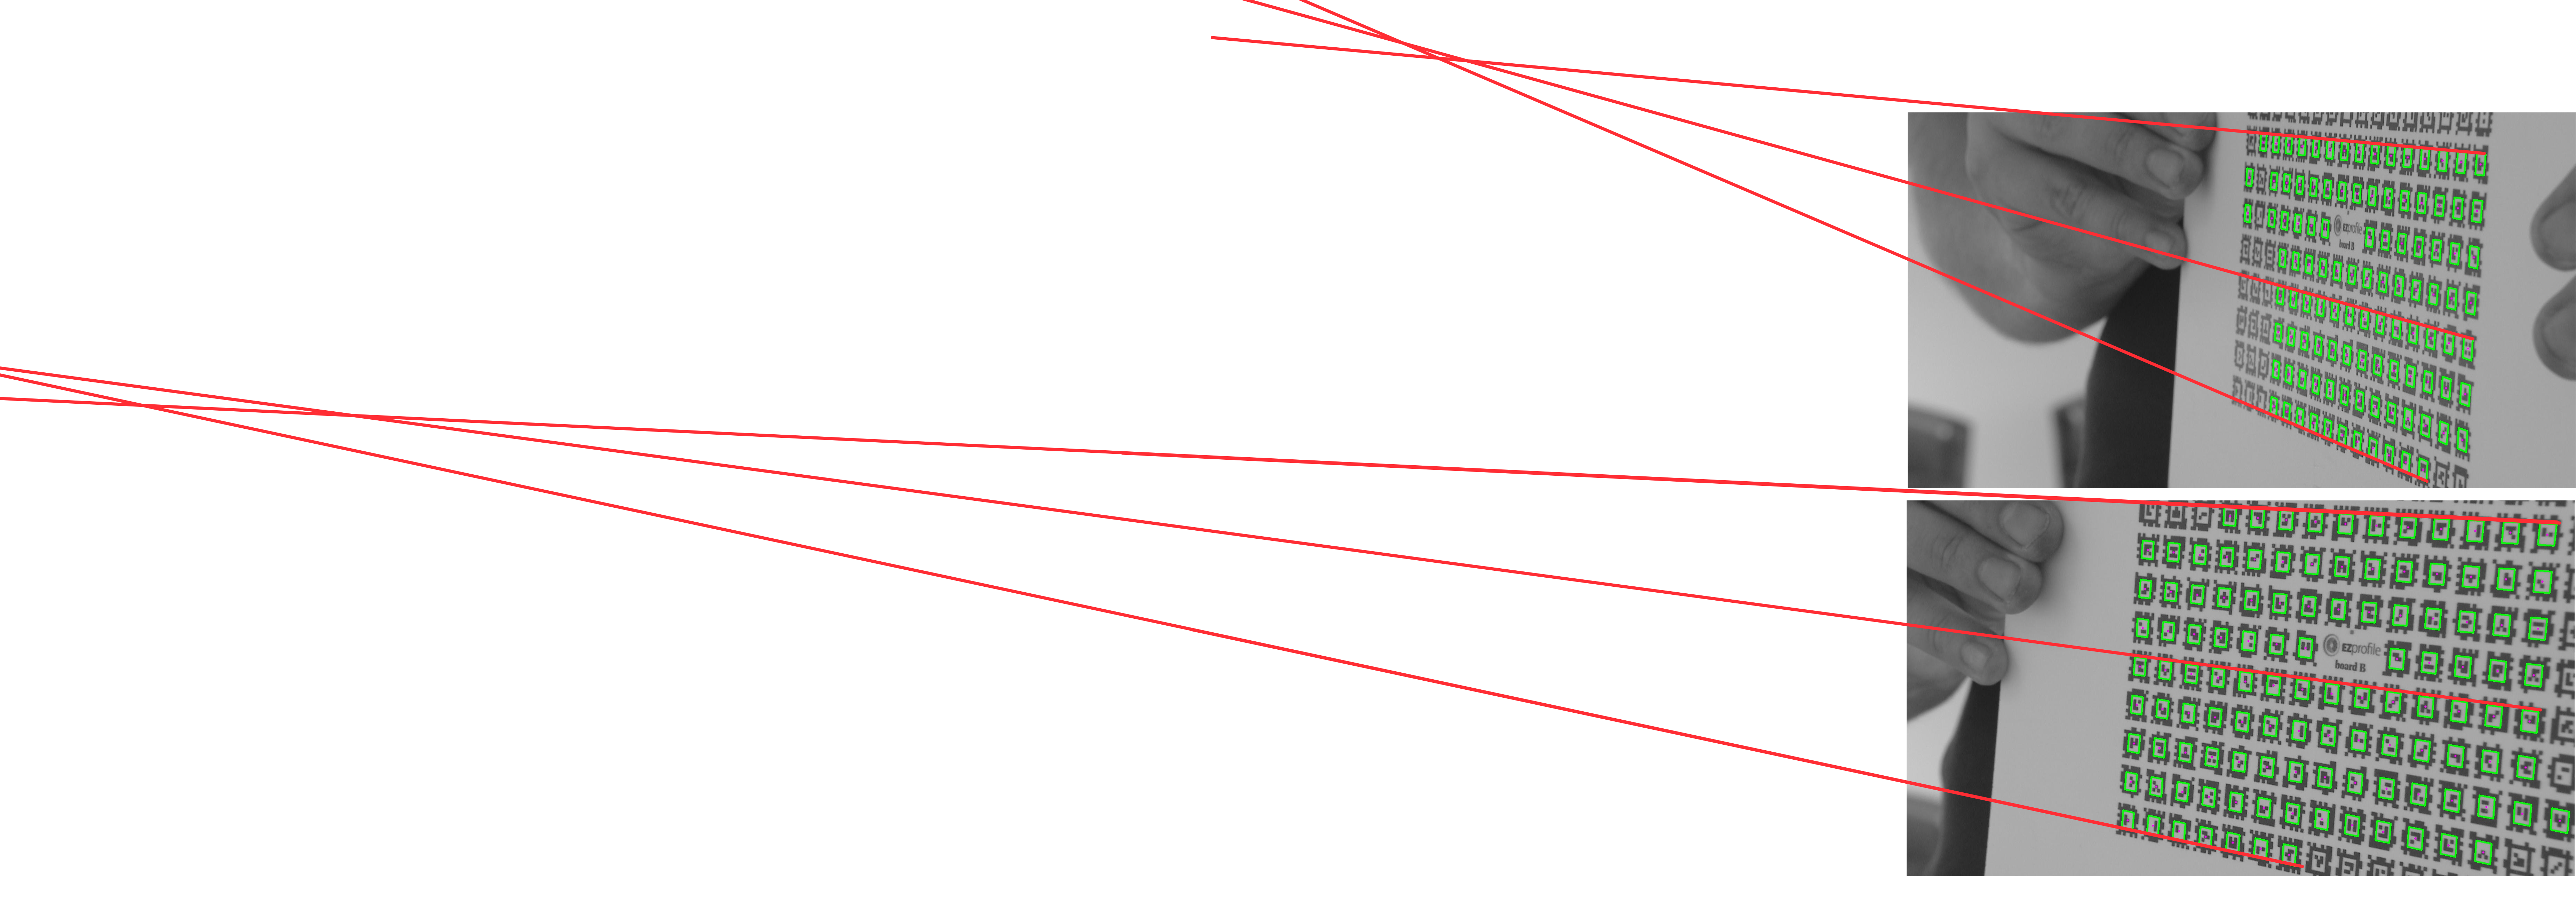
In both case the lines don't intersect perfectly in a single point but when the angle is steeper, the margin of error is lower because the angle between lines is greater. To the extreme, if the board was nearly parallel to the image plane, these angles would tend toward zero and the vanishing point would be impossible to find at infinity.
Nevertheless, smaller angles are not completely useless. Often you will get more tag detections on those, especially when the depth of field is shallow. Moreover, they will not harm the solution if steeper angles are available in other pictures. So it is best to do both, having the shallow angles as a failsafe.
In the center of the image angles are steeper at a similar board orientation, because of the perspective projection. So doing a shallow angle in the middle acts as a middle ground, and gives another perspective. So having the board both at the center and on the side gives more information.
Thus, we recommand doing the following positions for Field of View:
Tip
for the steep angles, incline the board until the tags start to disappear too much because of the angle. Losing some of them is fine as long as there are still a fair amount detected.
Using boards A, C and E is thus recommended, as they allow for a greater inclination before the detection breaks.

Here are FoV pictures for wide angle from one of our calibration as an example
Here are FoV pictures for narrow angle from one of our calibration as an example
2. Exit this step
Press the Done button next to the step name to exit and unlock the other steps.
