Specifying Board Sizes in the Software
1. Create a board preset
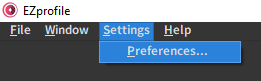
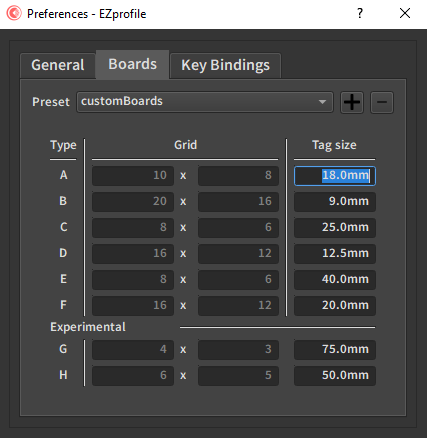
Navigate to the Preferences/boards menu:
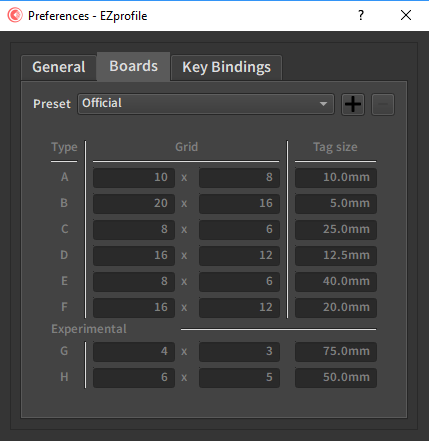
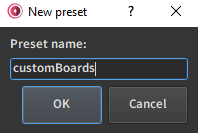
Here you can define board presets. Click on the "+" button to create a new one for your boards. This window will pop up:
You can now edit the tag size for each board to correspond to the one you measure on your physical board:
Note
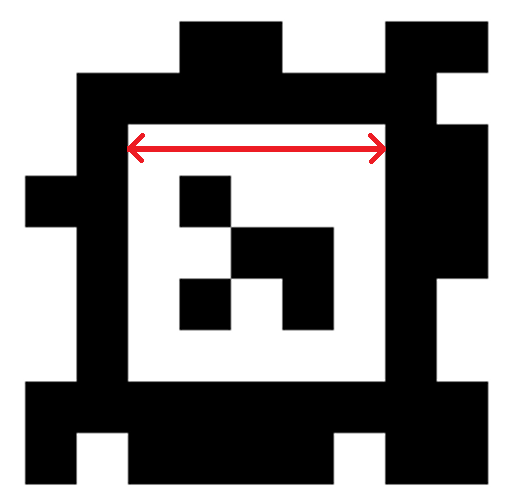
The tag size is defined as the side length of the inner white square of a tag:
2. Select a board preset
2.1. At capture step
Before starting the calibration, select the preset you created:
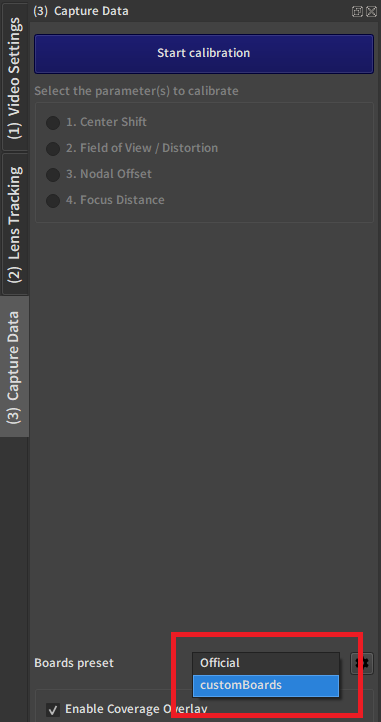
You can now start a calibration. The board sizes from the preset will be stored in the associated .ezset file.
2.2. At process step
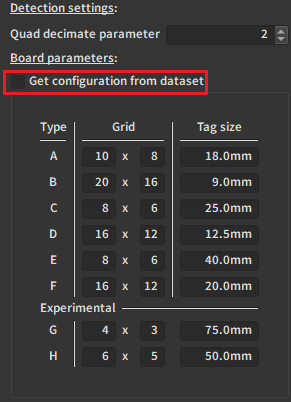
If you forgot to define a preset before your calibration, or if there was an error in it, don't throw away you calibration! In the Process step, after pressing the Calibrate Dataset button and choosing the .ezset file, you are prompted with the following window:
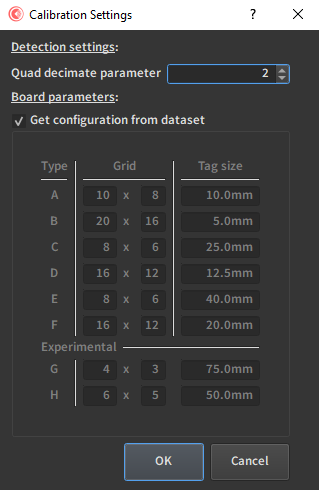
Uncheck the Get configuration from dataset option. This gives you access to the same table you had in the Preferences menu for presets. You can enter the new tag sizes here and they will override the ones stored in the calibration file.