Export for Vizrt
1. Start Vizrt Graphic Hub
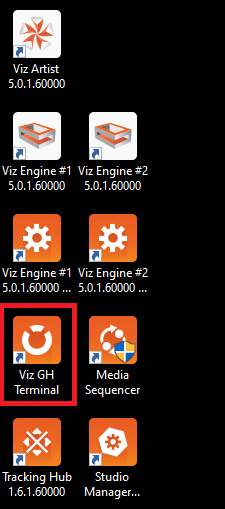
Launch Viz GH Terminal:
press on the Start Server button and wait for all status indicators to become green:
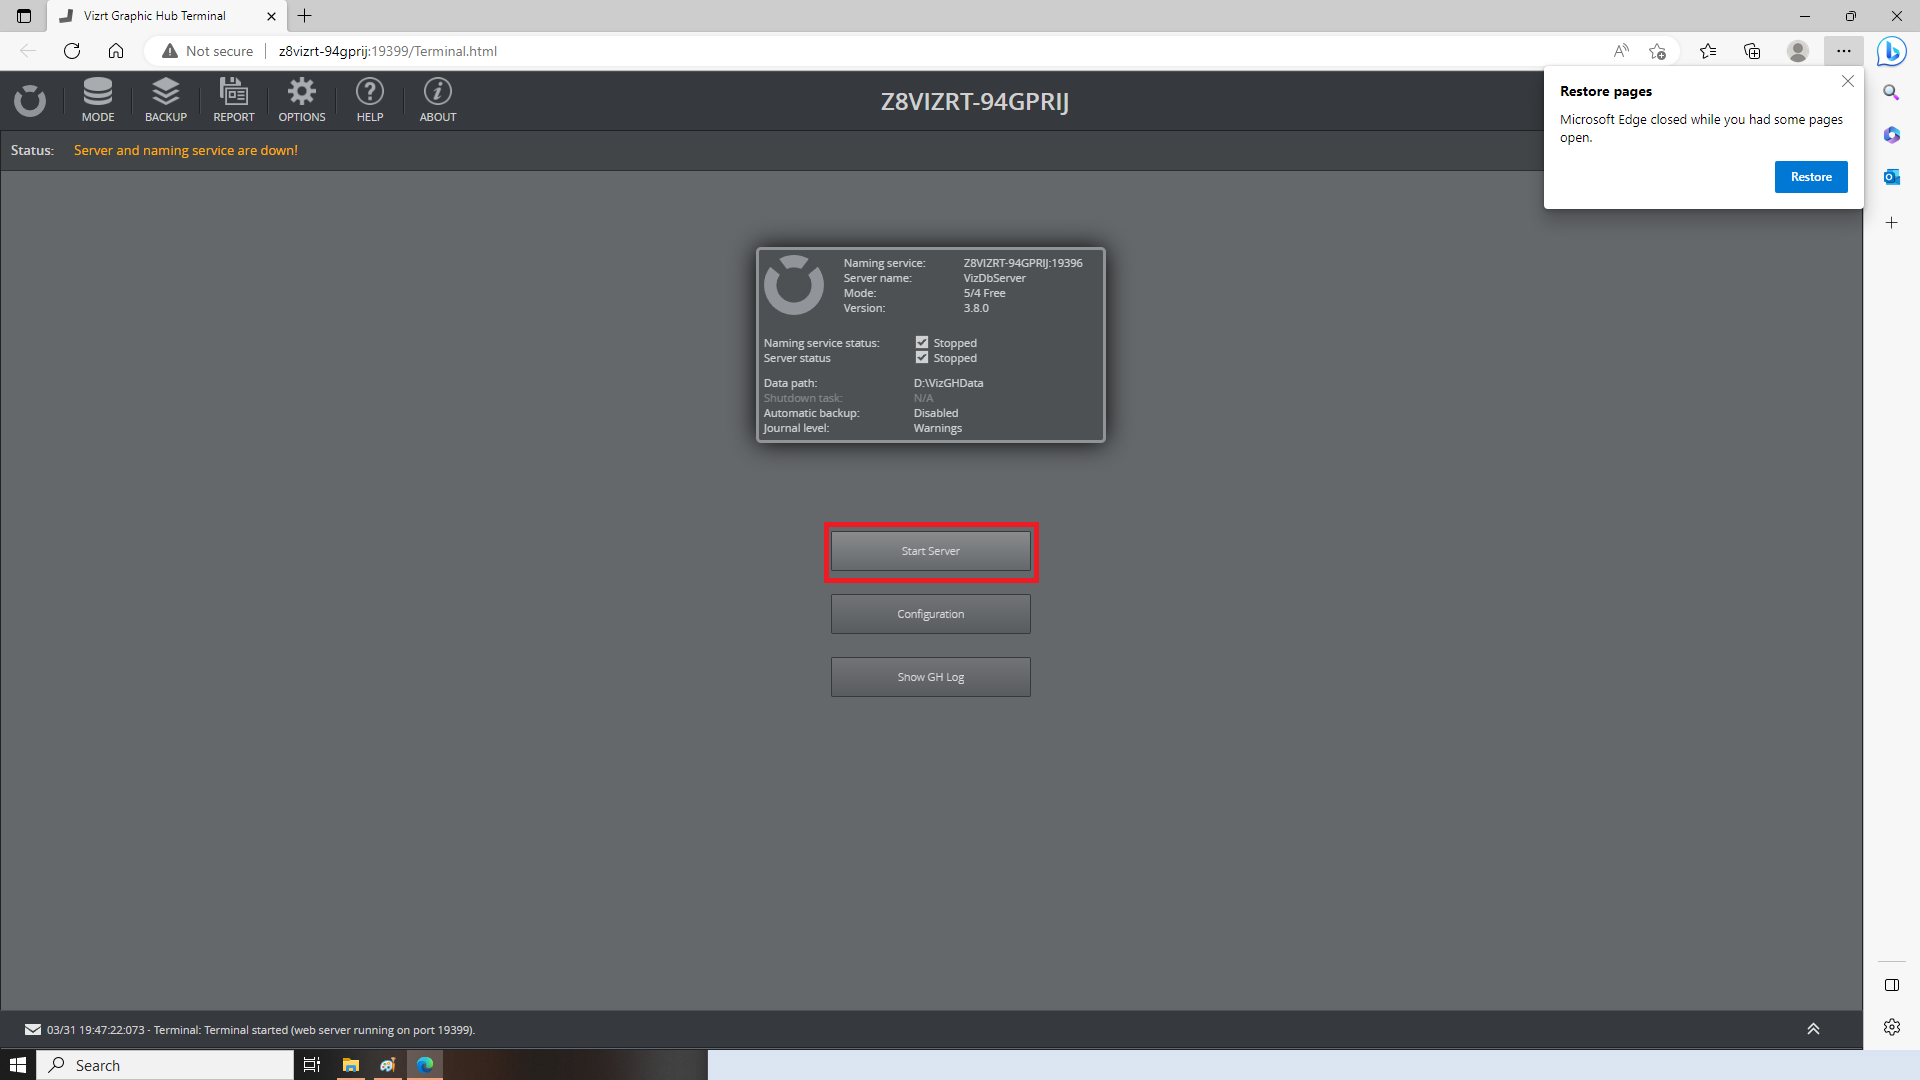
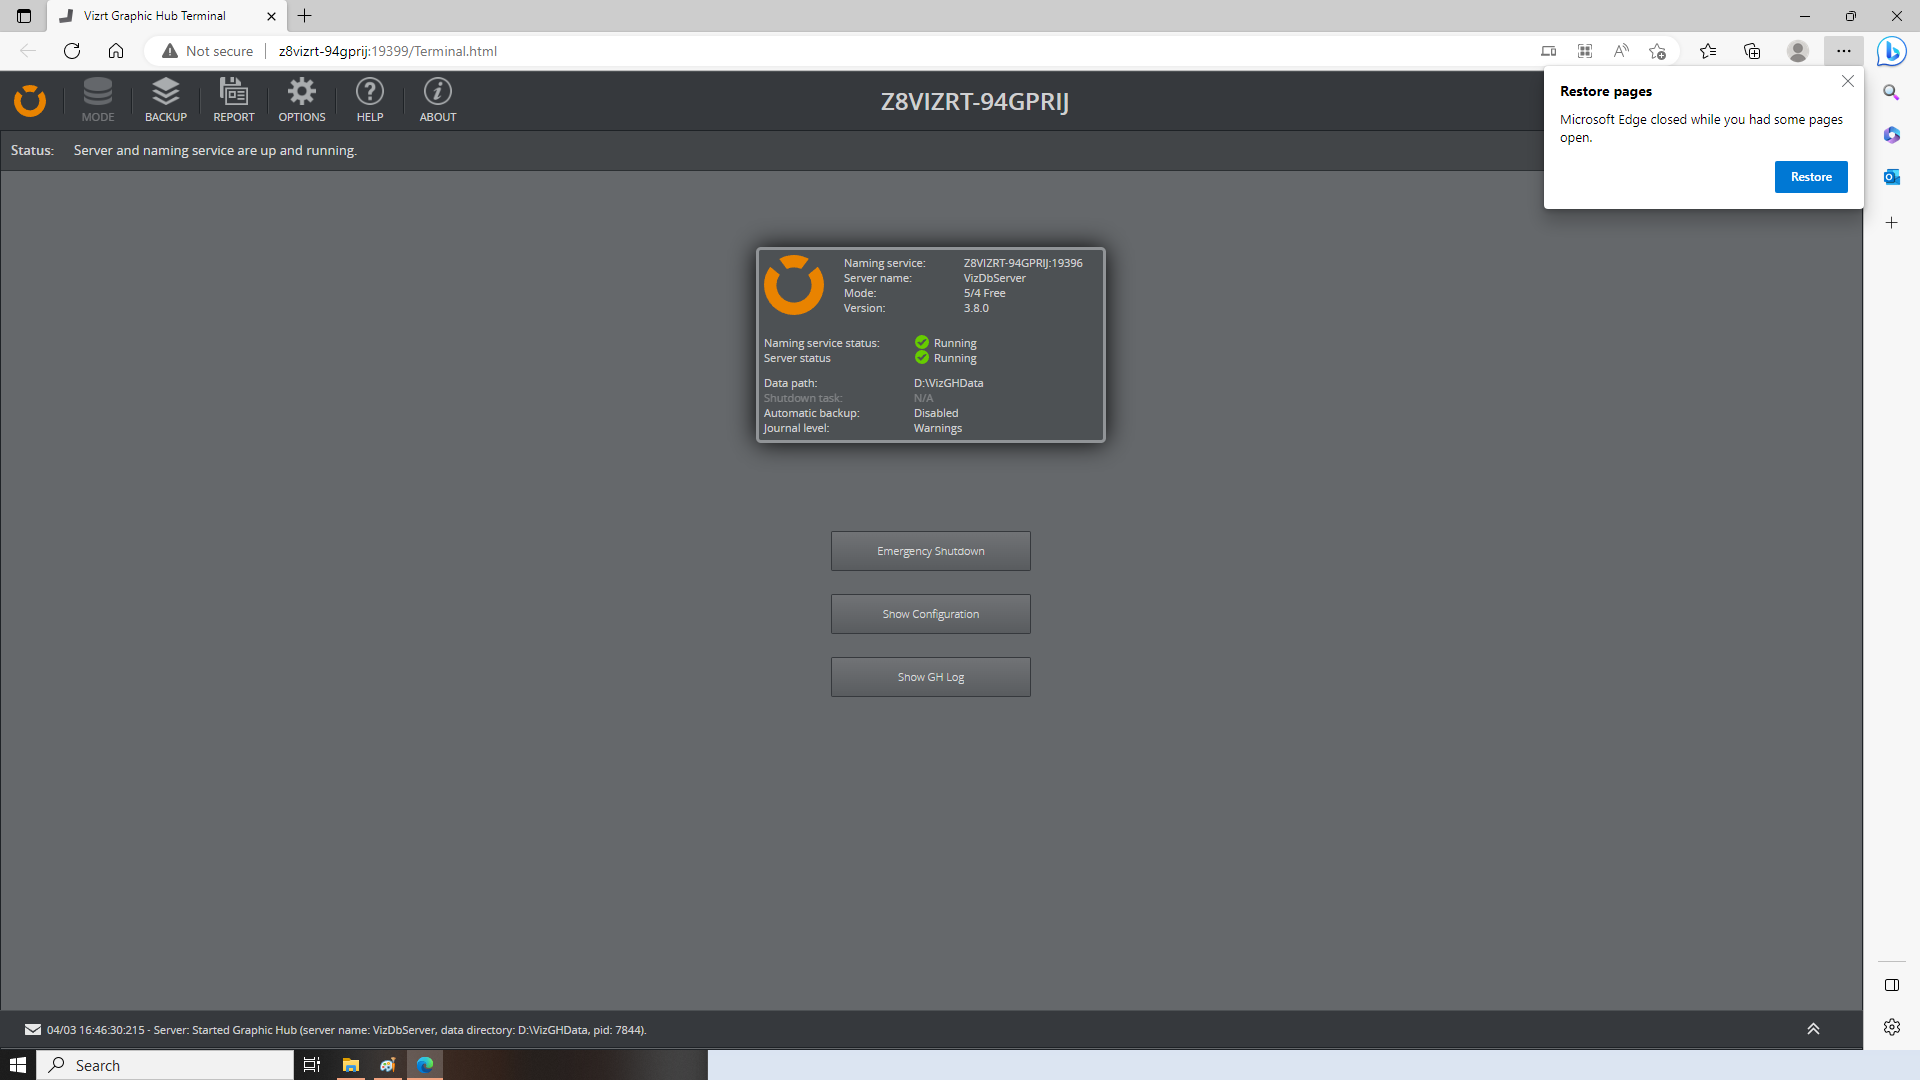
You can minimize the web browser and let it run in the background.
2. Start Tracking Hub
Launch Tracking Hub:
![]()
![]()
You can leave the console alone for now and let it run in the background.
3. Start Studio Manager
Launch Studio Manager:
Just after starting you will be prompted with a pop up window asking how to connect to Tracking Hub:
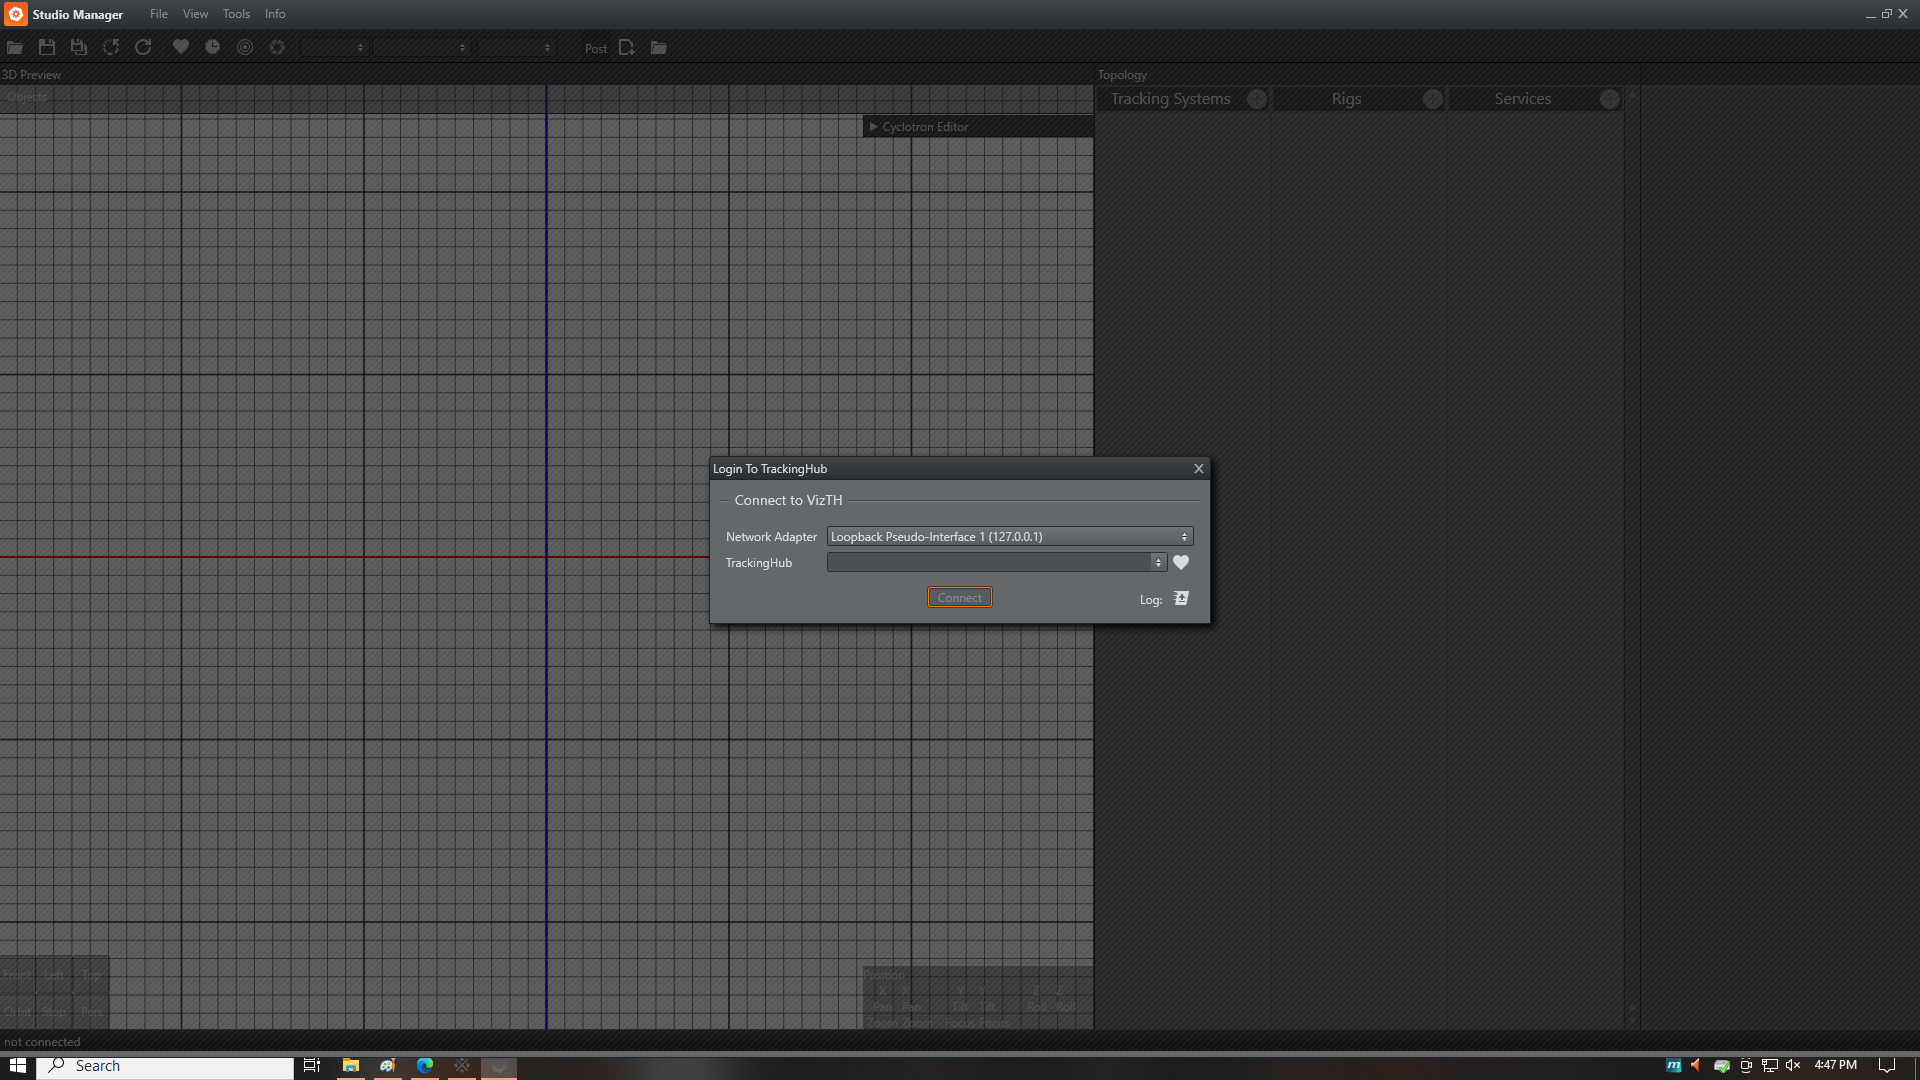
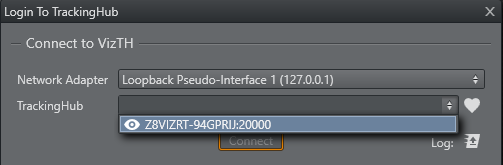
Click on the TrackingHub drop-down box and select the tracking hub instance. In usual setups there is only one tracking hub running for an entire studio, but with more complex multi-camera setups you may have multiple instances.
4. Configure Studio Manager
4.1. Node Setup
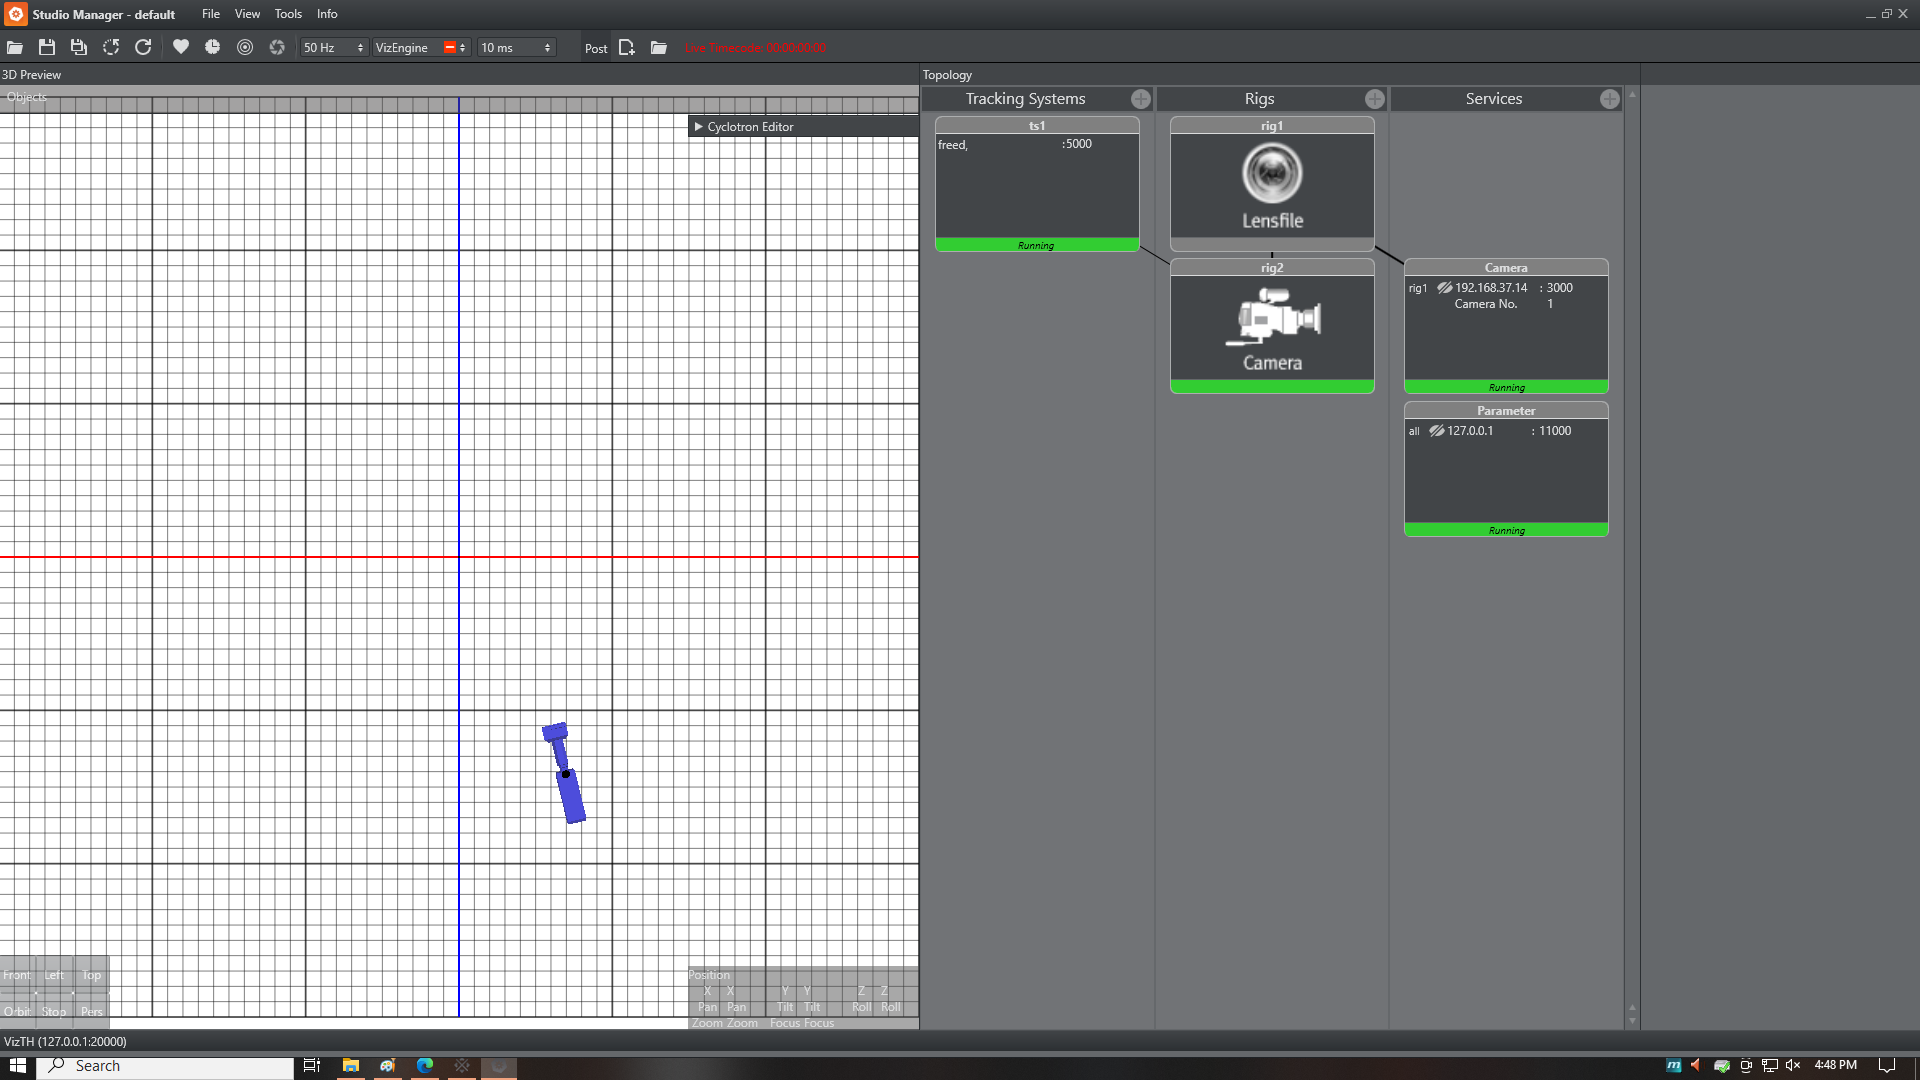
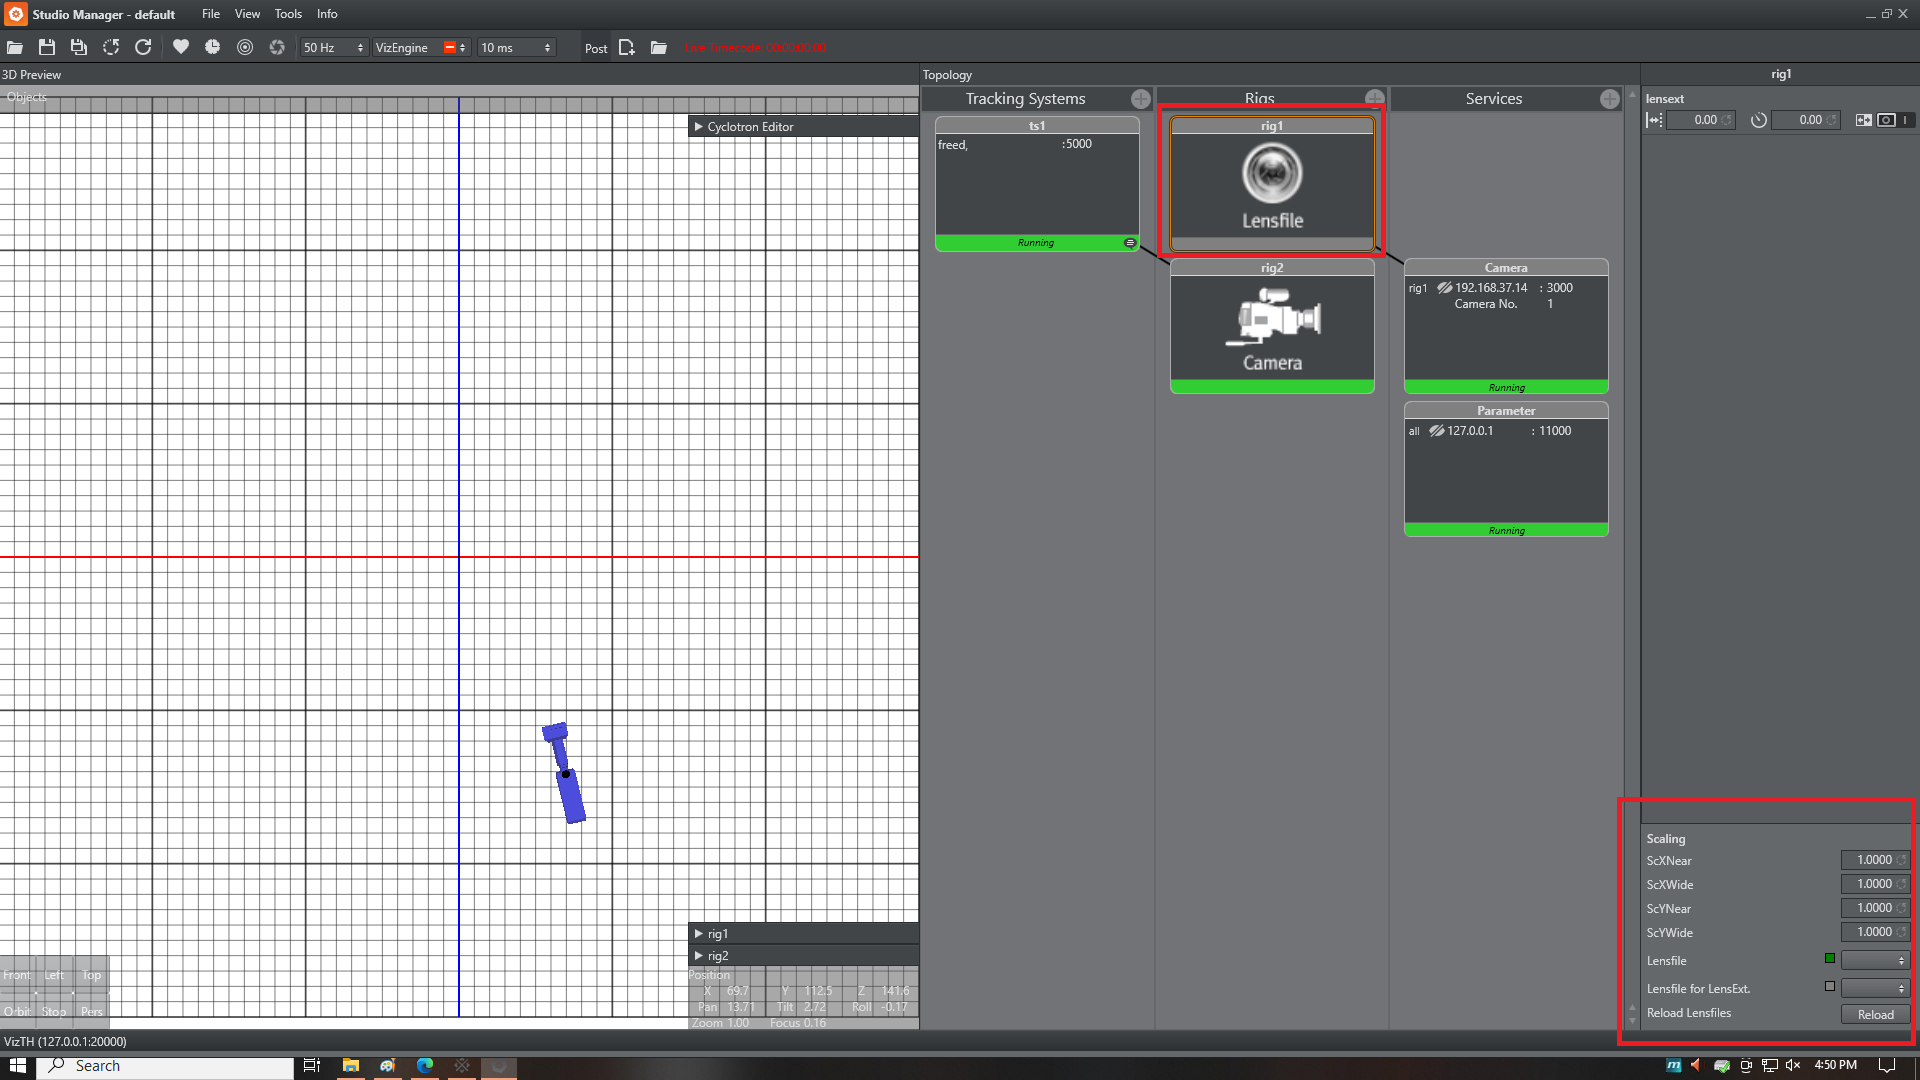
Create the following node setup for one camera:
- In Tracking Systems, put a FreeD node
- in Rigs, create a Lensfile node, then a Camera node as a child of the Lensfile
- in Services, create a Camera node
- Connect the FreeD to the Camera rig and the LensFile to the Camera service
Note
Create the Lens File node with the + icon on the right side of "Rigs". While it is selected, press the same button and select "add child > Camera". This will create a camera rig parented to the lens. You can create more complicated setups, but the Vizrt documentation states that the lens node should always be on top of the hierarchy.
4.2. Load a lens file
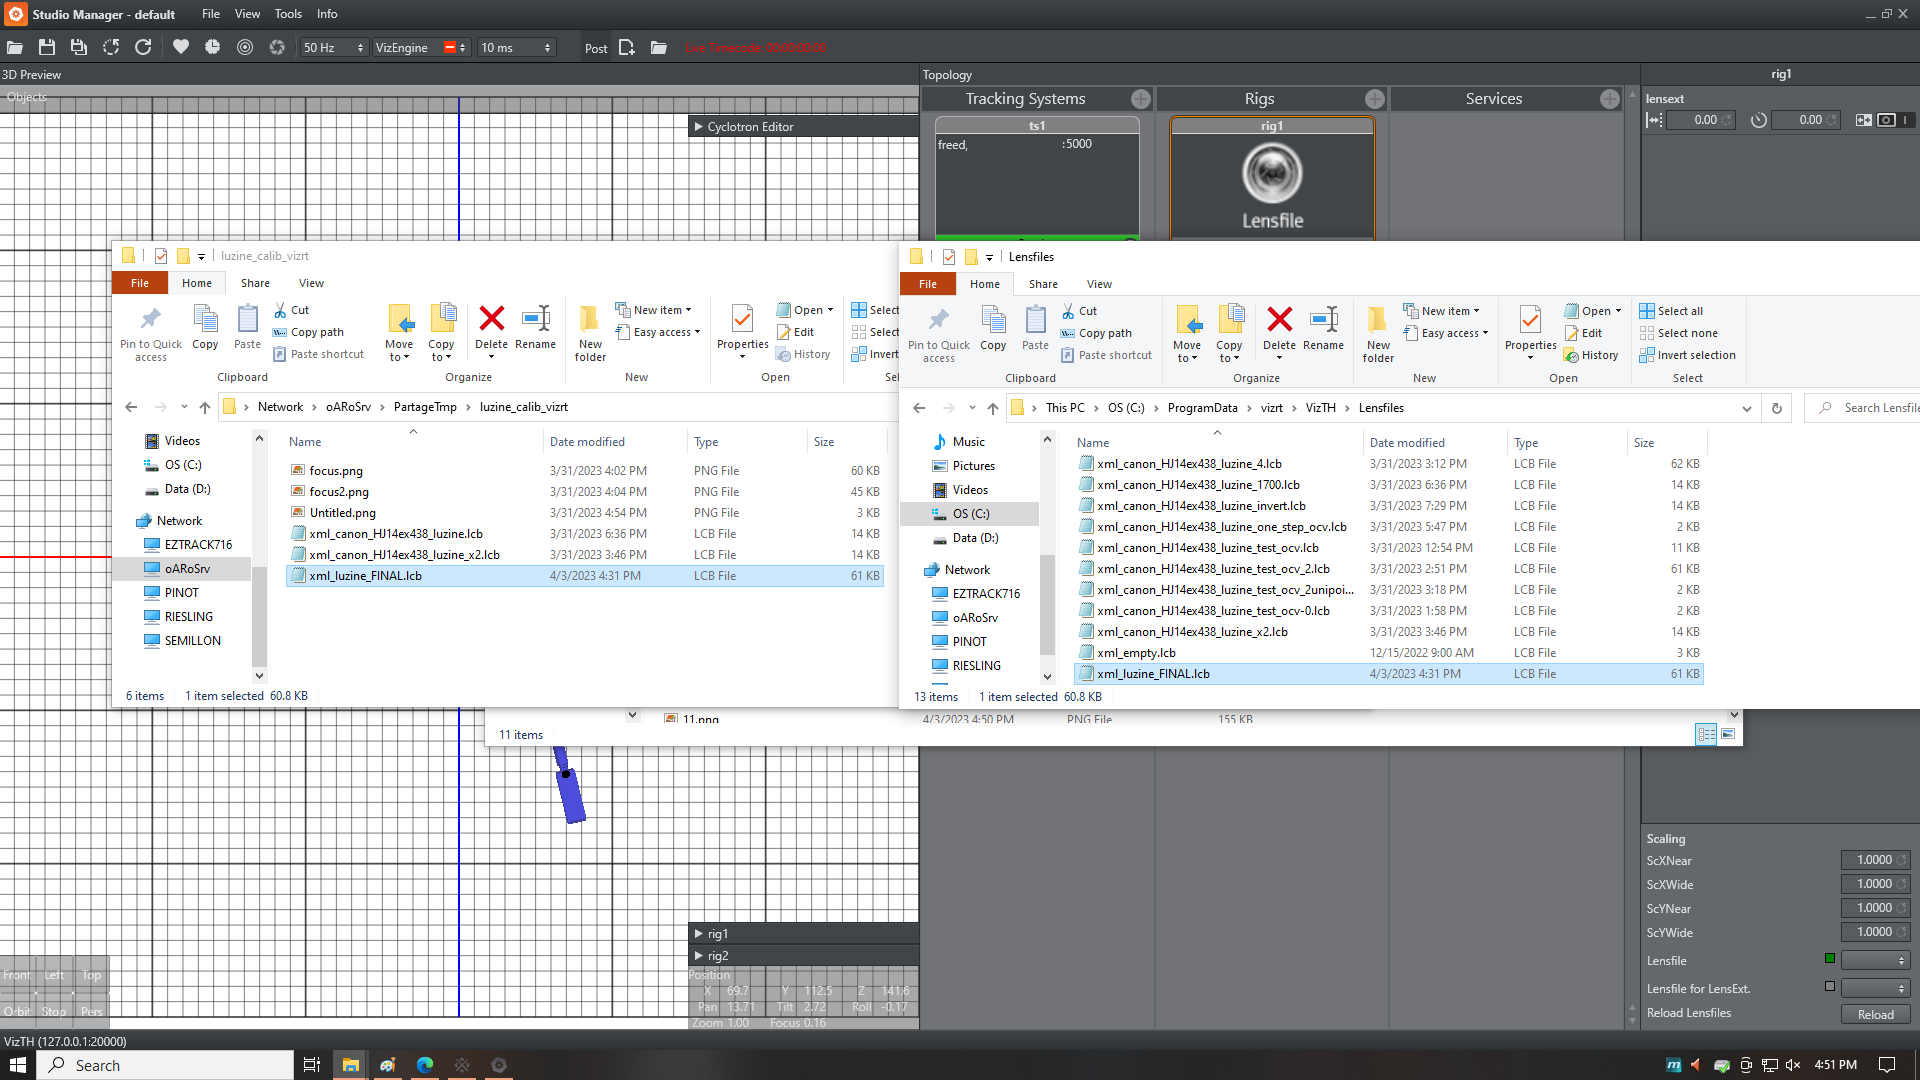
Drop the lens profile generated by ezprofile in the vizrt/VizTH/Lensfiles/ folder, in the ProgramData.
Warning
The naming of the file is important, Viz Tracking Hub will reject the file if the naming is not what it expects, or if the file exceeds 100kb.
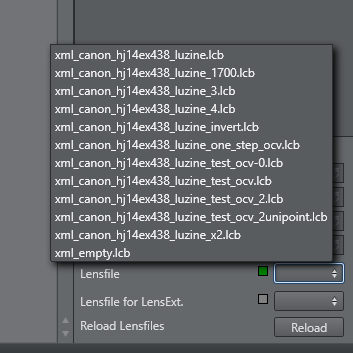
In Studio Manager, click on the LensFile node:
In the menu on the bottom-left, select the lens file in the drop down list
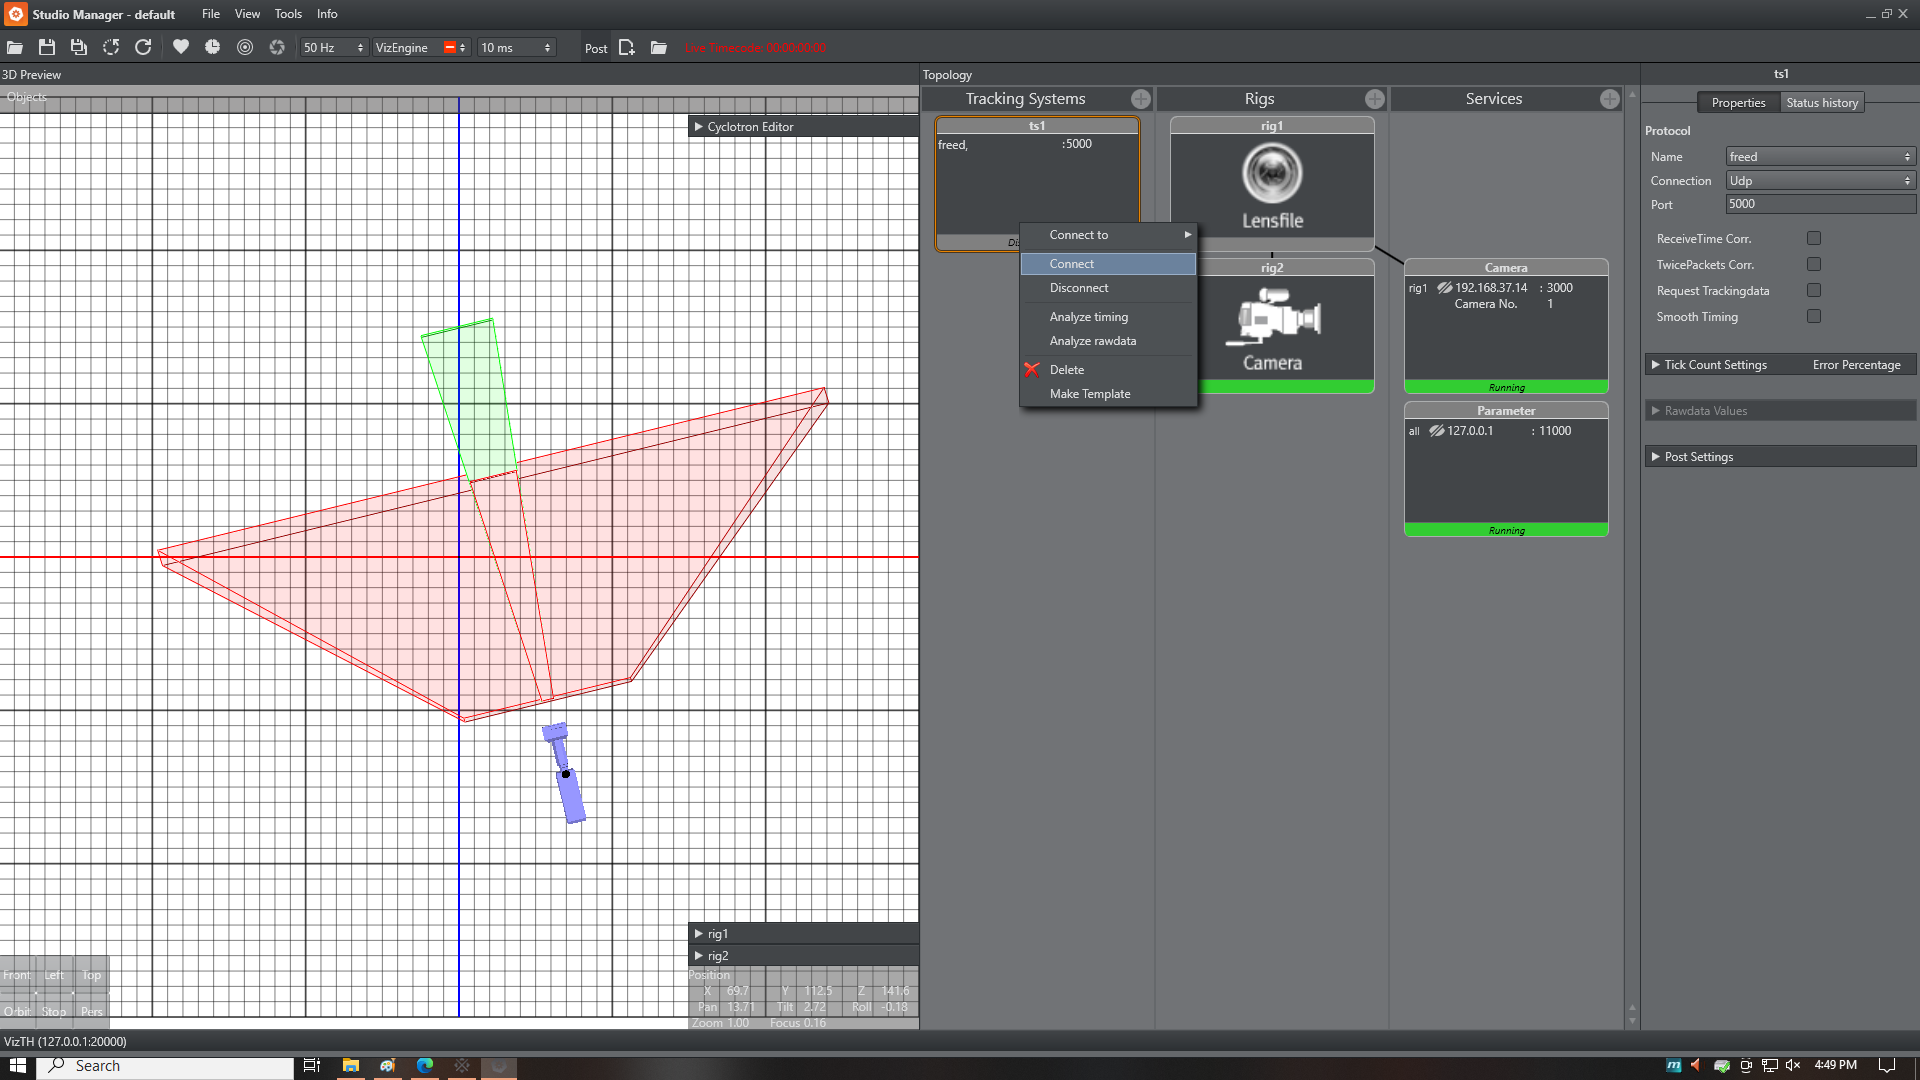
After loading the lens file, a visualization of the FOV should appear in front of the camera. Now you can connect the tracking to drive the position and the lens file. In the FreeD node, fill in the parameters on the left to match your tracking network configuration, then right-click on the node and press Connect:
4.3. Receive tracking data
Double click the connection between the FreeD and the Camera rig, to edit the values mapping:
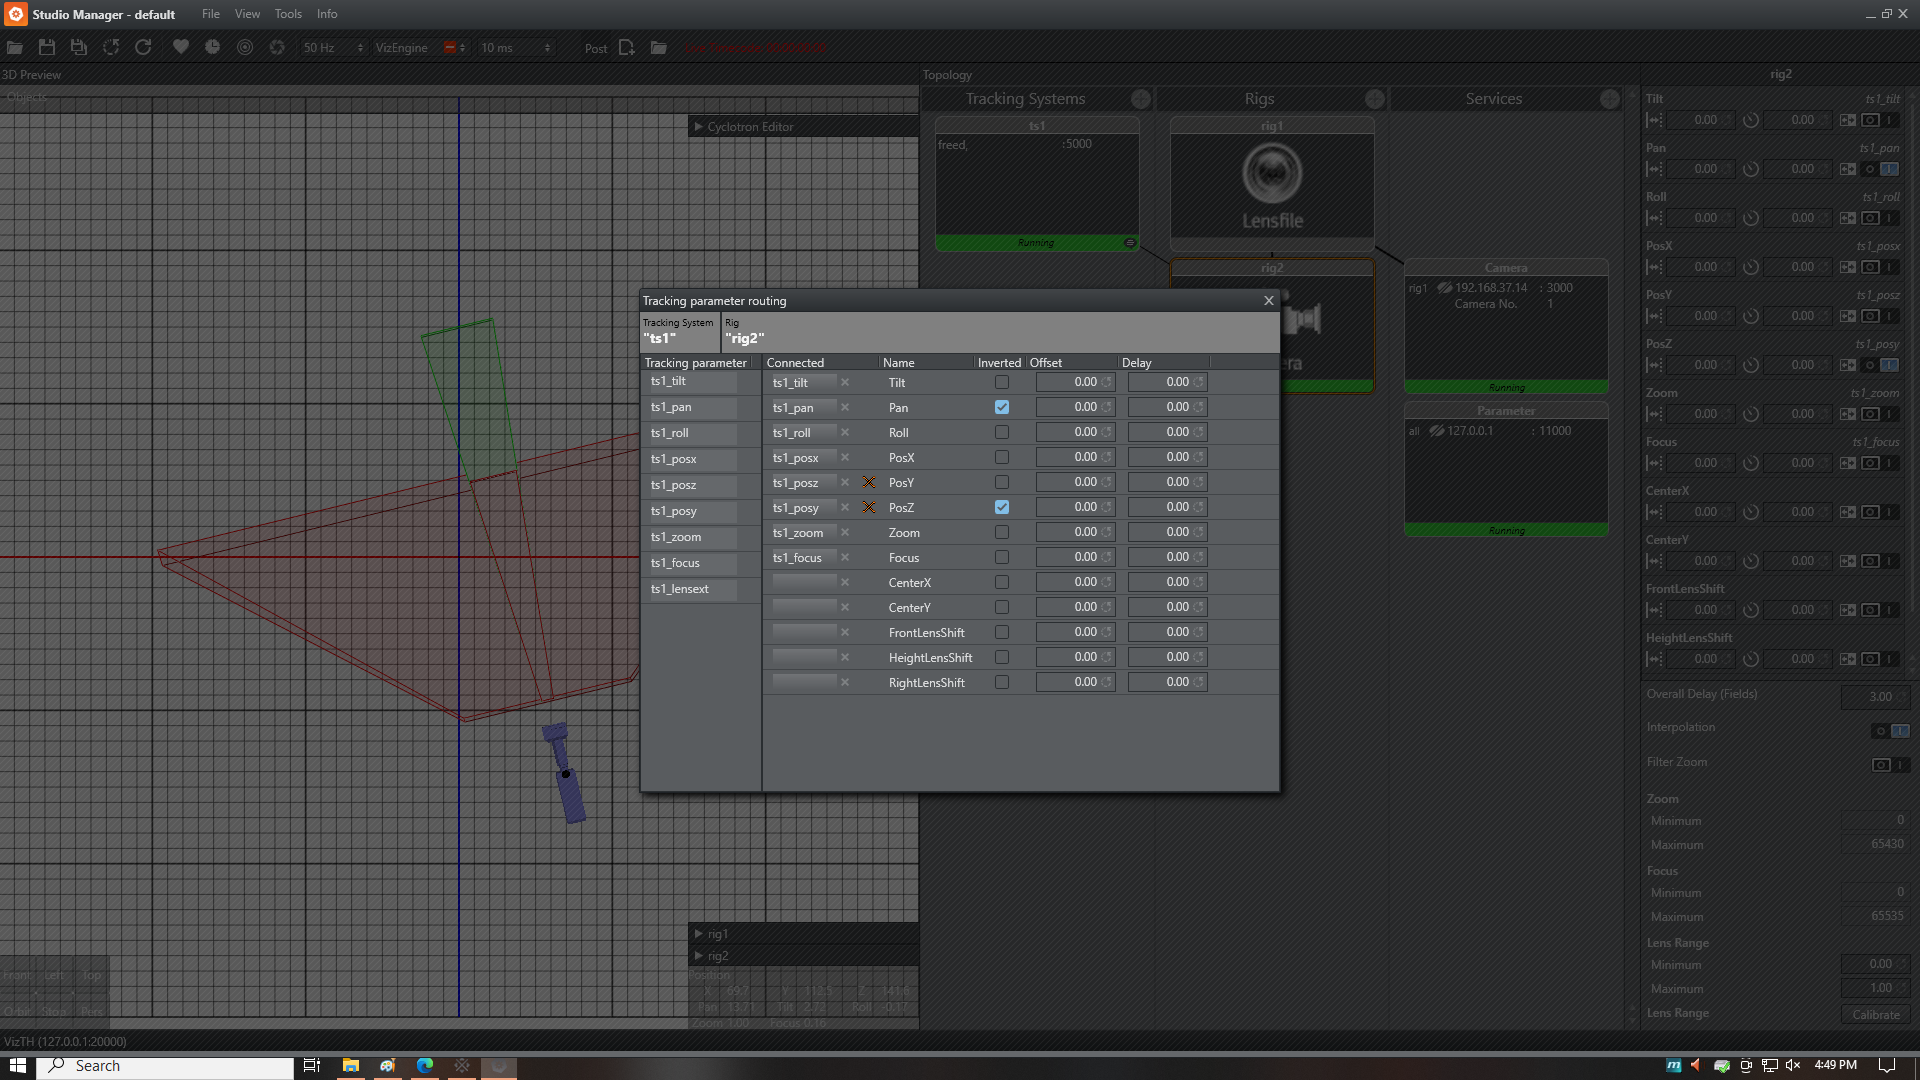
The encoder zoom and focus should be sent to the camera rig. The lens rig does not need to be connected to the tracking, it inherits the encoder values from the camera rig.
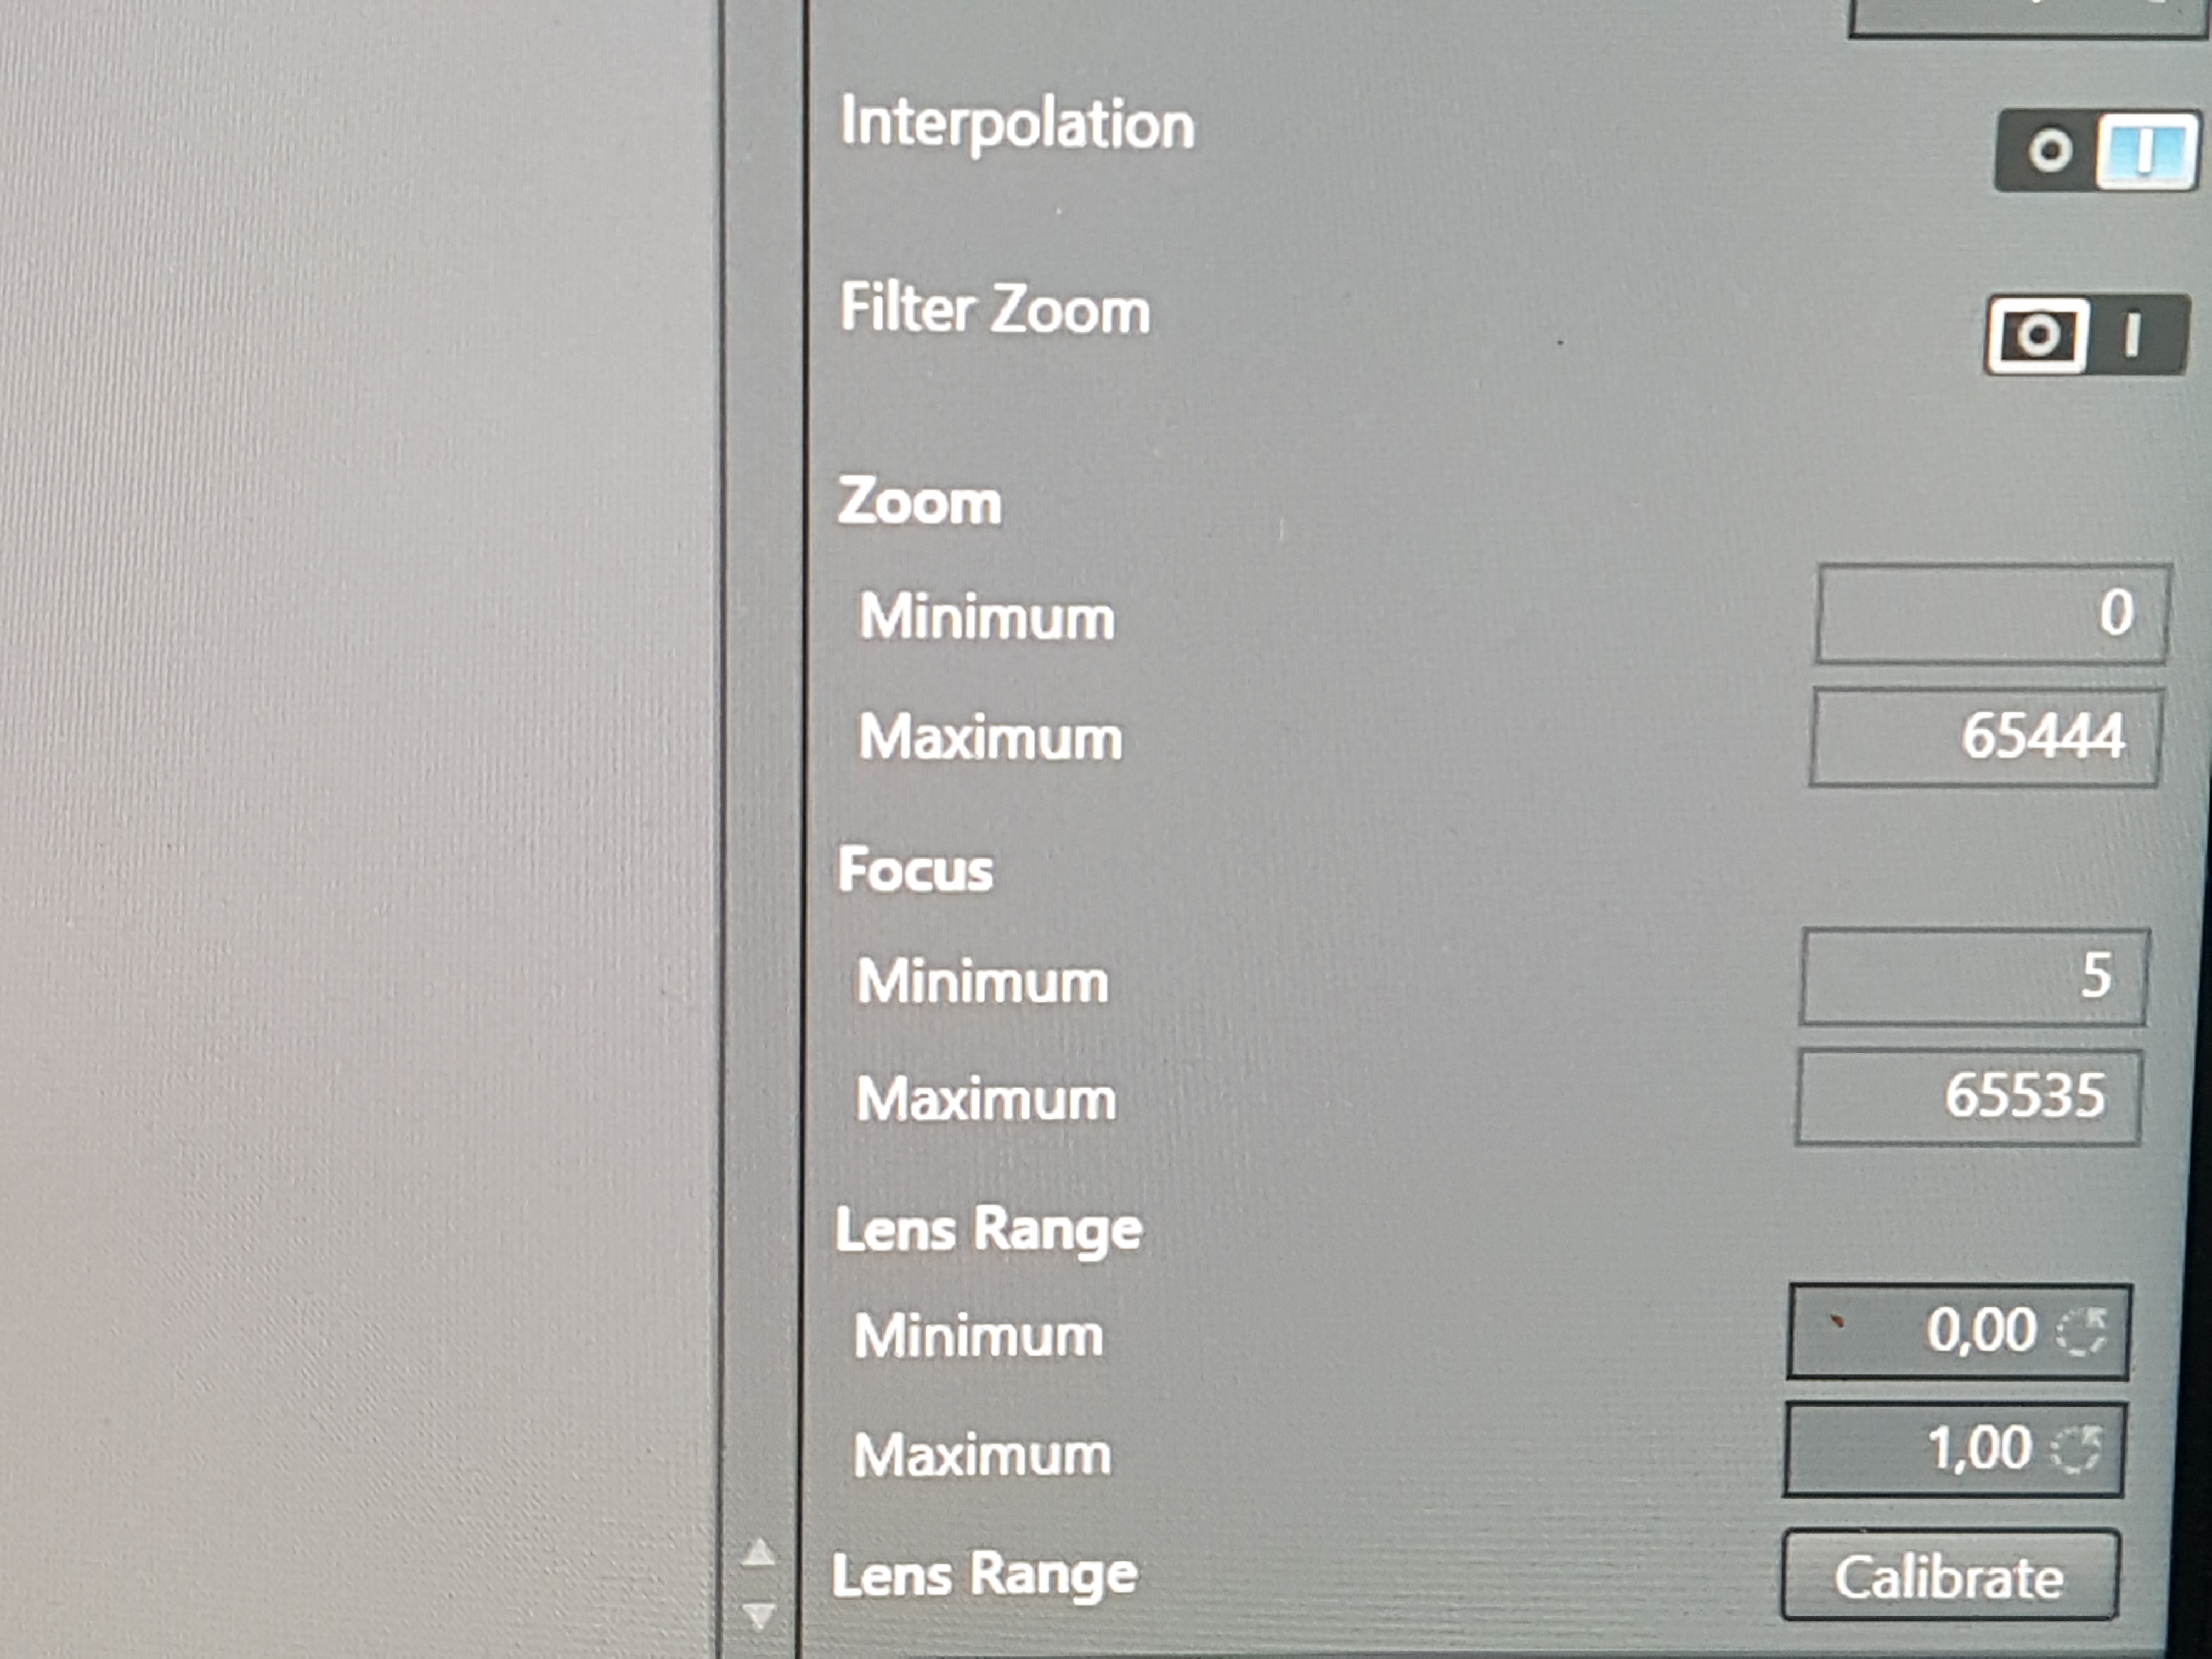
Now in the Camera rig, you need to calibrate the lens zoom and focus encoder range. Press the calibrate button, then move the lens between the minimum and maximum control stoppers:
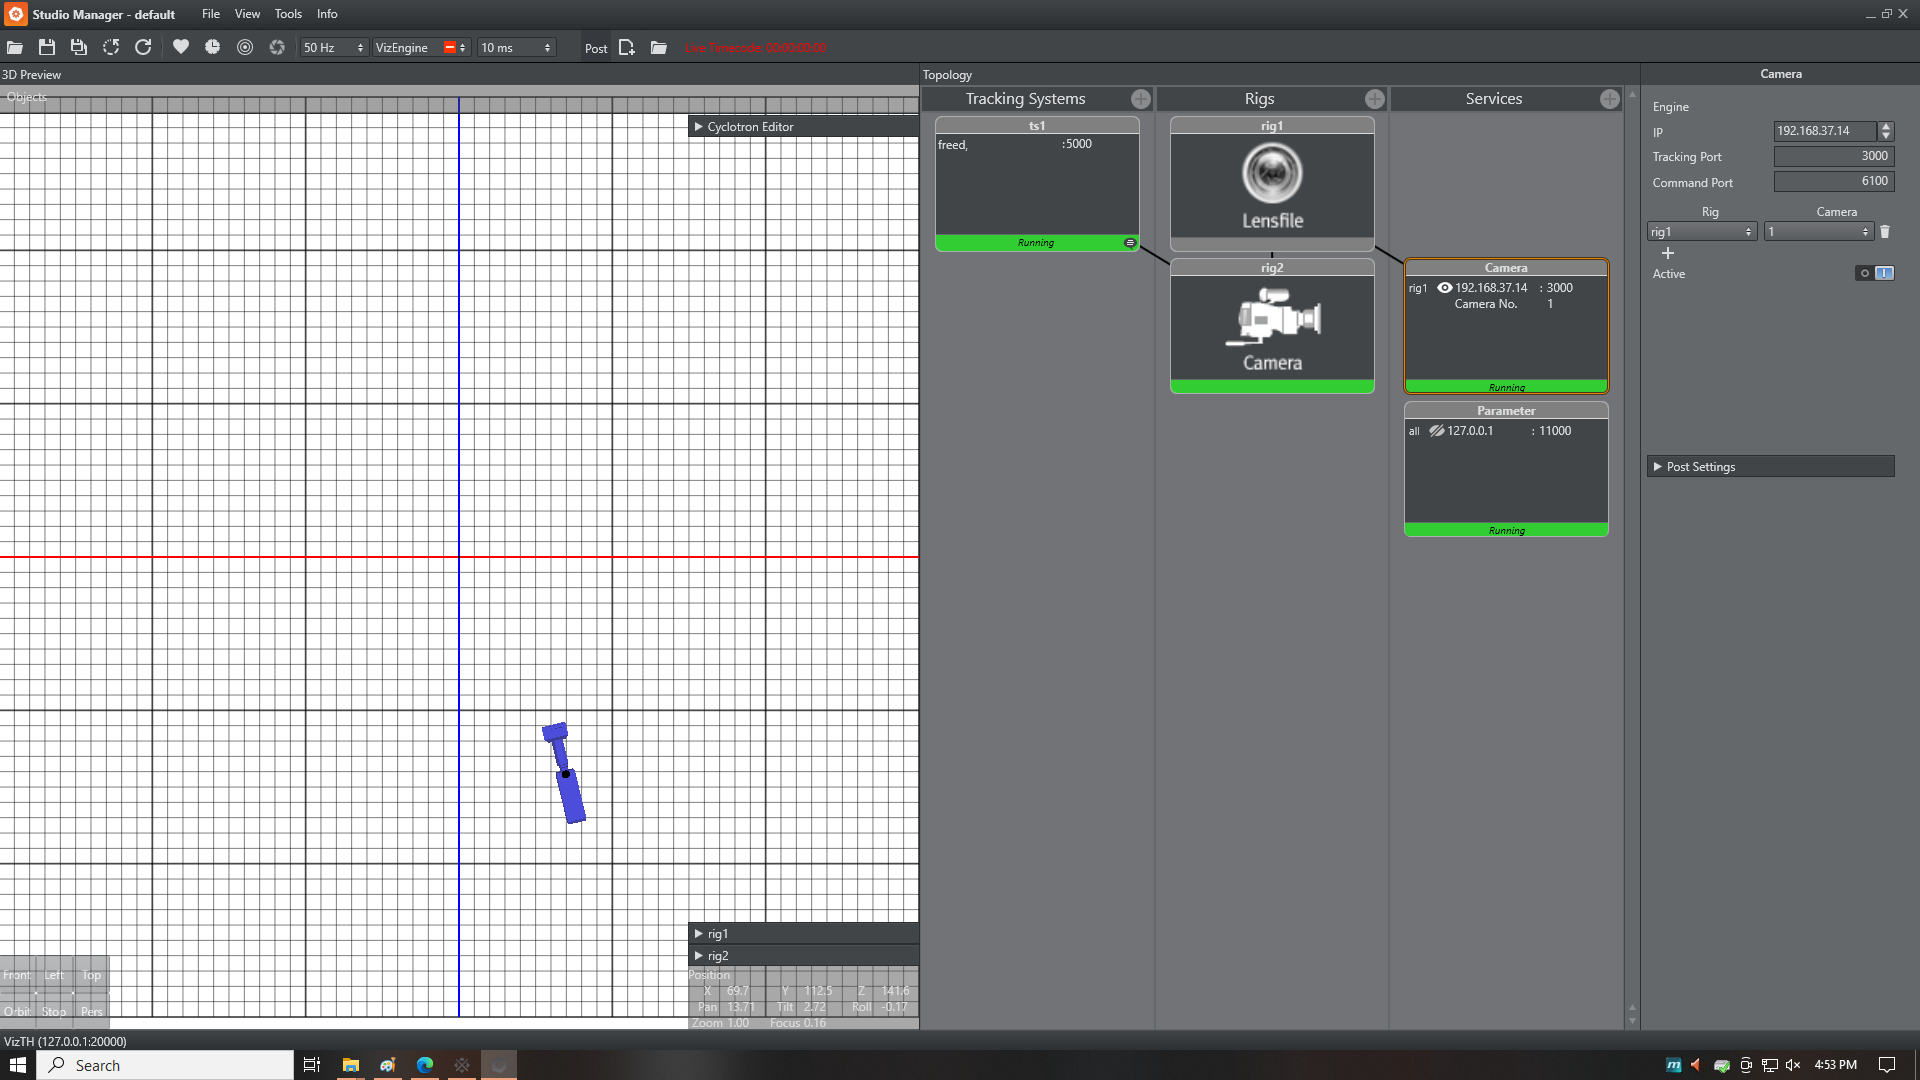
4.4. Make the tracked camera available to Viz Artist
Create a Camera Service and in its control panel on the right, click on the "+" sign under Rig to select the Lensfile rig and connect it to the camera that will be using it in Viz Artist: This also means the tracking port, command port and IP should correspond to the ones configured in Viz Artist:
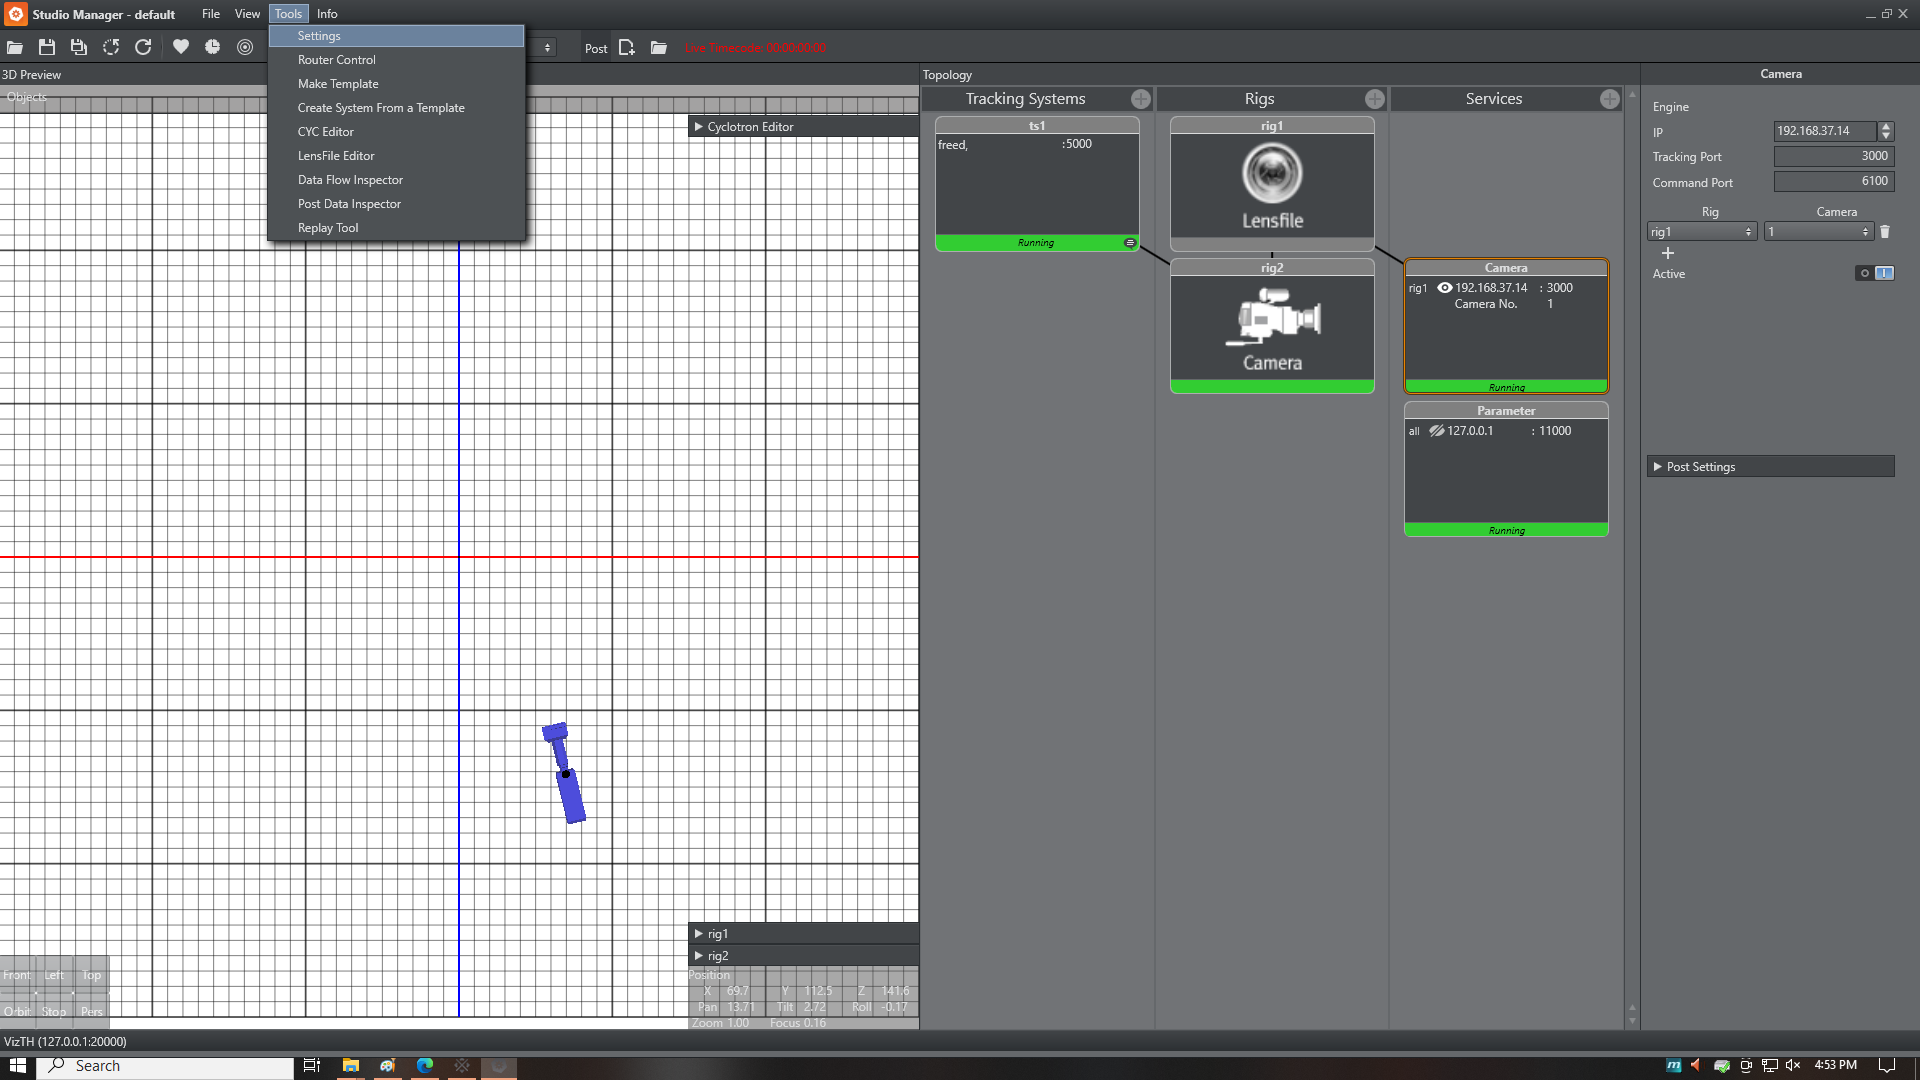
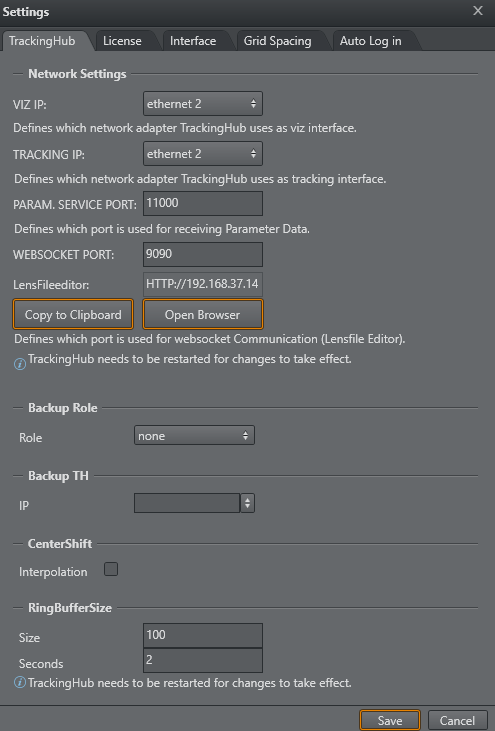
In the top menu, in Tools->Settings, check the network settings. They should correspond to the values specified in Viz Artist as well. Make sure VIZ IP and TRACKING IP are not empty:
5. Configure Viz Artist 5
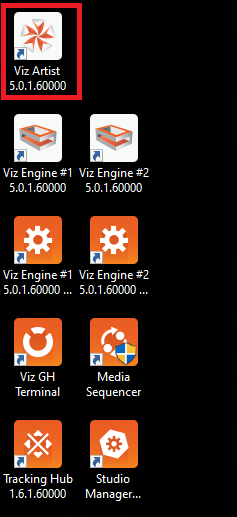
Launch Viz Artist:
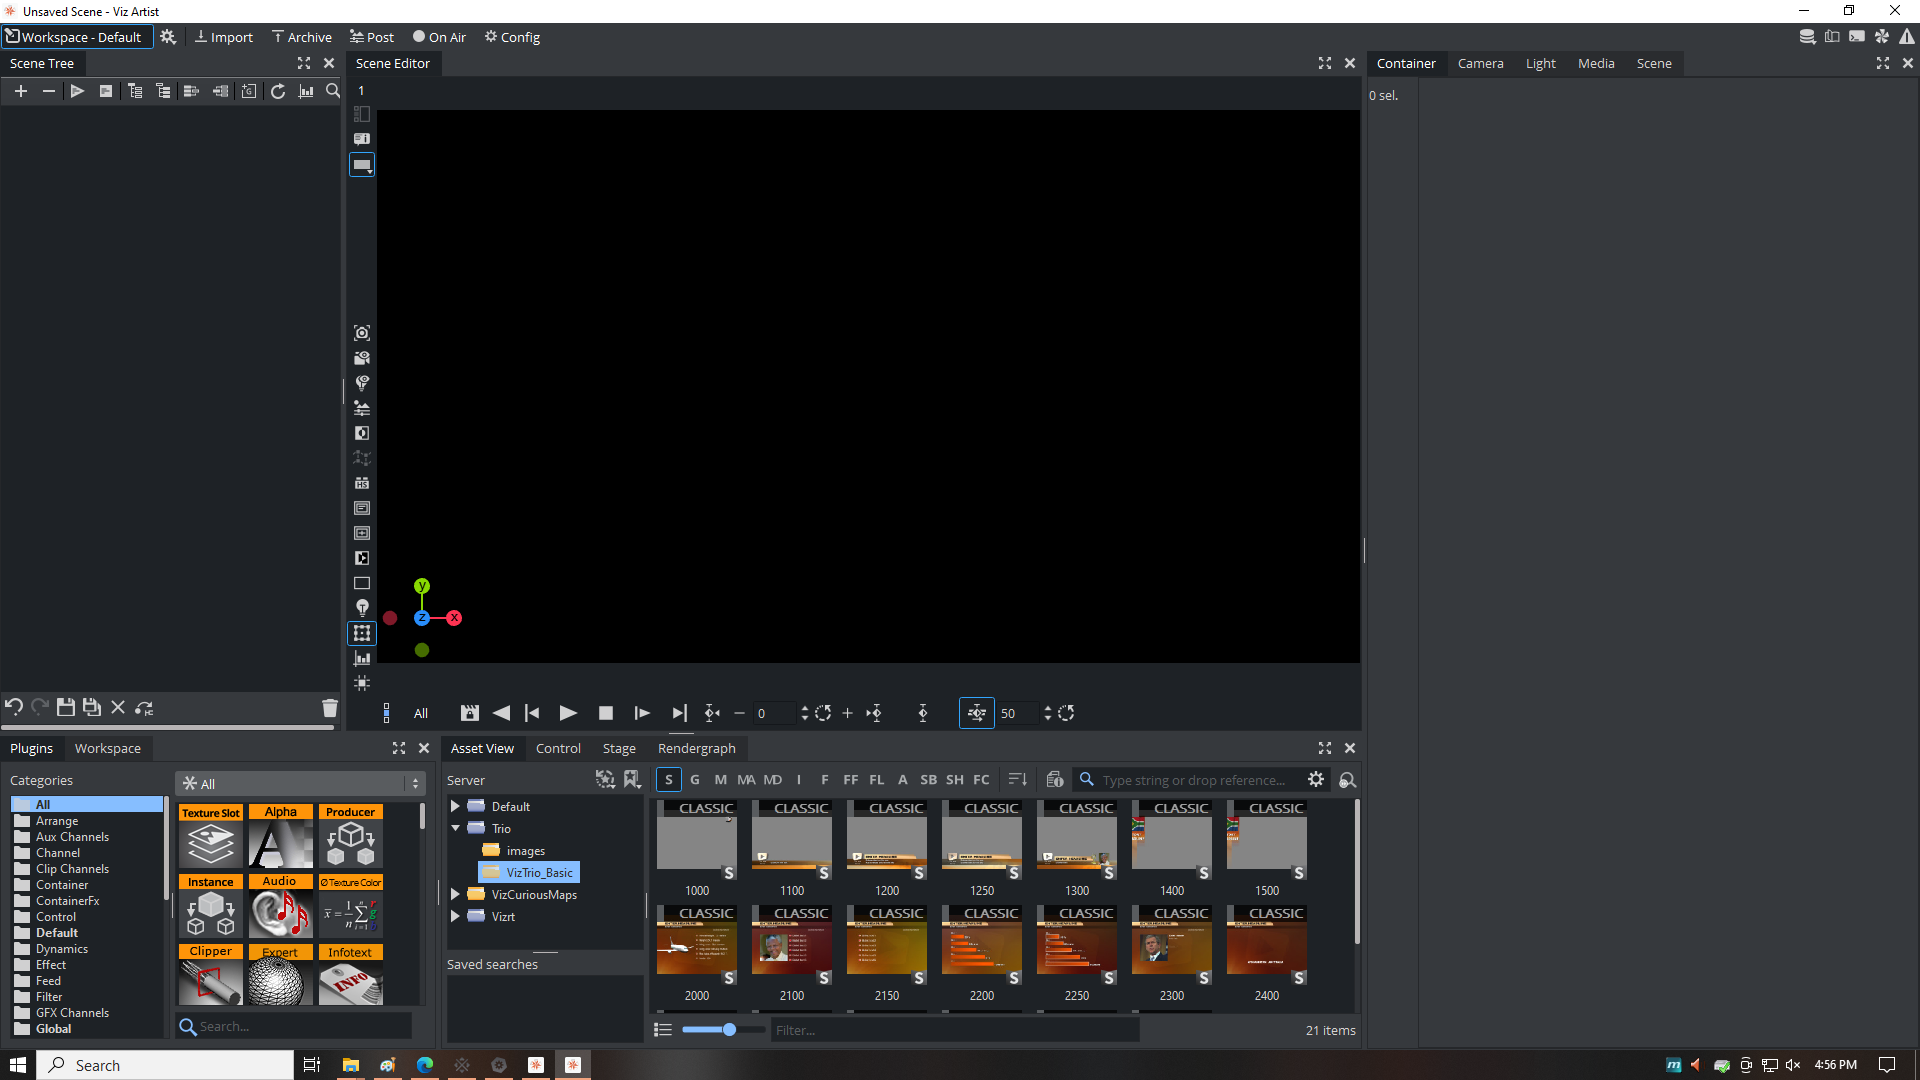
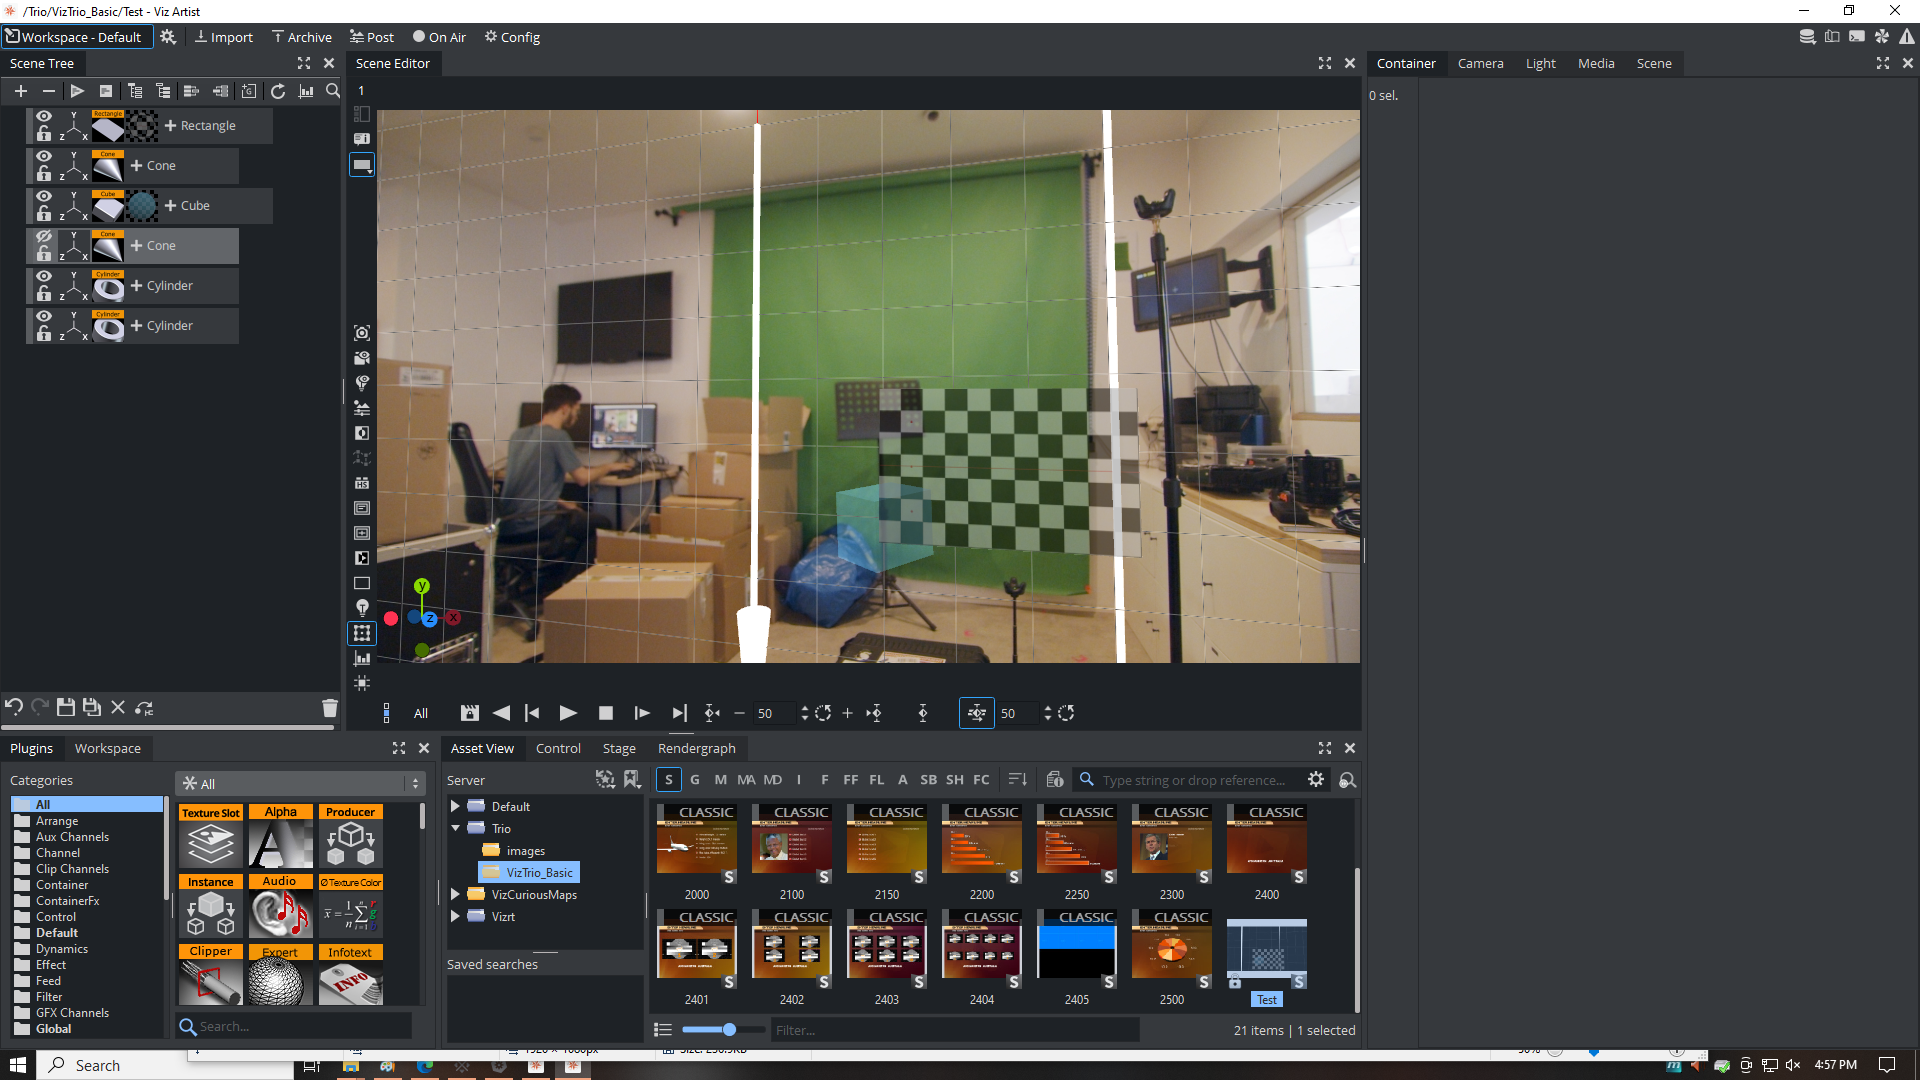
Here we open a project with video I/O already configured and some 3D elements. See the Vizrt documentation to learn how to do this.
5.1. Camera settings
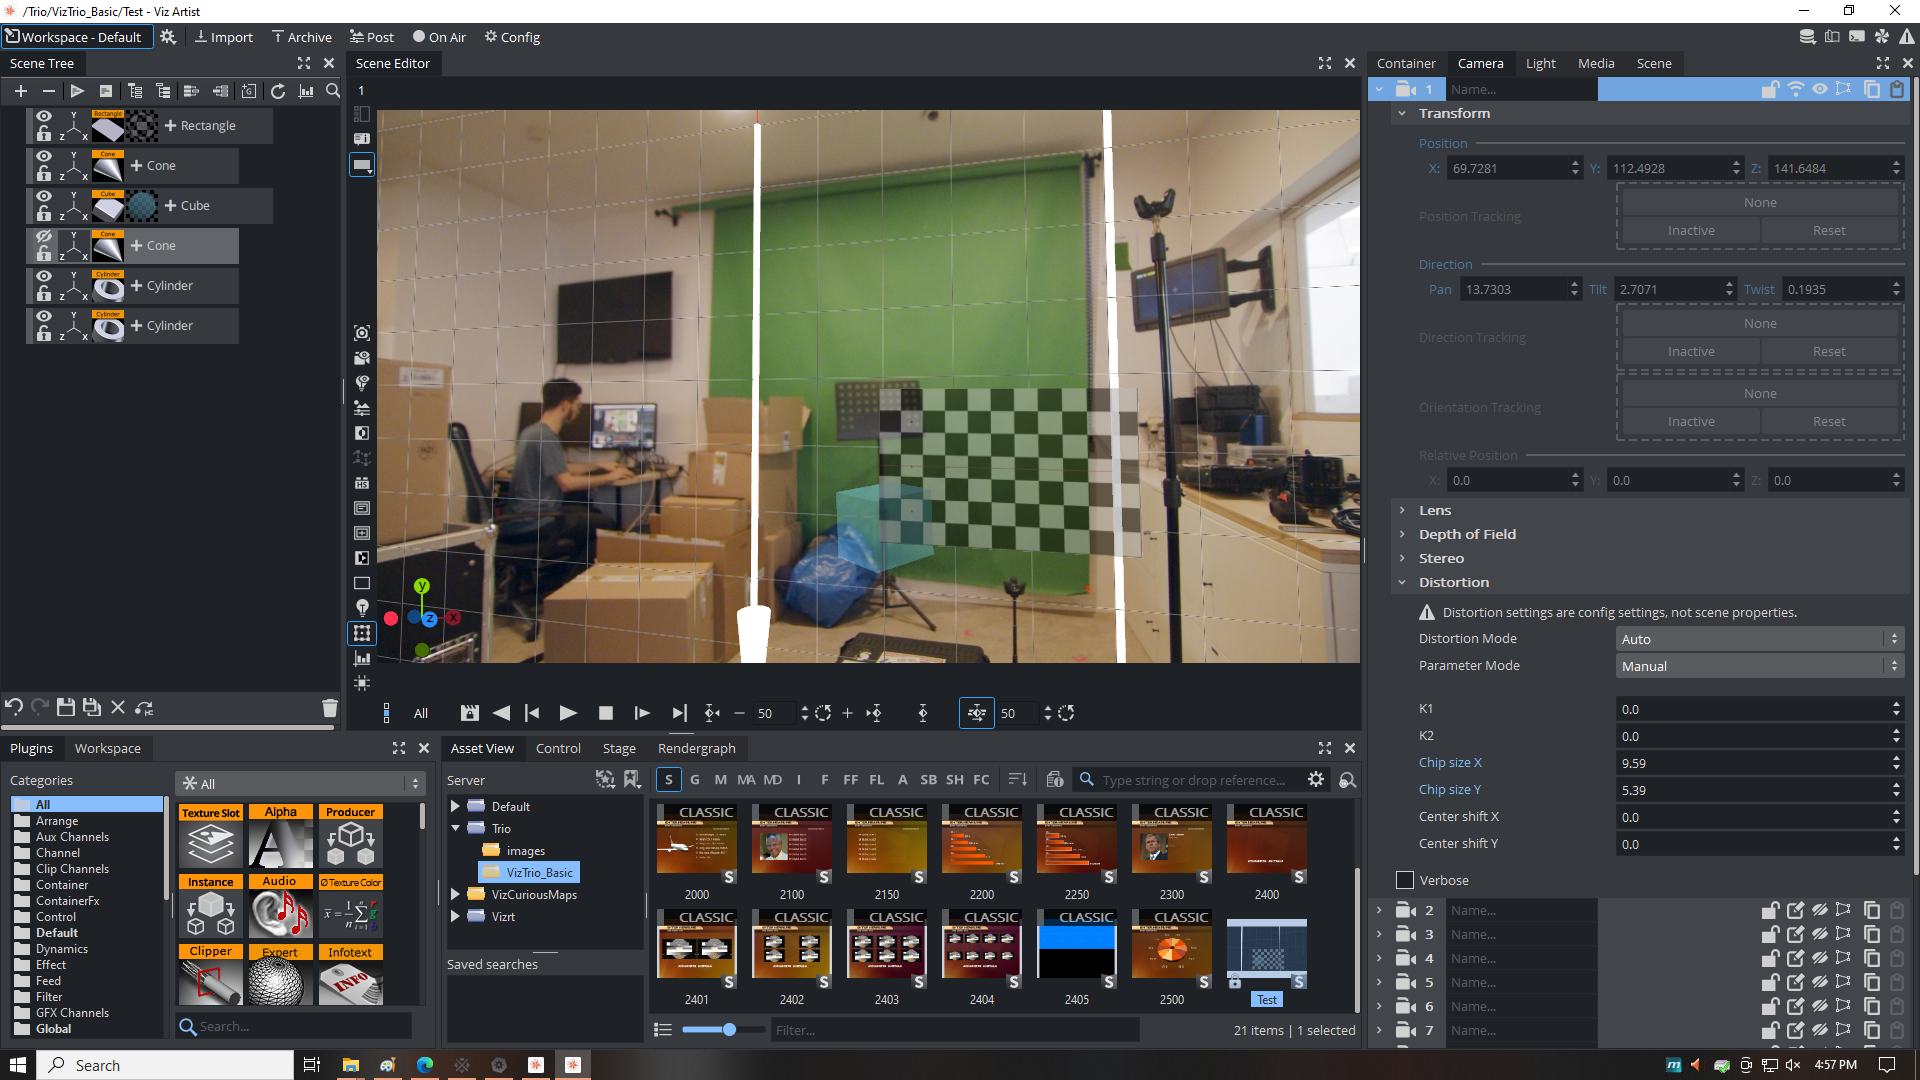
in the top-right menu, click on Camera to open the properties of all cameras on the left. Open the details for Camera 1 (or any other camera you have configured in Studio Manager):

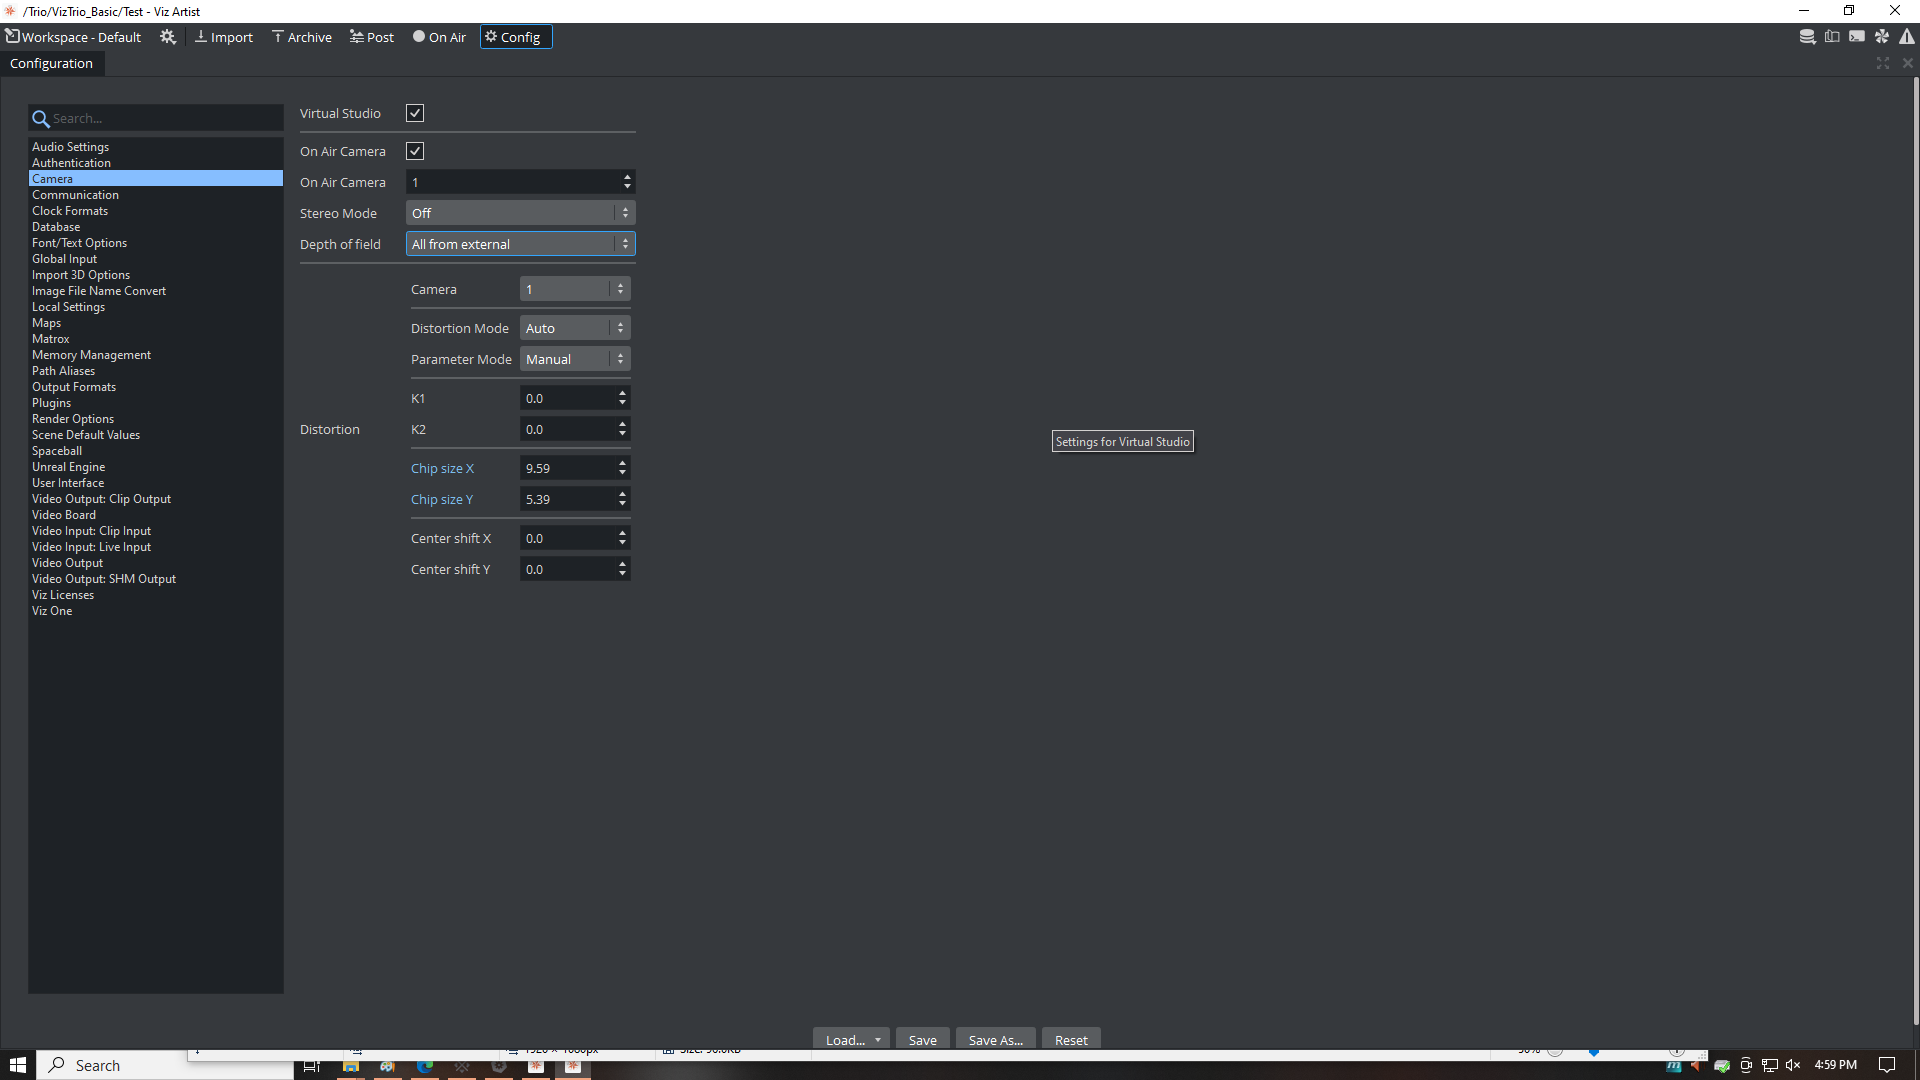
Open the Distortion panel. Set the Distortion Mode to "Auto" and the Parameter Mode to "Manual".
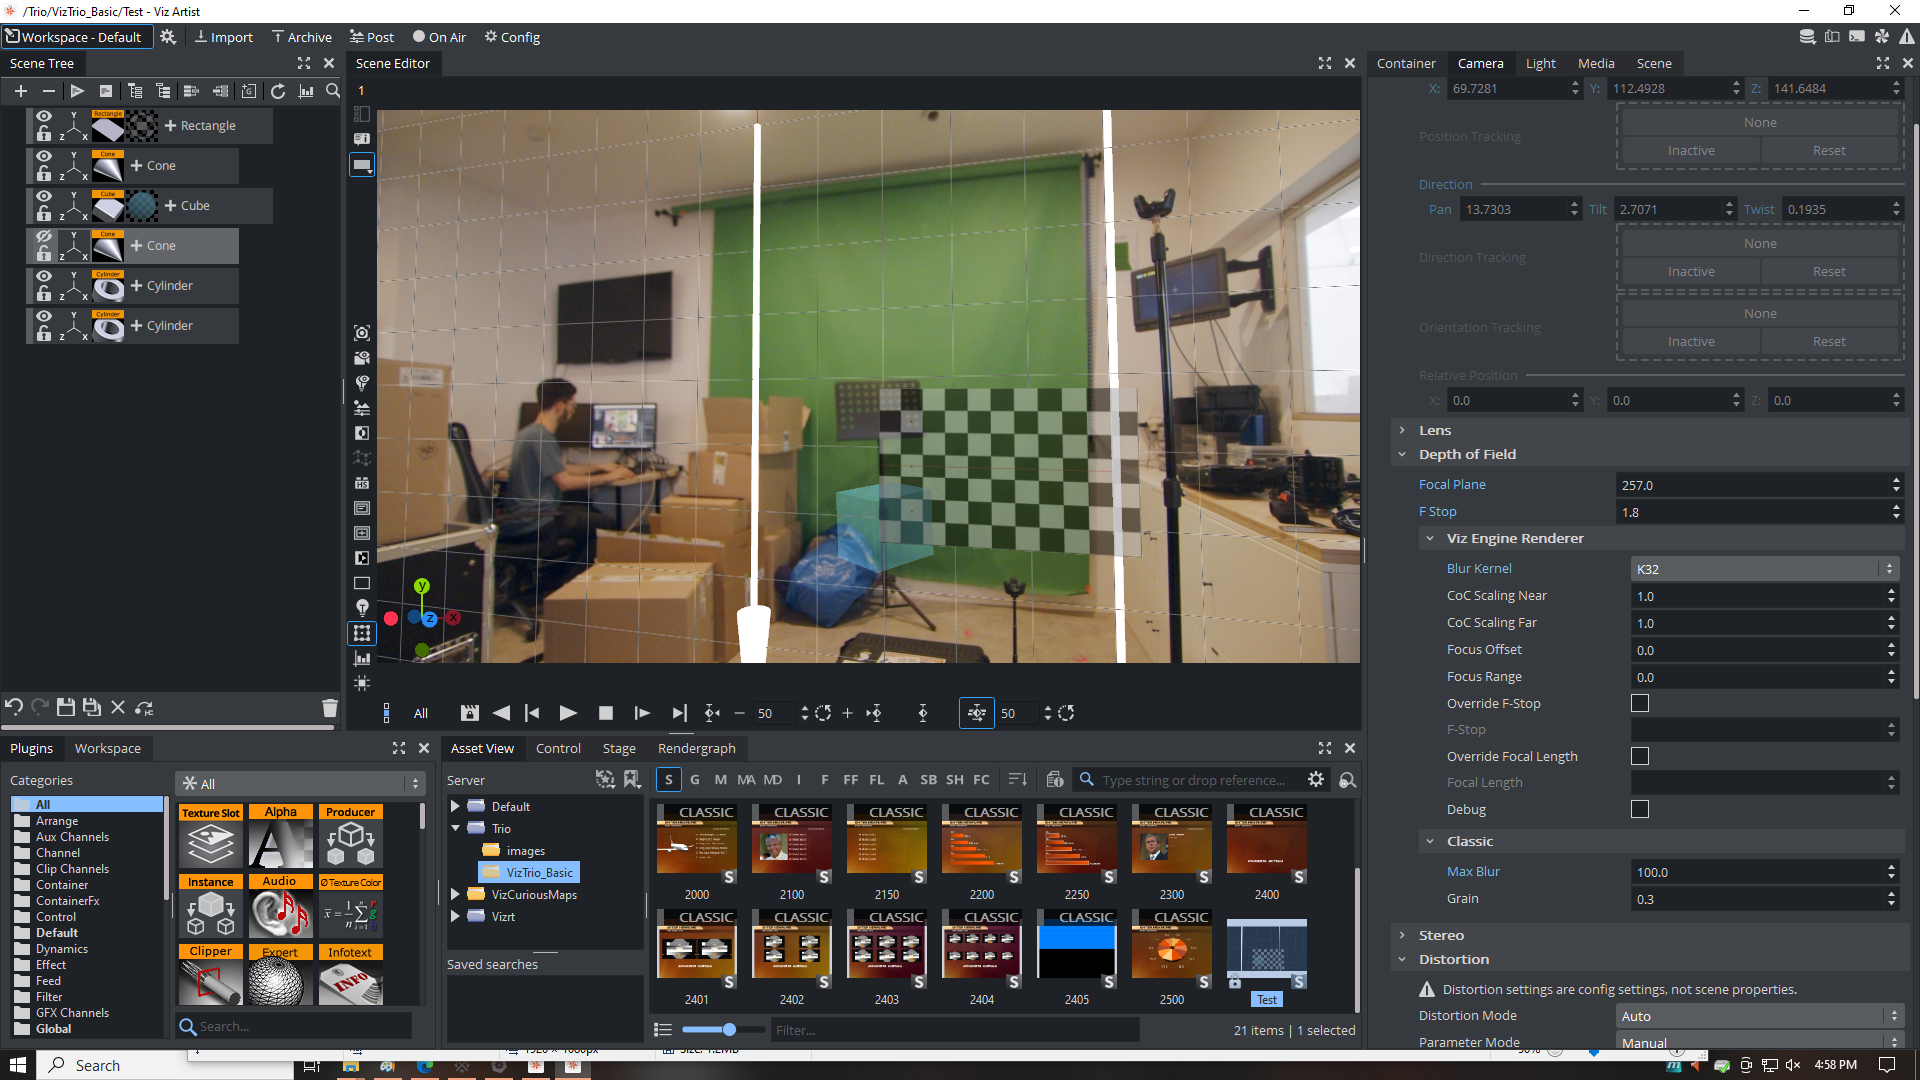
Open the Depth of Field panel. Choose the K32 blur kernel as it gives the best quality DoF and set Max Blur to 100. You can override F-Stop to match the real bokeh:
5.2. Scene settings
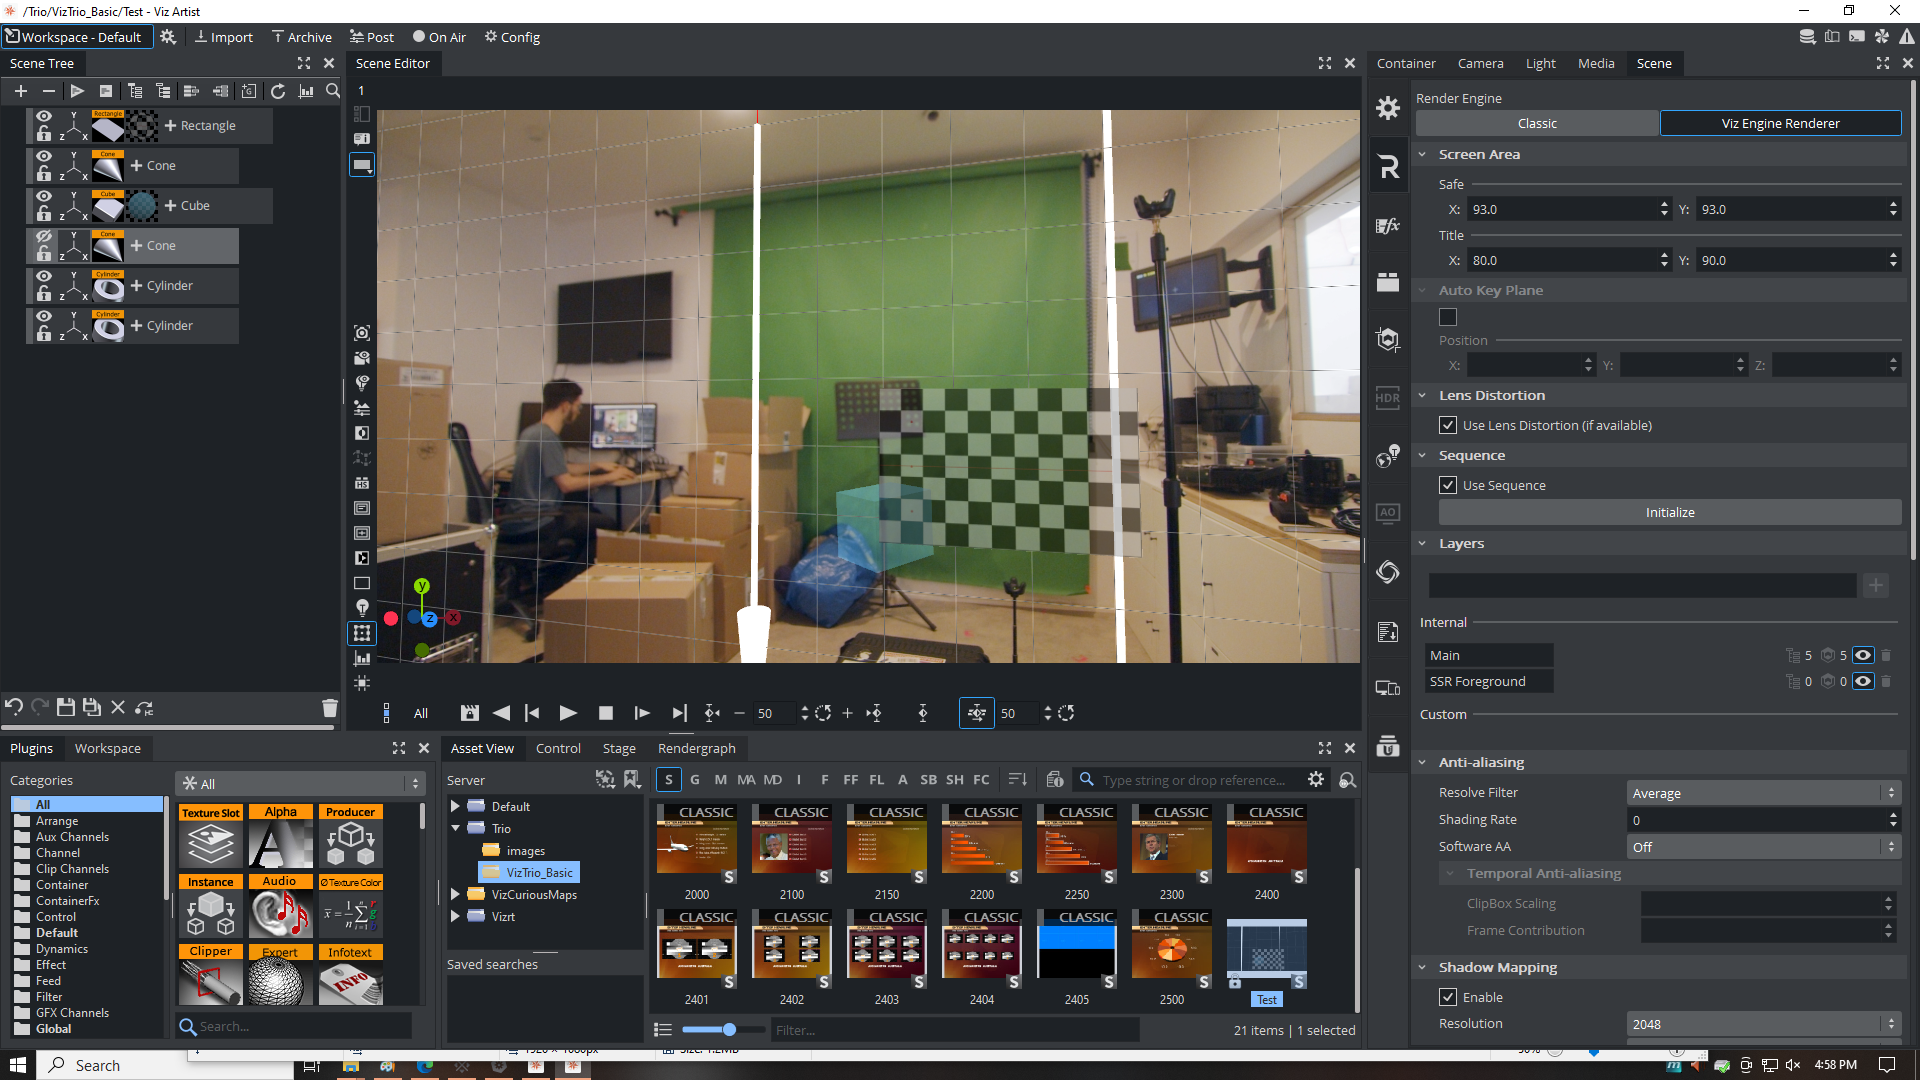
In the top-right menu, click on *Scene to open the global scene properties.
Choose the "Viz Engine Renderer" if it is not selected by default. Activate Use Lens Distortion and enable Shadow Mapping:
5.3. Global Configuration
Check that the "on air" camera is the one from Tracking Hub, here Camera 1:
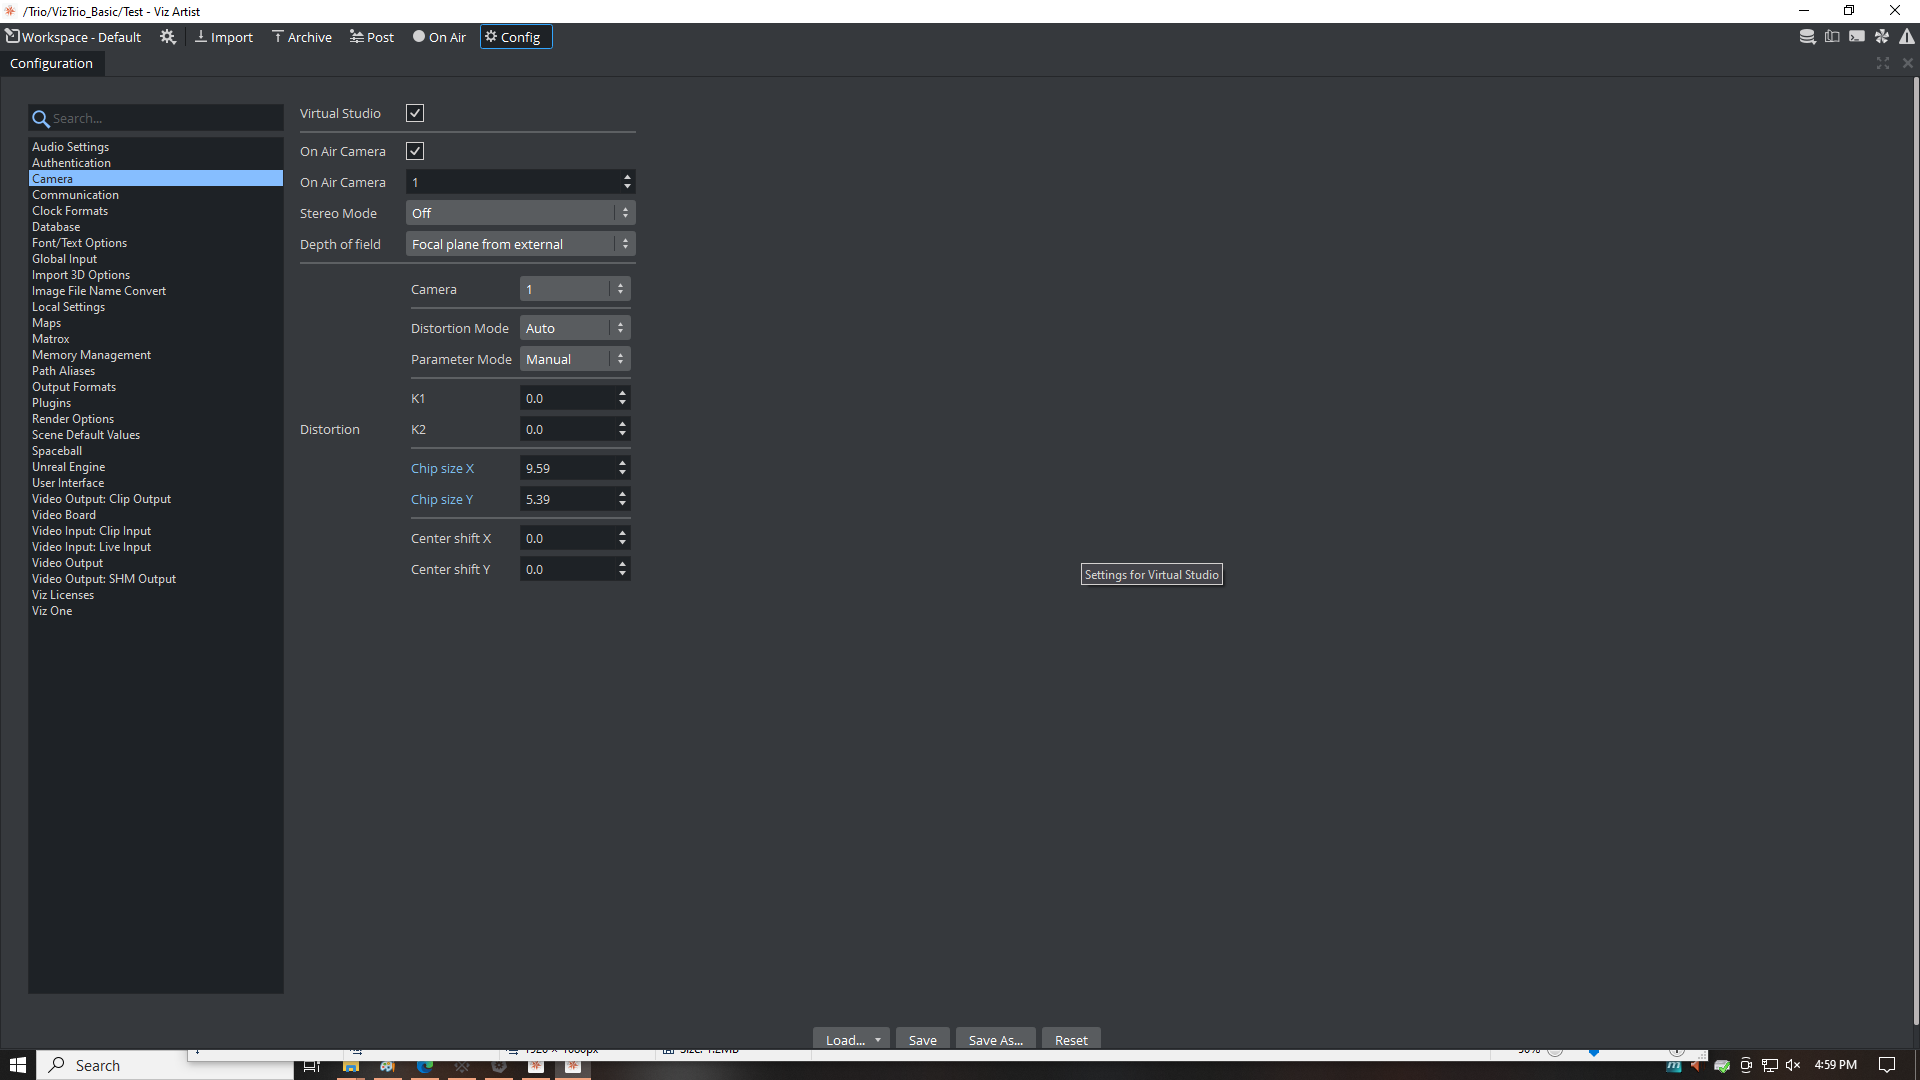
Set the Depth of Field to All from external to get it from the lens file:
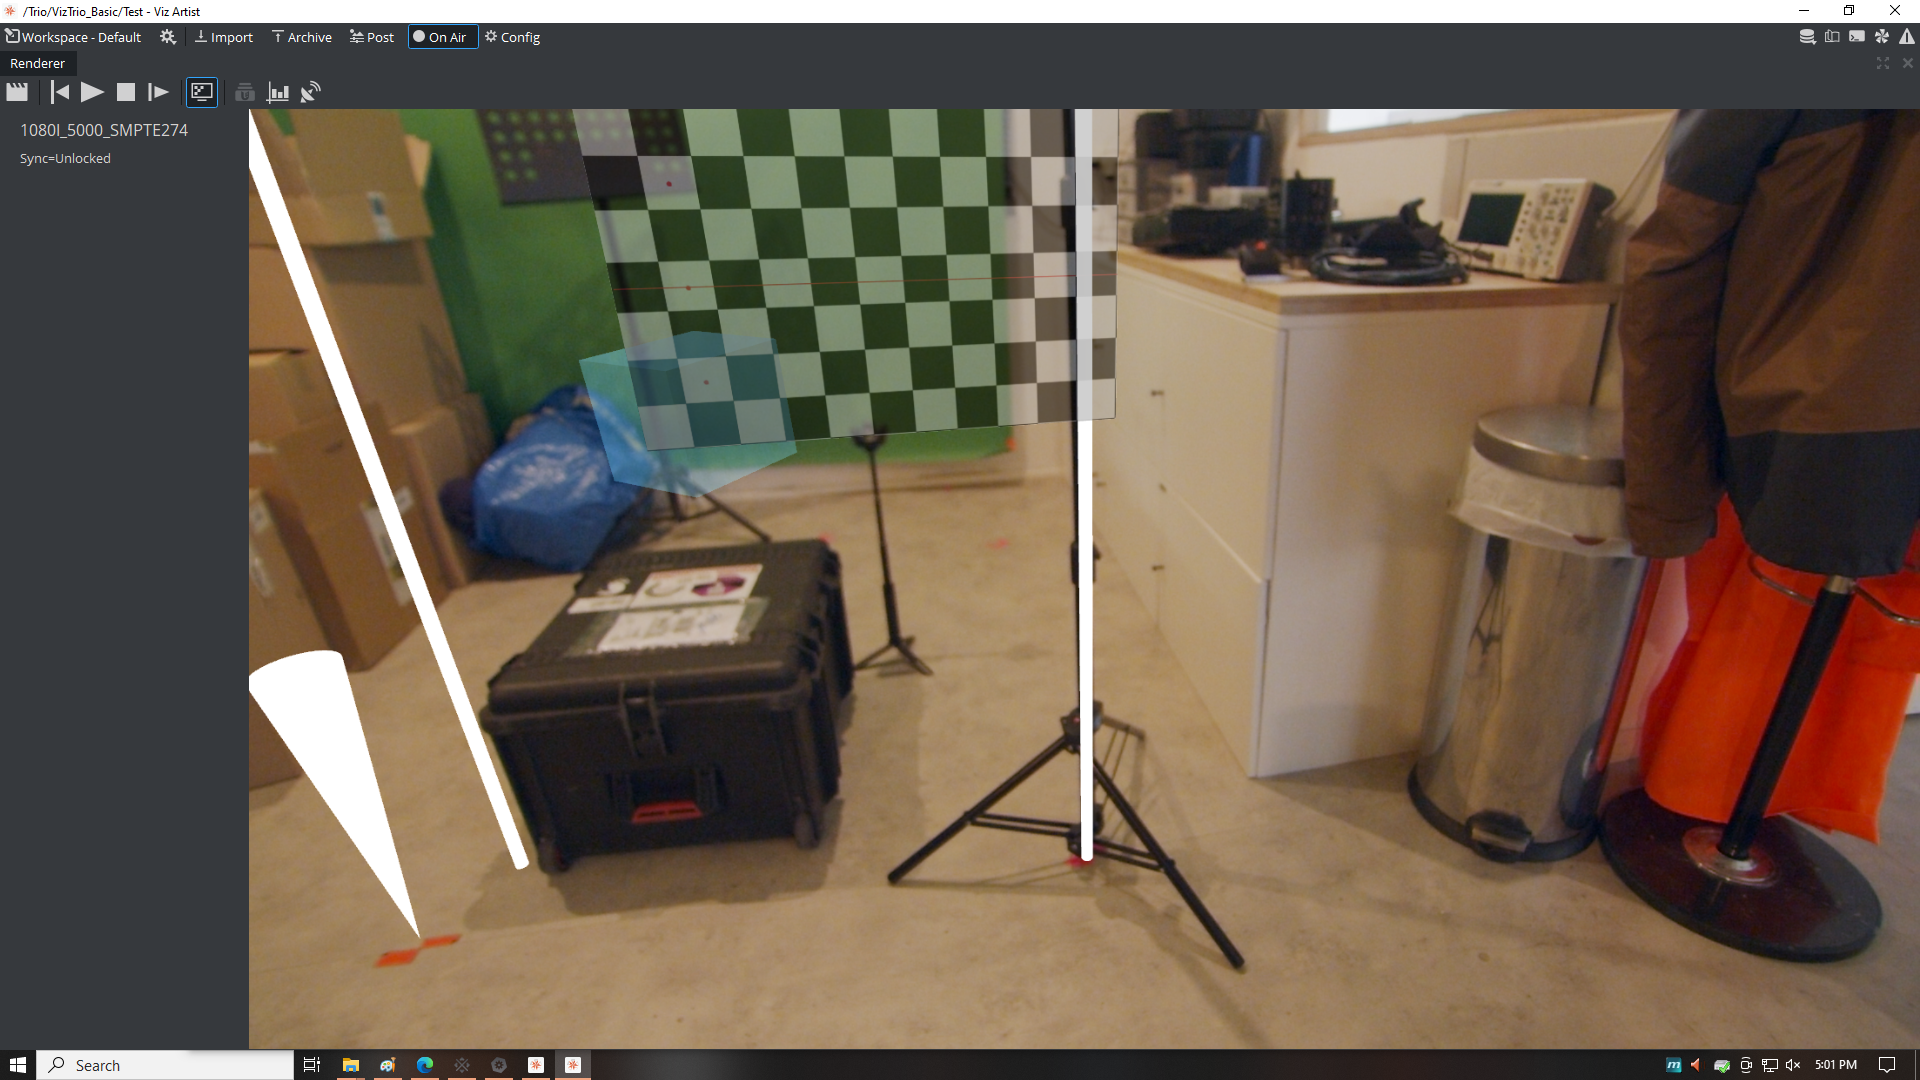
5.4. Start playing the scene
in the "On Air" tab, click on the play button to start rendering:

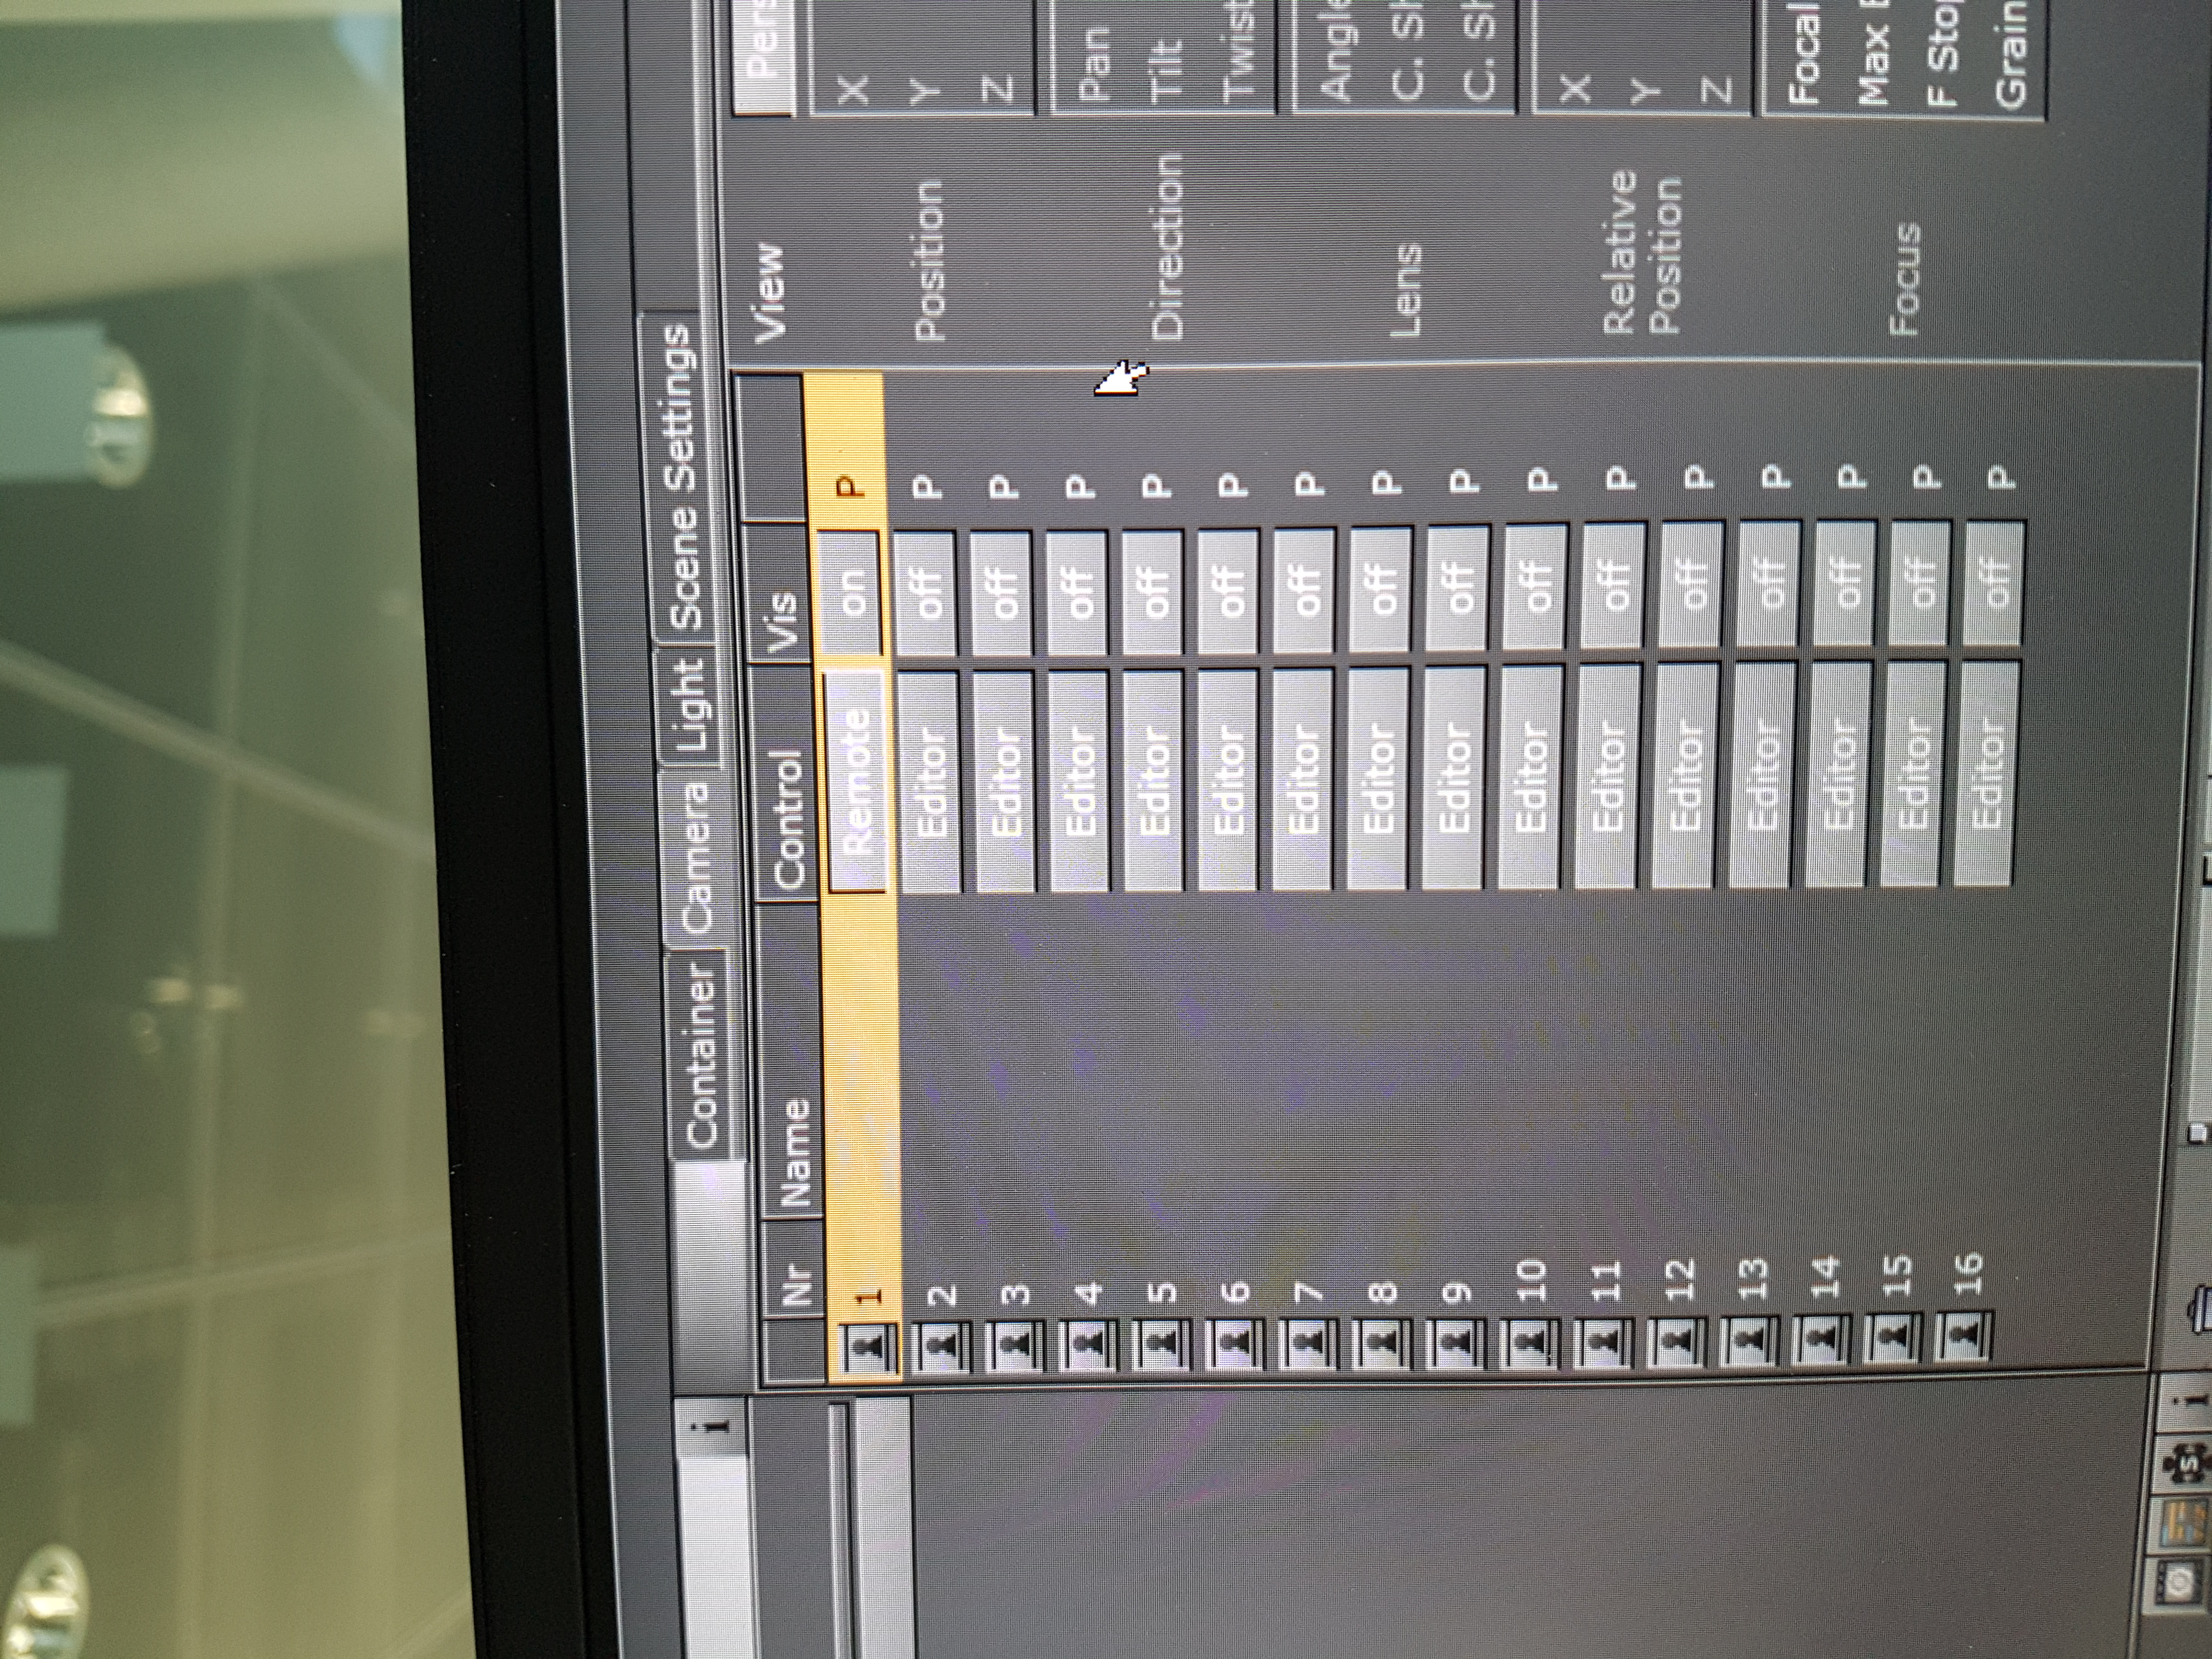
6. Configure Viz Artist 3 (old)
6.1. Get camera tracking
In Viz Artist, go to the Camera tab, select the same camera number as in Viz Tracking Hub, and set the control to Remote
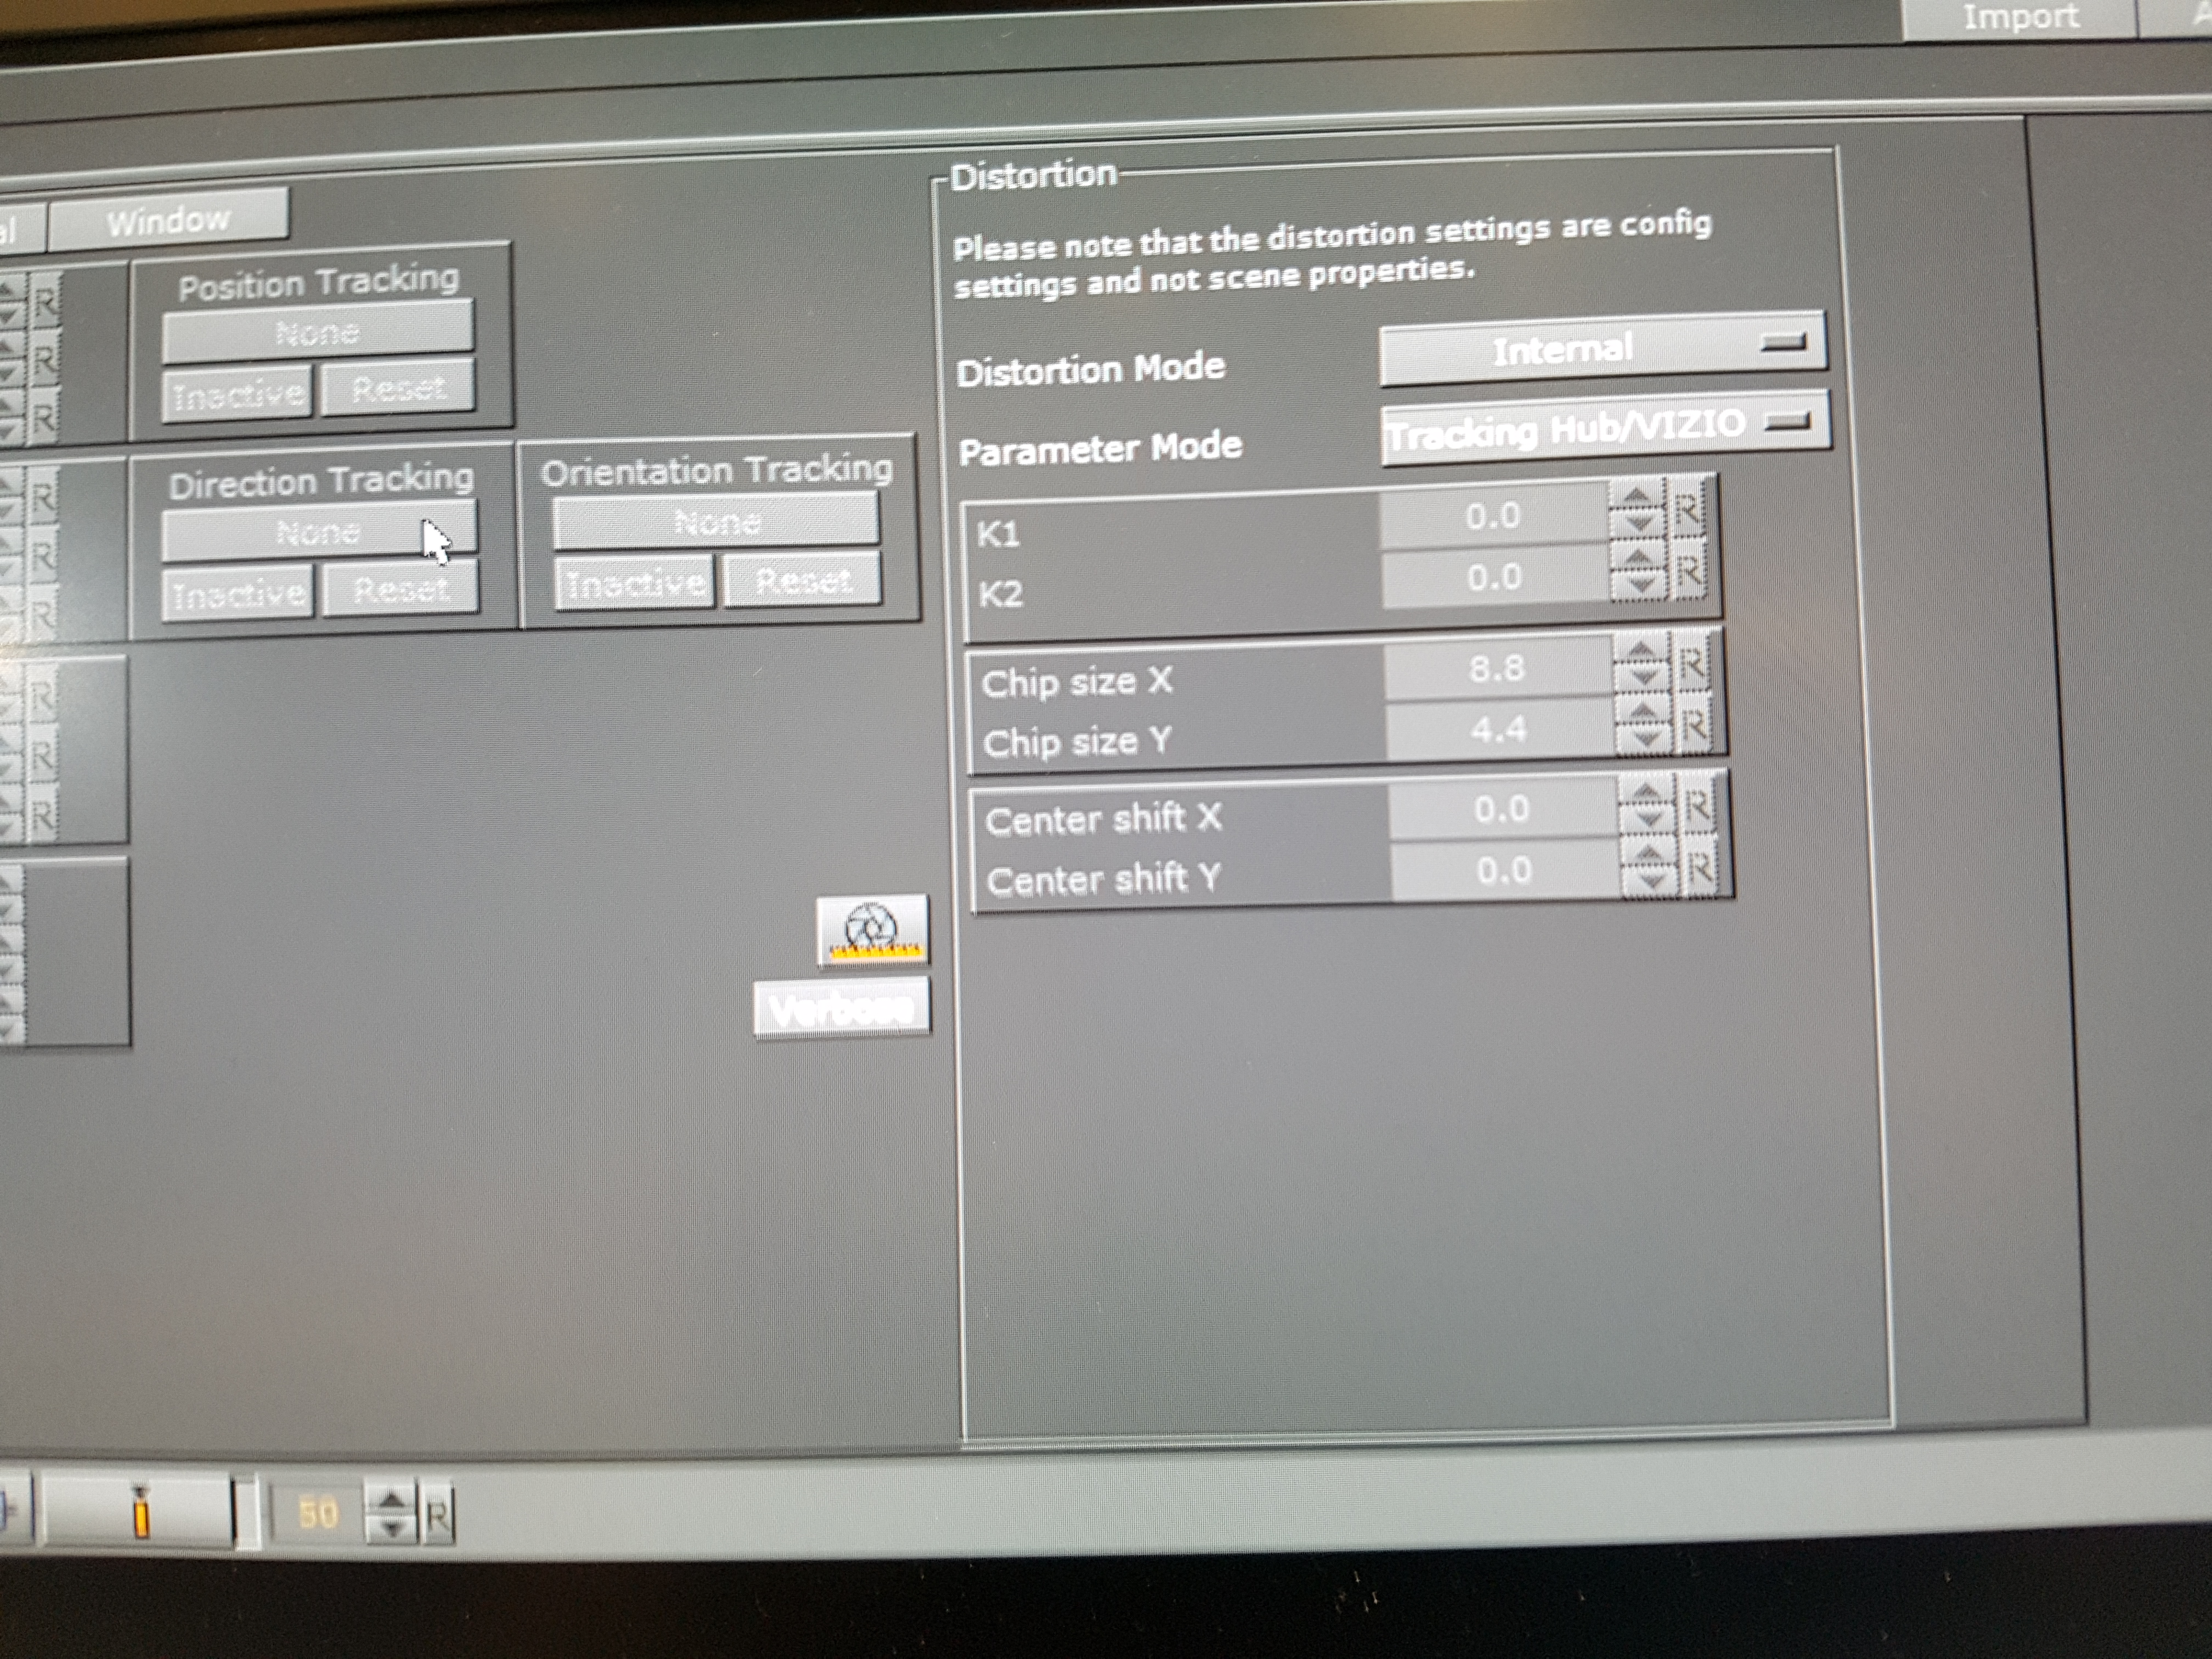
6.2. Take the distortion for tracking
Set the distortion mode to "Internal" and the Parameter mode to "Tracking Hub":
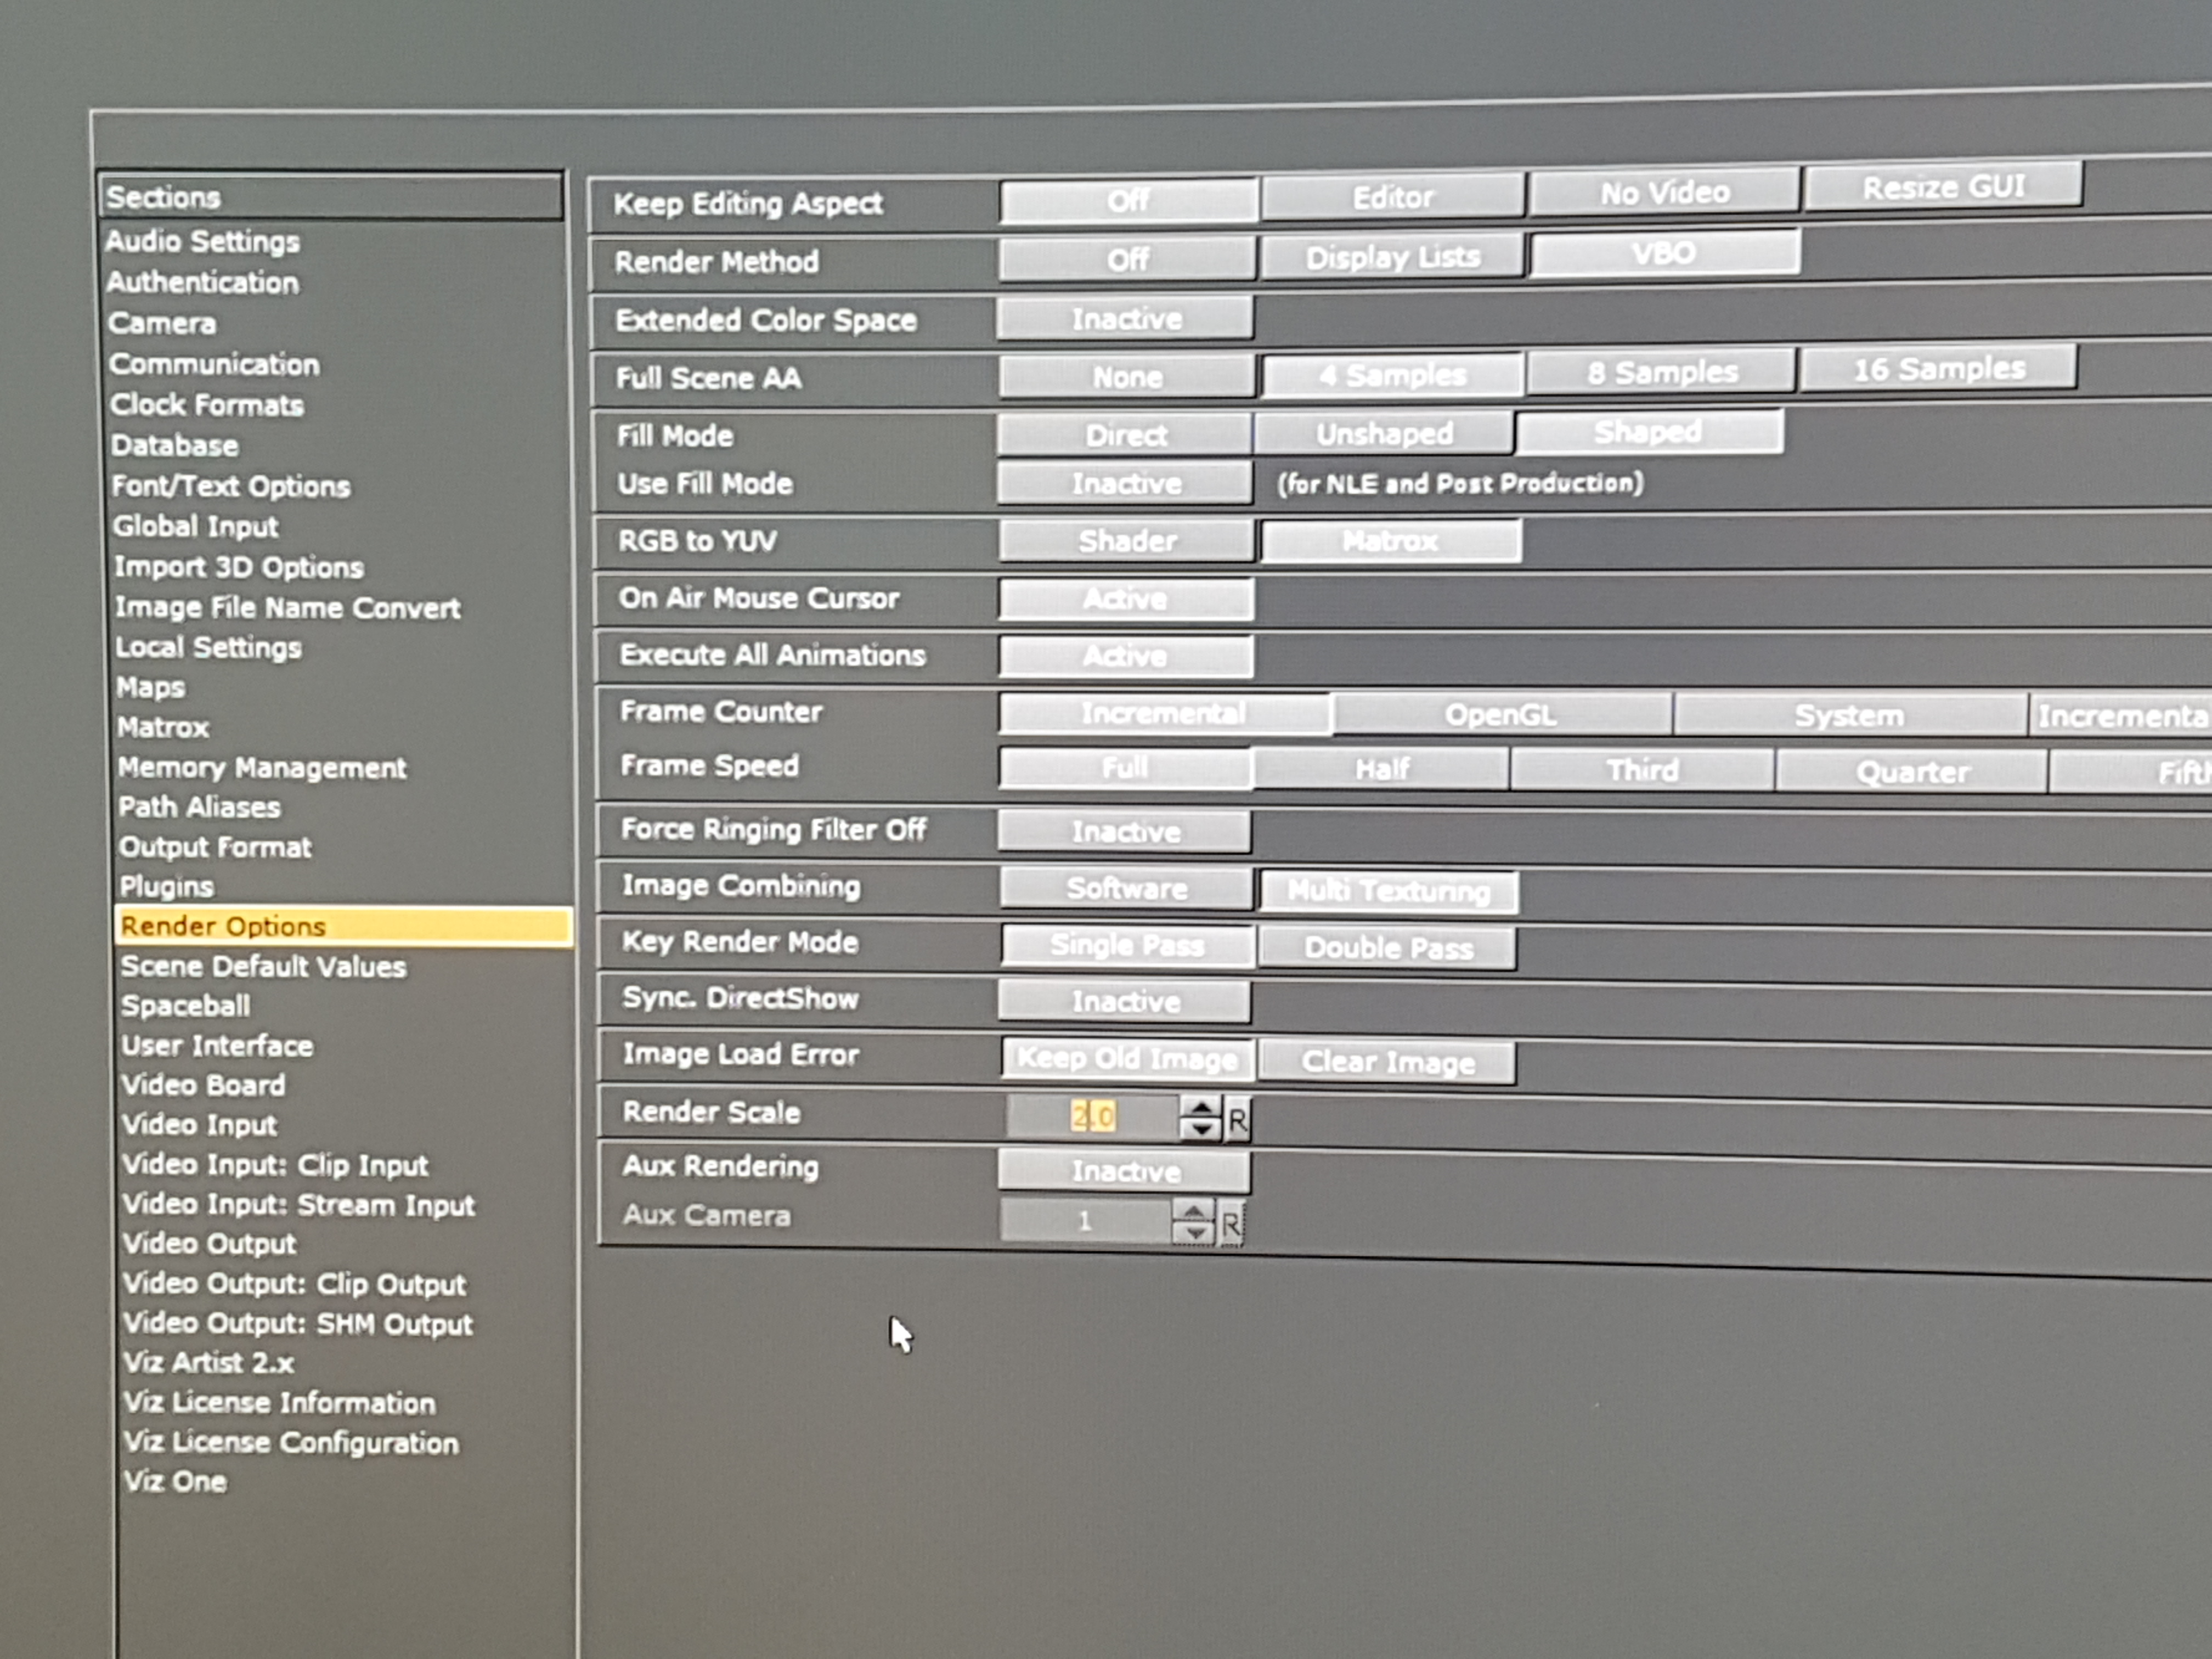
6.3. Add overscan
If the distortion is applied correctly, you will see holes on the side of the picture. To fix this, go to the render settings and increase the render scale until the holes disappear.