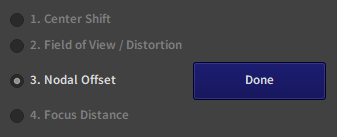
Nodal Offset Calibration (Tutorial)
The Nodal Offset UI is similar to the FOV/Disto UI
1. Calibration Process
1.1 Create a new point
Set your lens at the desired Z/F position in the Preparation Table by moving the controls on its barrel.
Then press the "New Point" button to create a new calibration point at this position.

1.2. Board position
Warning
For the nodal offset calibration, you need to put the board on a static support, like a tripod or a music stand. This support is needed so the board does not move between measuring its distance to the sensor plane and taking the picture in the software.
For each point place the board approximately perpendicular to the optical axis. It should look somewhat like this from the camera view:
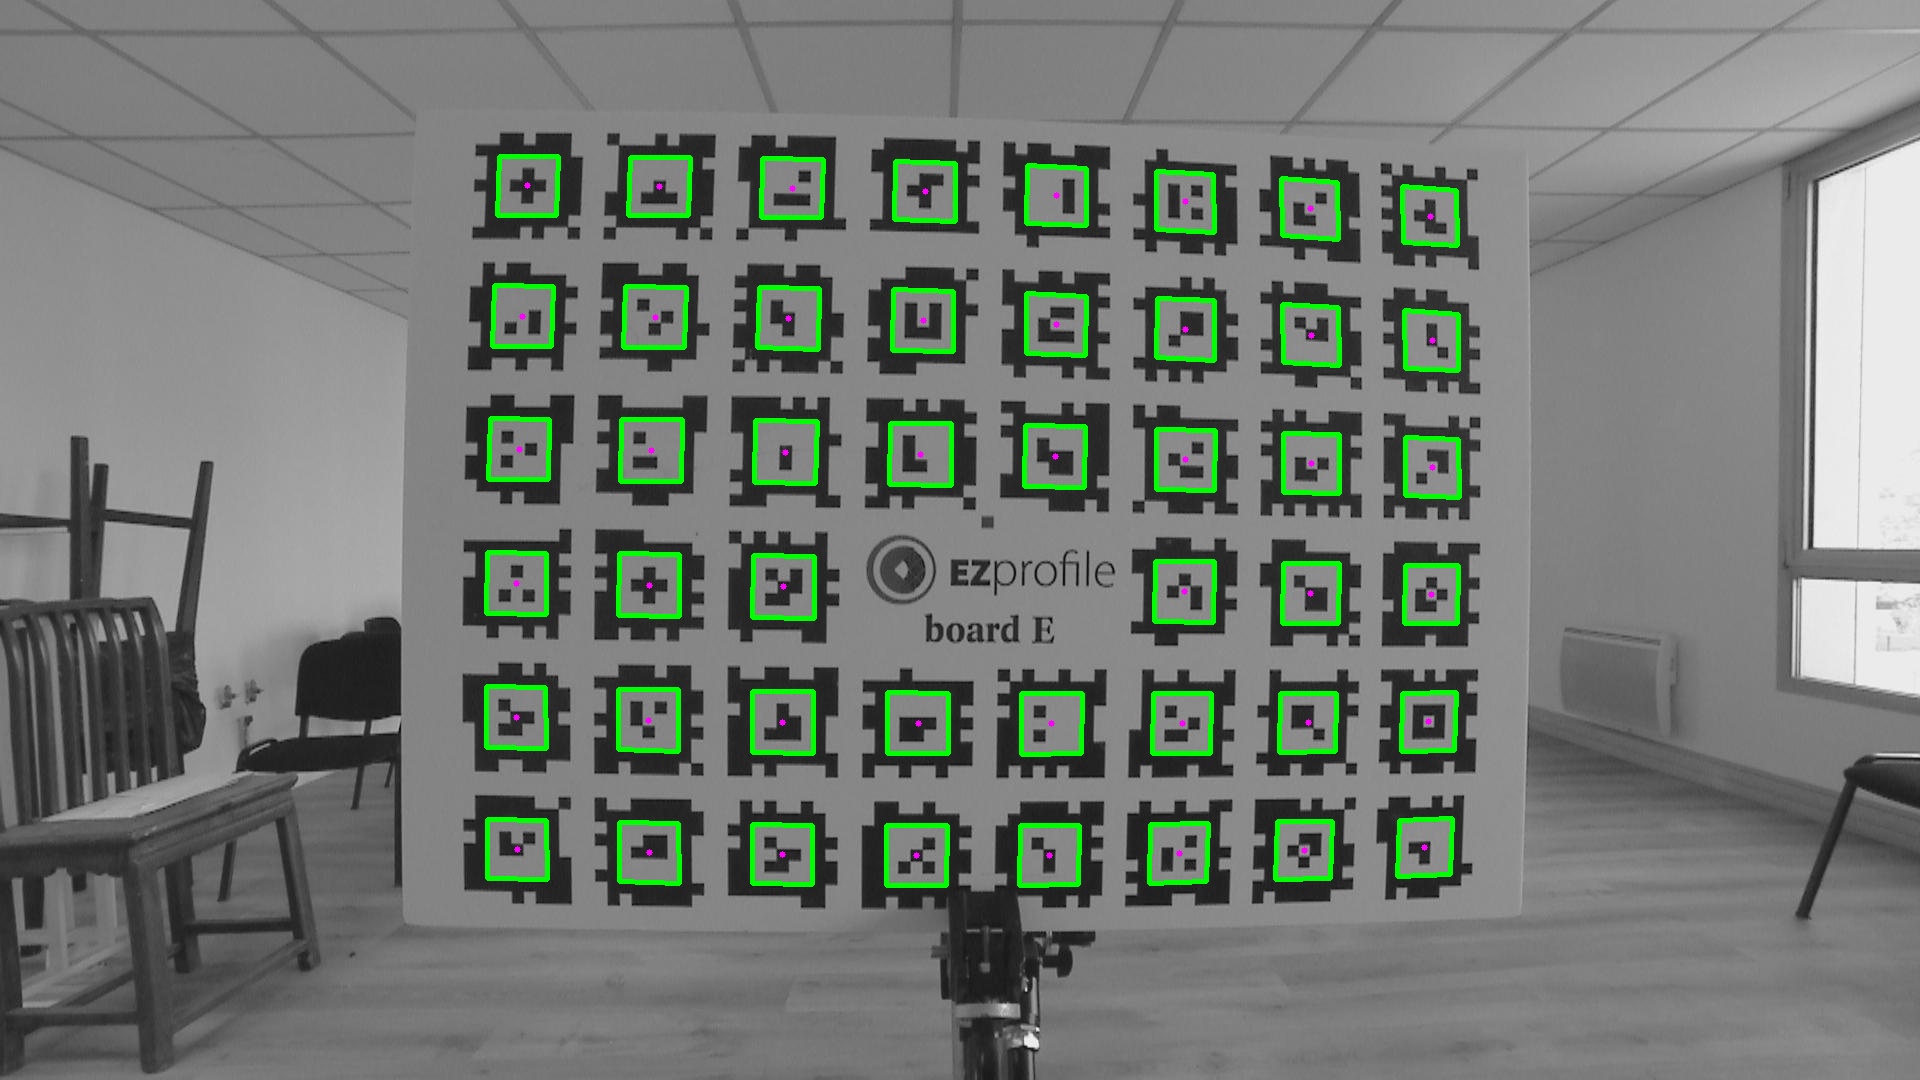
If you can't fit the whole board inside the view it is not an issue, just try to have as many tag detected as possible. Also the board should take a good portion of the image so that it occupies a large part of the field of view. This is because the field of view will be used to deduce the distance of the board from its know size and apparent size in the image from the virtual pinhole camera point of view.
Note
it is not necessary to be in perfect focus, you can come closer to the camera to occupy more of the field of view and make measuring the distance easier and more precise, so long as tags are detected.
1.3. Sensor-board distance measurement
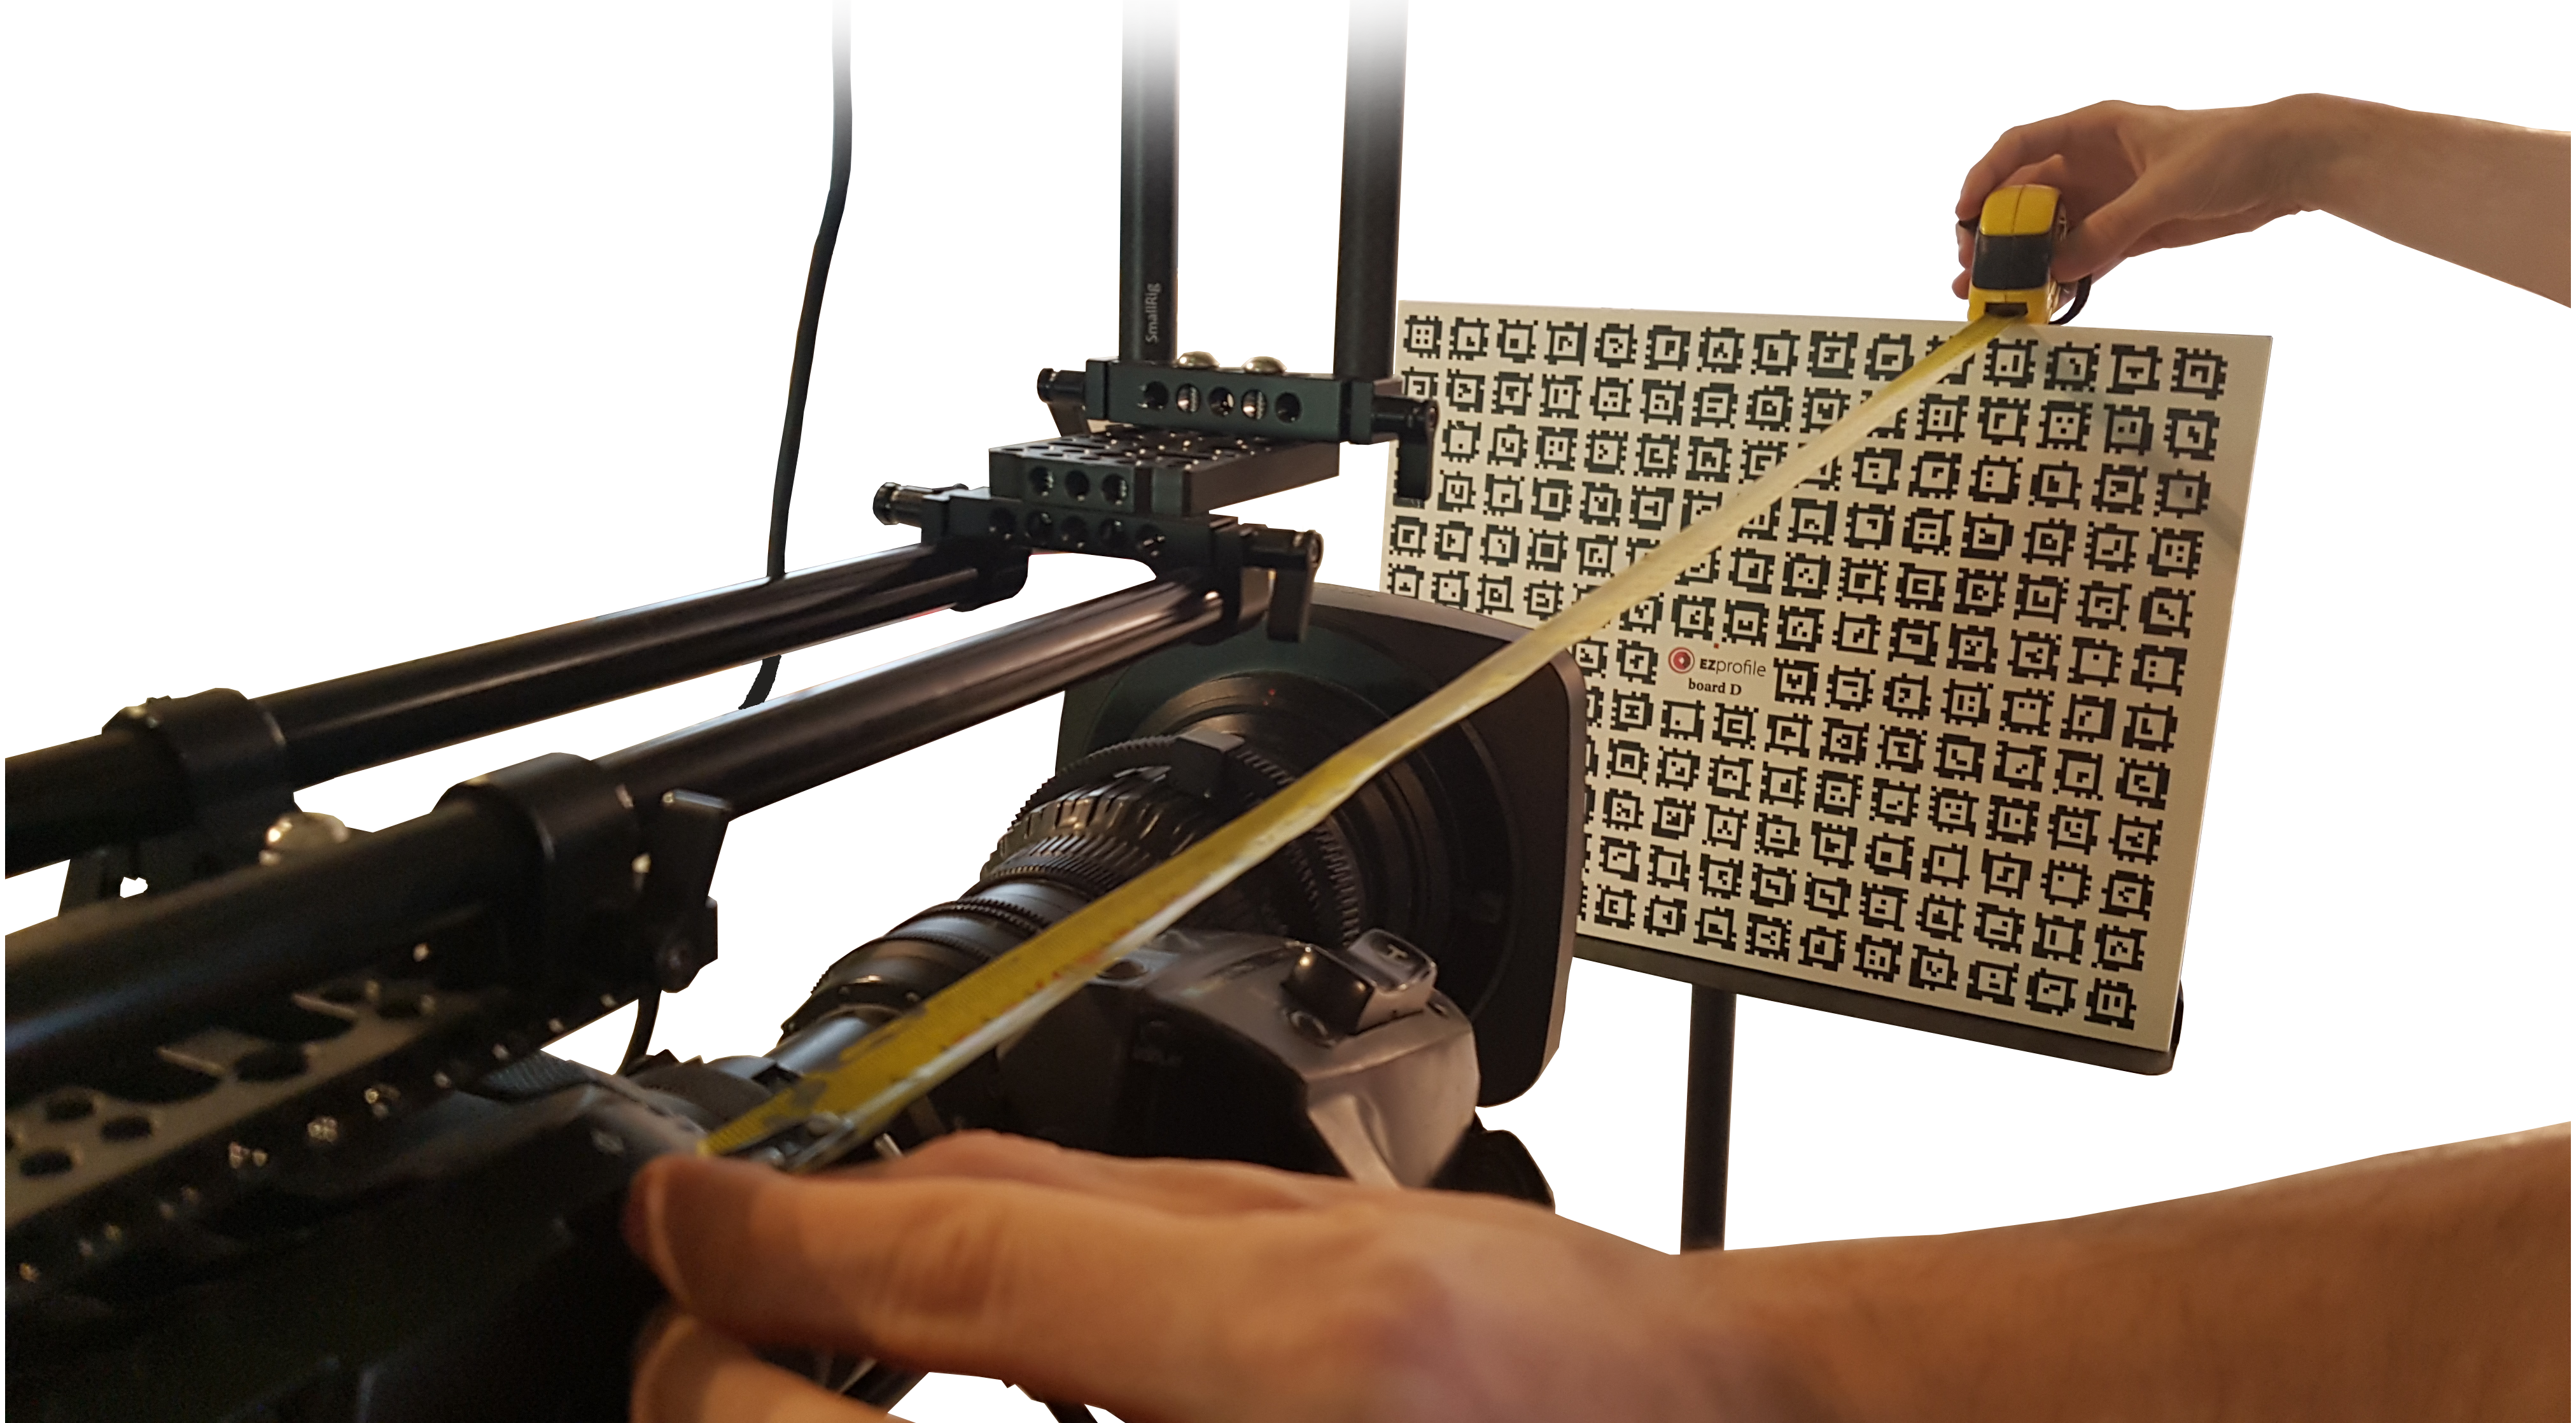
There should be a phi (Φ) mark somewhere near the front of the camera. It indicates the location of the sensor inside and is often used as reference point on the camera for AR. Note that some cameras use other symbols.
Measure the distance from this mark to the board, somewhat parallel to the optical axis. You can use measuring tape, or a laser meter, which is more precise and easier to use when the board is several meters away from the camera.
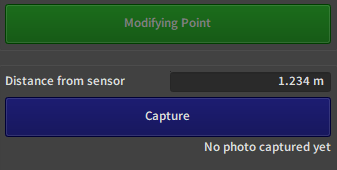
Write the distance measured in the 'Distance from sensor' input box and press 'Capture'. You can now move to a new Z/F point and do the same thing.
1.4. Take a picture
Press the 'Capture' button to take a picture
Tip
sometimes at constant zoom, the board is still in good enough focus to take another point without moving it.
In this case you can just click on "capture" without re-measuring the distance.
Recommanded Workflow
By default the nodal offset grid is two dimensional, however if the lens doesn't breath much with focus the nodal offset should be constant along that axis. Even when it does, the nodal offset change should be much smaller than when moving zoom.
So a more stable distribution usually is to place the board as close as possible to the camera so that tags are detected on all zoom positions, focus on the board, and do many points on zoom. For prime lenses this amount to doing only one measurement as zoom is constant.
2. Exit this step
Press the Done button next to the step name to exit and unlock the other steps.