Export for Zero Density and the Reality Engine
The generated file is a text file containing rows to copy-paste in a lens profile created inside the Reality Editor.
- Open the generated text file in a text editor
- Open a project using Reality Editor 3.
- Option a: you can create a lens profile in the Reality installation folder. The lens profile will be available for all projects using this version, but needs to be copied when using a new version.
- In the content browser, enable
show engine contentandshow plugin content. Then open Engine Content / RealityEngine Content / Lenses.
- In the content browser, enable
- Option b: you can create a lens profile in the folder of the project. The lens profile is not tied to the version (as long as it is compatible), however it must be added to all projects.
- Open your content browser and create a folder or go to a suitable location in your project
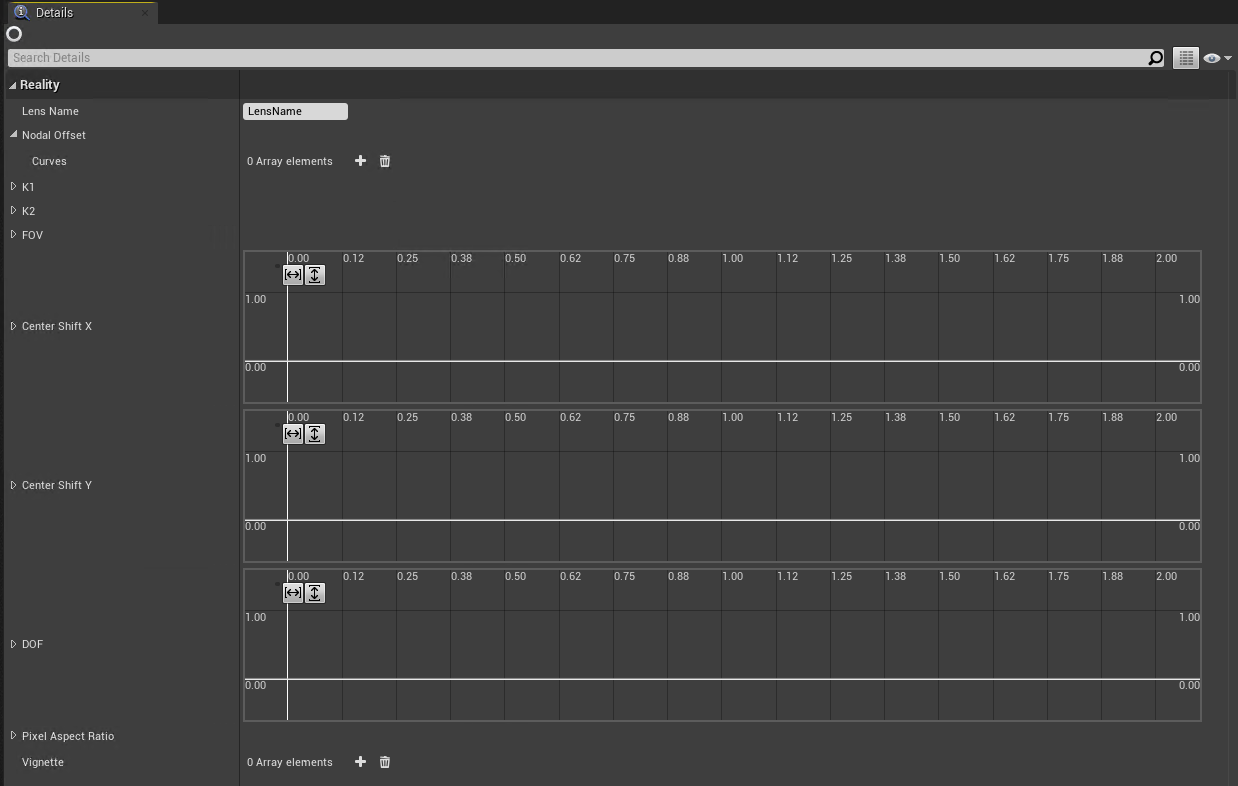
- Create a new file with right click > Reality > Lens. Enter then name of your Lens. Open the file.


- In the
Lens Namefield, enter the name of the lens. This will be the text displayed in the Reality interface when selecting a lens profile. - For the Nodal Offset, in the text file, copy the line below
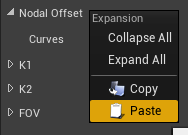
NodalOffset - In the lens profile, right click on Nodal Offset and Paste (right click exactly on the name, otherwise it won't work)

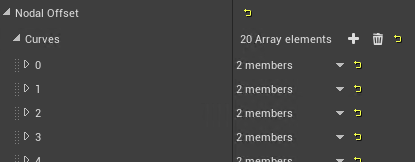
This will create the curves for this parameter.

- Repeat the steps 6 and 7 for the other parameters (K1, K2, FOV, DOF)
- Save
- If option b, it is mandatory to update the project settings so the engine knows about the lens profile when running.
- Open the
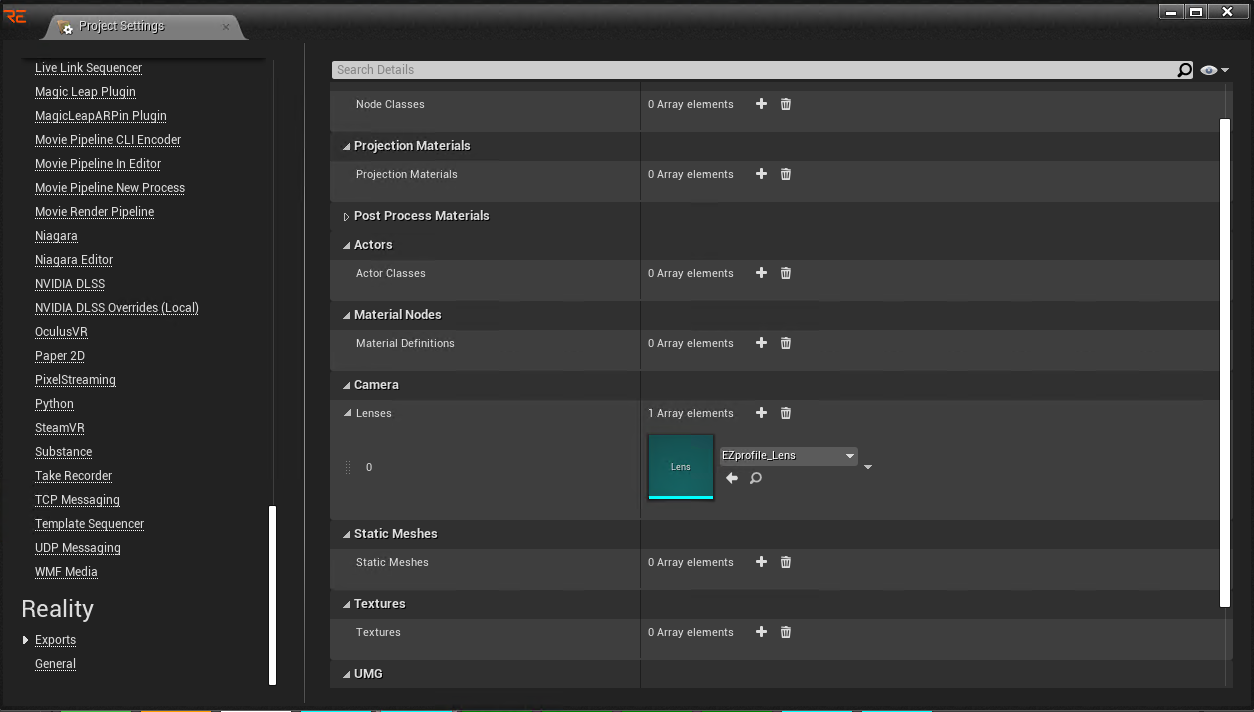
Project Settings. - Go to Reality > Exports > Camera > Lenses
- Add a new element
-
Select the lens file you have created

- Open the