Video Setup and Options
1. Video Input Settings
This dock is accessible from the Capture step.
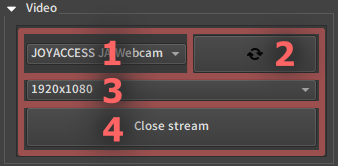
1.1. Video source
This allows you to choose between the available video sources on the computer.
If your camera is not in the list, try refreshing it or looking at section 3.3 of the Installation Guide.
1.2. Refresh video sources list
Scans the available video sources on the computer. This is done automatically at startup, but if you plugged your camera in after starting EZprofile this should add it to the list.
1.3. Resolution
Choose the resolution of the video here. Choose the maximum available resolution for maximum precision. Ideally this should be the same resolution as the one that will be used in the render engine, but if the image has the same aspect ratio and is not cropped in changing resolutions the calibration will still work at a different render resolution. For good results we recommend at least 1920x1080.
1.4. Open/close video stream
Like the name says opens or closes the video. Opening the video will monopolise the stream across the computer. Also if another program uses the stream it will not be available in EZprofile.
1.5. Mirror video stream
It is possible to mirror the video in the viewport using the "Mirror Display" button:


2. Quick Center Shift
This dock is accessible from the Capture step.
It allows performing a centershift calibration quickly after starting EZProfile, without beginning a calibration. Centershift has to be adjusted more often than other parameters because it can change when the lens is dismounted and remounted on the camera.
For a detailed protocol on centershift calibration, see Centershift Calibration Tutorial
Warning
the centershift done here is not saved in a calibration file until the "Set Centershift" button is pressed in the calibration tab. See Centershift Calibration Tutorial.
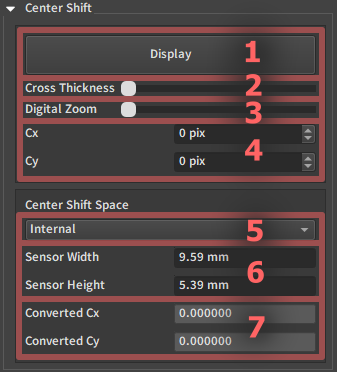
2.1. Center Shift Measurement
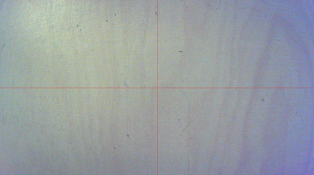
2.1.1. Display Crosshair
Show or hide the crosshair over the video.
2.1.2. Set Cross Thickness
The crosshair varies between zero pixels wide 50% opacity when the slider is at 0 and 3 pixels wide 100% opacity when the slider is at one. Increasing this number will reduce accuracy but allow seing the crosshair better. You can vary the thickness during calibration of the centershift to make the crosshair smaller as you get into more precise adjustments.
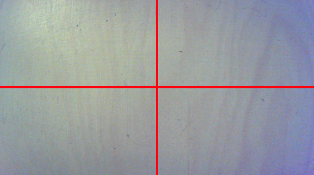
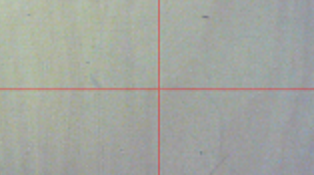
2.1.3. Set Digital Zoom
Zoom in digitally on the image to see better where the cross is aligned in wide angle.
The pixel values for centershift are still in the original resolution, not the zoomed in one, so the cross may skip pixels as it scrolls.
2.1.4. Centershift values
The new position of the center in pixels centered of the middle of the screen. These can be set to specific values with the keyboard but to adjust visually it is more practical to scroll the mouse wheel up or down on the box to dynamically move the crosshair.
2.2. Center Shift Conversion
This panel helps convert the values obtained from a pixel offset from the center into the center shift space of the target render engine.
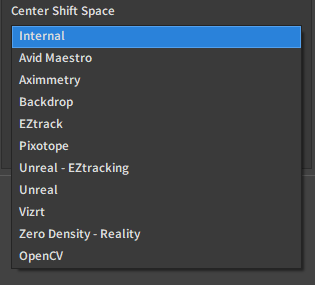
2.2.5. Target Space
Choose the target center shift space among the available choices:
2.2.6. Sensor Size
Some center shift spaces express the offset in millimeters on the sensor. In that case, the effective sensor size is required for the conversion.
Warning
The Effective Sensor Size denotes the area of the sensor corresponding to the image output by the camera. Often a camera will crop the sensor to change format. This has to be taken into account in the sensor size, and the full sensor dimensions can not be used everywhere carefreely.
2.2.7. Converted Center Shift Values
The result of the conversion is displayed here. You can copy-paste them into the render software.
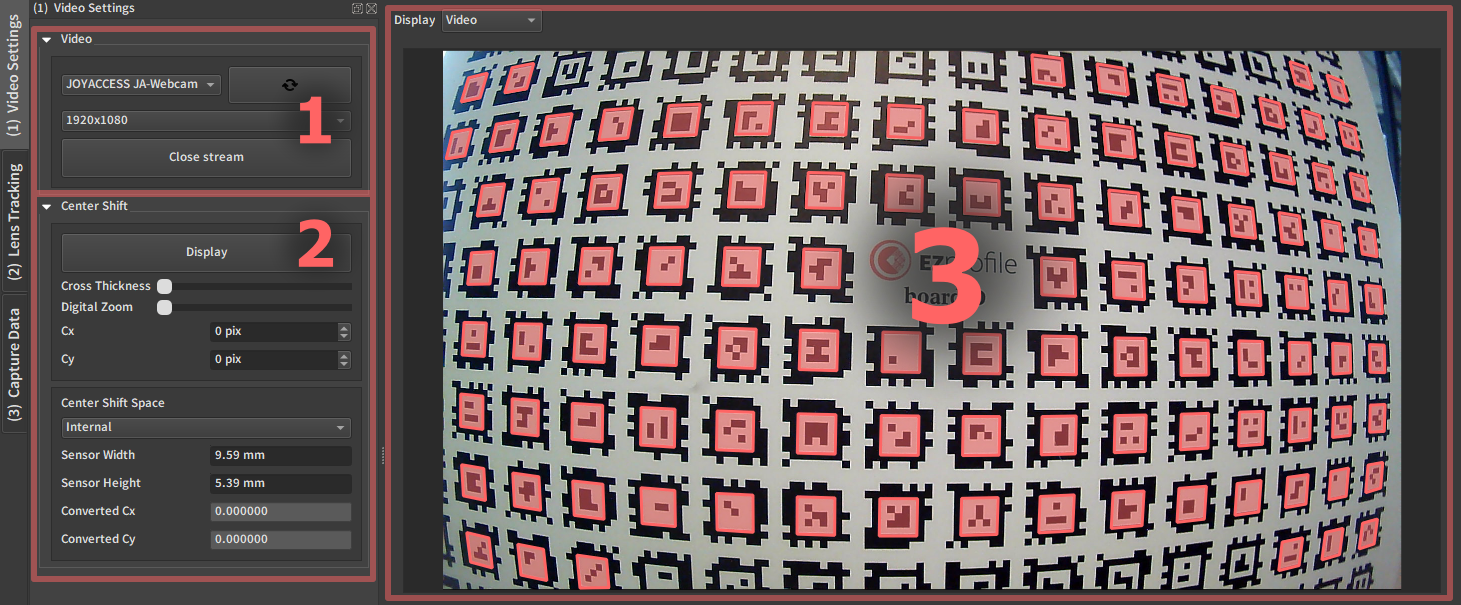
3. Video Display Area
This dock is accessible from all steps, but mostly intended for the Capture step.

3.1 Middle section display selector
This allows choosing between all 3 available middle sections:
3.2 Video display
Displays the video as obtained from the input stream. There are also a tag detection overlay and a coverage overlay used during calibration to know when tags are detected on the board, and to know how much of the screen has been covered by tags overall. Tag detection is on by default.
4. Extra Video Options
4.1 Tag detection overlay
This option is located in the panel (3) Capture Data. It is handled automatically to give you what you need during a calibration, but can be manually activated or deactivated if needed.
Tags are detected in real time and detections are displayed on the video with green highlights.
Warning
The real time tag detector is less effective than the offline one used in the process step. This is a very useful guide but don't hesitate to take pictures even if few tags are detected, especally at steep angles relative to the optical axis. There is a chance you will get more detections in processing.
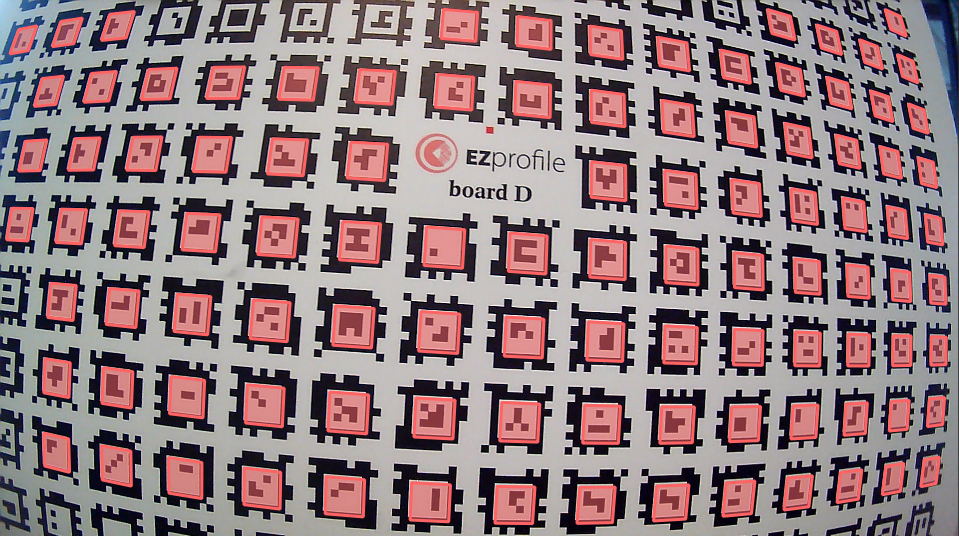
Note
The detection color has been changed from green to salmon because it was hard to see on a green screen set. This does not indicate an error.
Except in the Nodal Offset step, there the detection color goes from green to red to indicate whether the board is parallel to the camera or not.
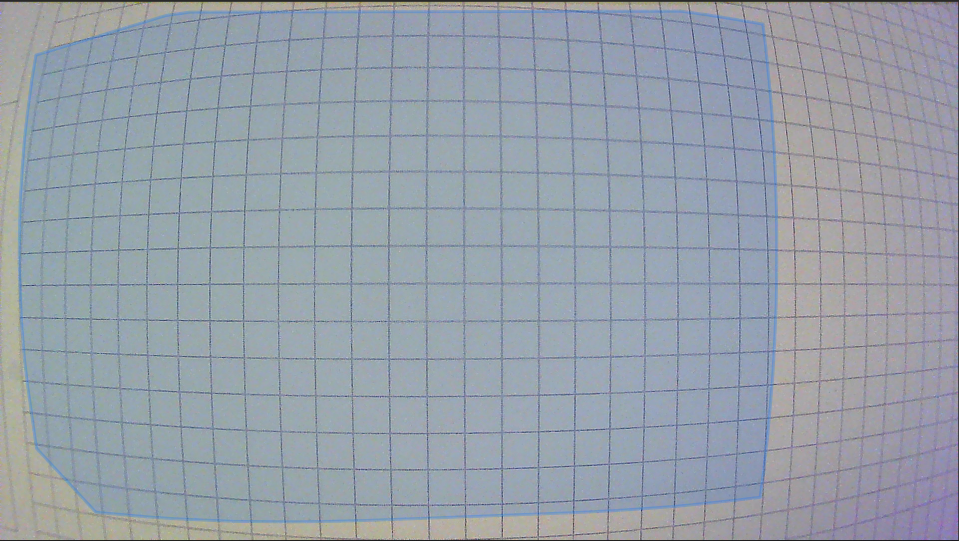
4.2 Coverage overlay
This option is located in the panel (3) Capture Data. It is handled automatically to give you what you need during a calibration, but can be manually activated or deactivated if needed.
Each picture taken has an associated coverage of the screen depending on where the detected tags were. At a constant Zoom and Focus point, this overlay remembers the global coverage of all the pictures until now. This is thus useless outside of a calibration as it will only get updated when a photo is taken.
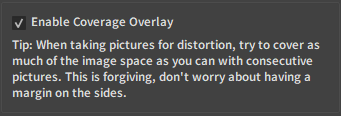
for example with a coverage as follows, the left side is good enough, we would need to take pictures with the board on the right side to complete the coverage.
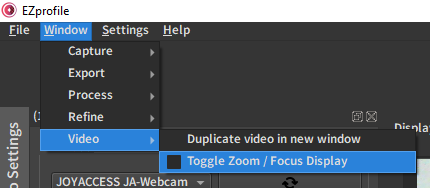
4.3 Zoom/Focus/Iris overlay
This option is located in the top menu, in Window/Video/.
The current zoom and focus are displayed in the top left corner of the video. The letters are highlighted in red when the values fall inside a cell of the Preparation Table, making this a very useful feedback on a big display during a calibration.
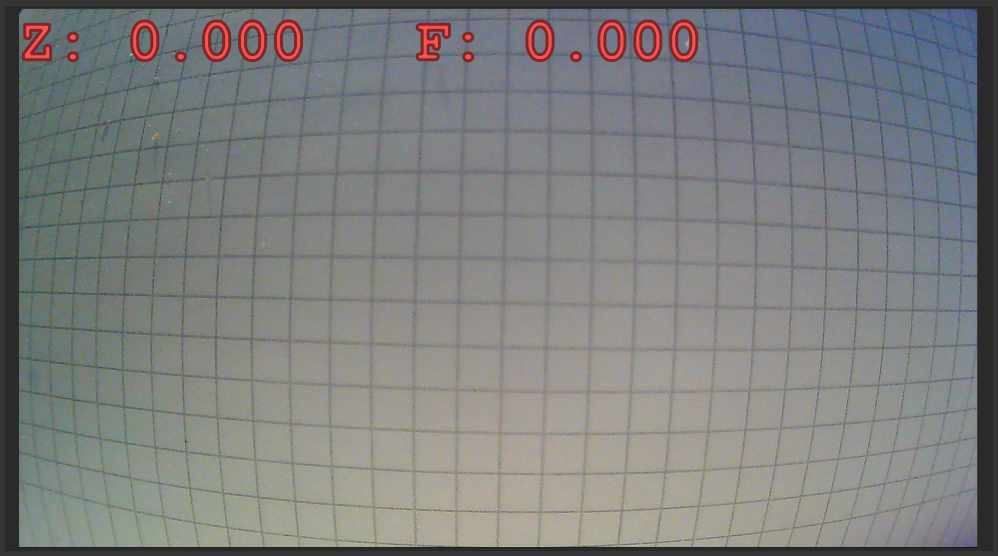
Note
When receiving TCD, the Iris value is also displayed.
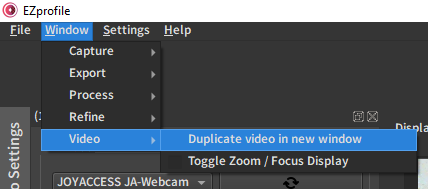
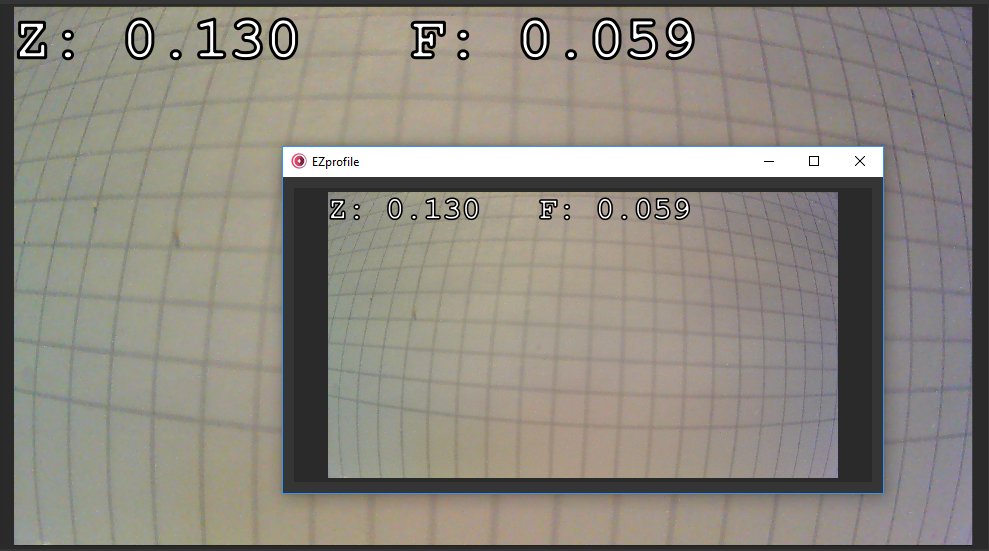
4.4 Duplicate in new window
This option is located in the top menu, in Window/Video/.
Duplicates the video area and all its overlays in a new window. This window can be sent to an auxilliary screen and maximized to create a comfortable monitor for the calibration.